Fluffy Homemade Bread Recipe: Simple Joy in Every Slice
Crafting a delightful homemade bread recipe can transform your kitchen into a warm, aromatic sanctuary.
Flour-dusted counters and the rhythmic kneading of dough create a sensory experience that connects you to generations of bakers.
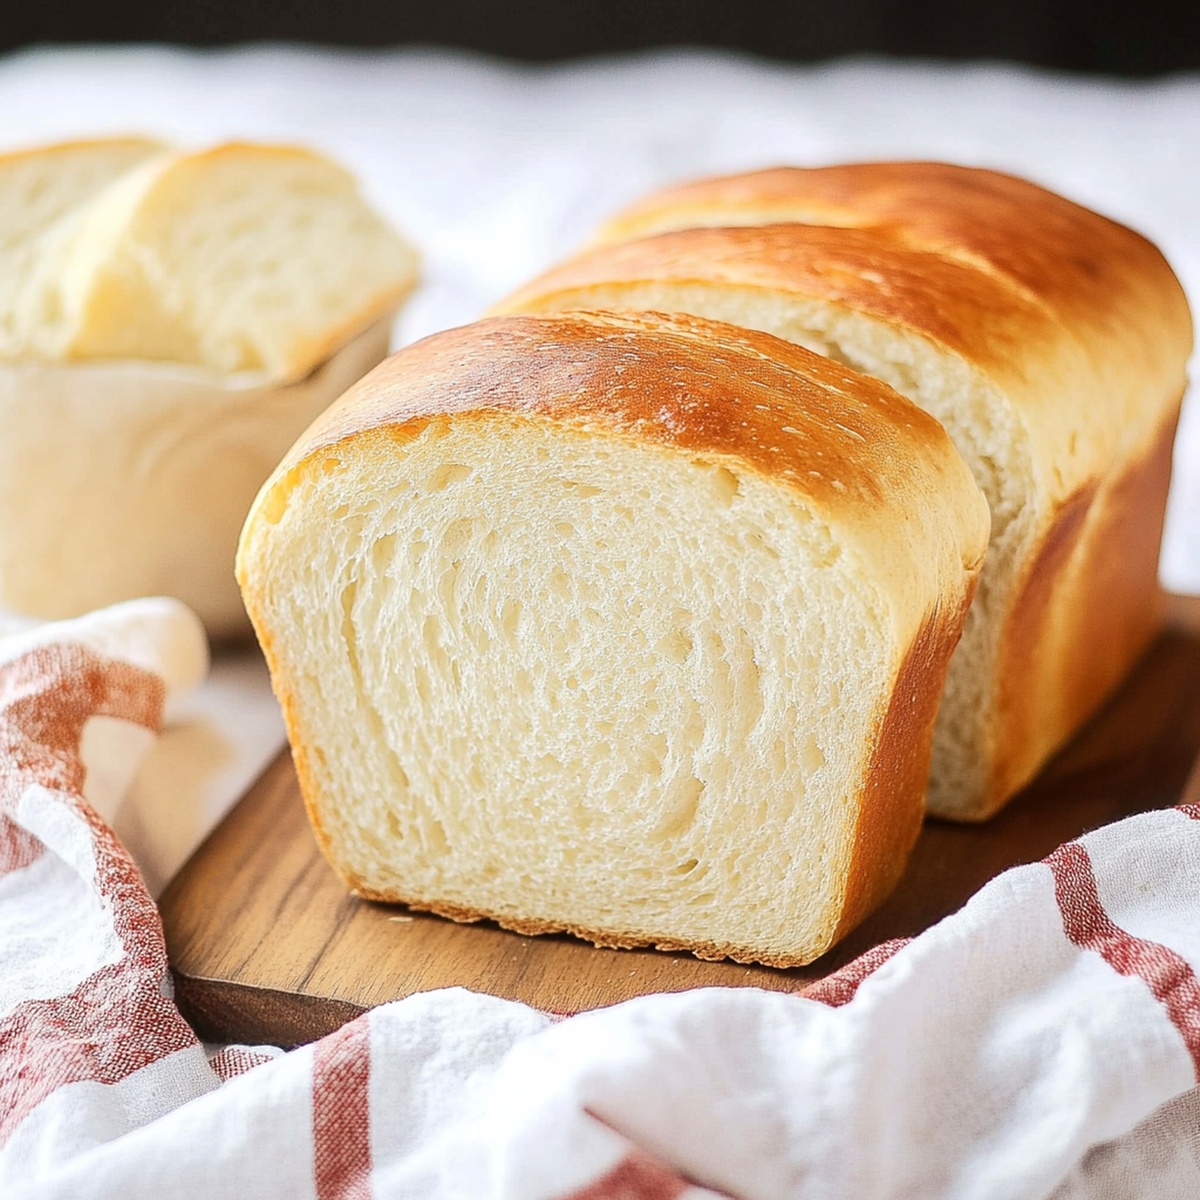
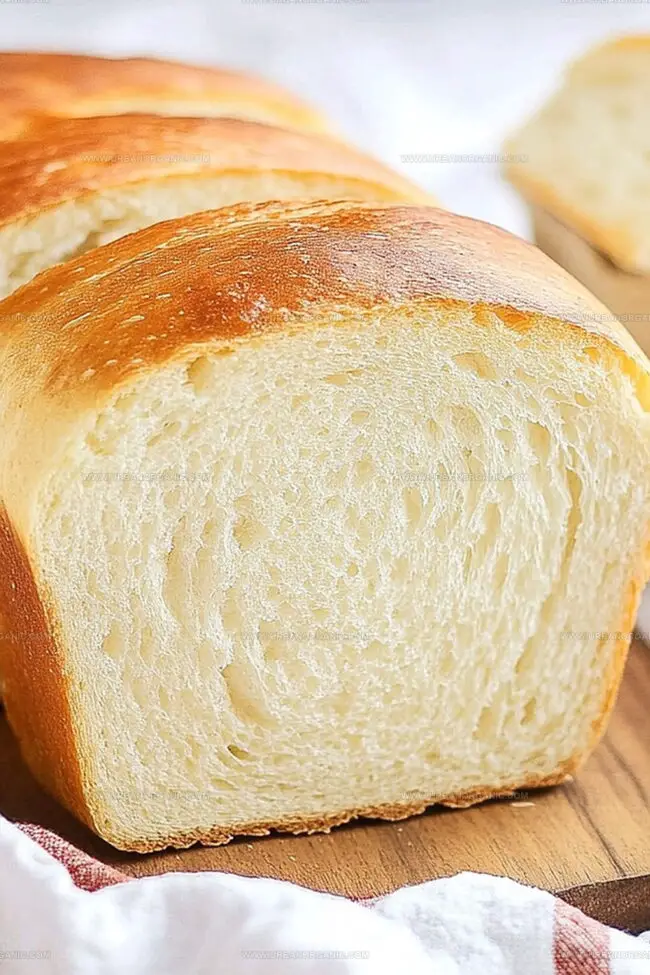
Soft, pillowy textures and the golden-brown crust promise comfort in every slice.
Simple ingredients dance together, turning ordinary moments into extraordinary memories.
Baking bread becomes more than a task—it’s a creative expression of love and care.
Unexpected joy awaits as you master this timeless culinary art.
Let this recipe inspire your inner baker and fill your home with irresistible freshly baked goodness.
Easy Homemade Bread Recipe Features to Love
Ingredients You’ll Need for Homemade Bread
Bread Base Components:Liquid and Activation Ingredients:Enriching Ingredients:Steps for Baking Homemade Bread at Home

Step 1: Activate Yeast Magic
Grab warm water and sprinkle in sugar. Gently stir in yeast and wait for the magical transformation. Watch as tiny bubbles start dancing, signaling your yeast is ready to work its wonders. For instant yeast, you can skip this enchanting process.
Step 2: Mix Dough Symphony
Gather your ingredients:Combine flour and salt in a spacious mixing bowl. Pour in your activated yeast (or instant yeast), melted butter, and warm water. Blend everything until a shaggy dough emerges. Transfer to a floured surface and knead with love. Work the dough for 8-10 minutes until it becomes smooth and stretchy. Pro tip: A stand mixer with a dough hook can do the heavy lifting in 5-6 minutes.
Step 3: First Rise Adventure
Transfer your dough to a greased bowl. Cover with a clean towel or plastic wrap. Find a cozy, warm spot and let the dough rest and grow. Give it 1-2 hours until it doubles in size, like a bread balloon expanding with potential.
Step 4: Shape Your Masterpiece
Gently deflate the risen dough by pressing down. Place it on a lightly floured surface and shape into a beautiful loaf. Nestle your creation into a greased 9×5-inch loaf pan.
Step 5: Second Rise Transformation
Cover the loaf and let it rise again for 30-45 minutes. Watch as it grows plump and promises deliciousness.
Step 6: Bake to Golden Perfection
Preheat the oven to 375F. Softly brush the loaf’s top with milk for a gorgeous golden finish. Slide into the oven and bake for 25-30 minutes. The bread is ready when it turns a beautiful golden brown and sounds hollow when tapped.
Step 7: Cool and Savor
Let the bread rest in the pan for 10 minutes. Transfer to a wire rack and allow it to cool completely. Slice, share, and enjoy the fruits of your baking adventure!
Bread-Making Tips for Homemade Bread Success
Easy Homemade Bread: How to Keep It Fresh
Pairings That Match Homemade Bread Perfectly
Ways to Modify Homemade Bread for Variety
Gluten-Free Bread Option: Replace wheat flour with a gluten-free blend containing xanthan gum for individuals with celiac disease or wheat sensitivities.
Whole Wheat Power Loaf: Substitute half the all-purpose flour with whole wheat flour to increase fiber and nutrient content, creating a heartier bread with nutty undertones.
No-Knead Rustic Version: Eliminate kneading by mixing ingredients into a wetter dough, then letting it rest longer (12-18 hours) for development of complex flavors and easier preparation.
Herb-Infused Artisan Bread: Add dried herbs like rosemary, thyme, or oregano directly into the dough mixture to create a flavorful Mediterranean-style bread with aromatic characteristics.
Easy Homemade Bread Recipe FAQs Answered
Your yeast might be old or inactive. Always check expiration dates, use warm (not hot) water around 110°F, and ensure your environment is draft-free and warm for proper rising.
The dough should feel smooth, elastic, and spring back when you press it. When stretched, it should form a thin, translucent “windowpane” without tearing.
Absolutely! You can knead by hand on a floured surface. Use the heel of your hand to push and fold the dough repeatedly for 8-10 minutes until it becomes smooth and elastic.
You can use olive oil, vegetable oil, or margarine as direct replacements for butter. Each will slightly alter the bread’s flavor and texture, but will still produce a delicious loaf.
Print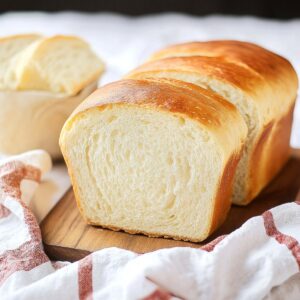
Easy Homemade Bread Recipe
- Total Time: 45 minutes
- Yield: 12 1x
Description
Crusty homemade bread delivers comforting warmth straight from your kitchen. Golden-brown loaves with crisp edges promise delightful moments of simple culinary pleasure that connect family and friends around the table.
Ingredients
Main Ingredients:
- 3.5 cups all-purpose flour (plus extra for kneading)
- 1 cup warm water
- 2 tablespoons unsalted butter
Leavening Agents:
- 1 packet (2.25 teaspoons) instant yeast
Other Ingredients:
- 2 tablespoons granulated sugar
- 1 teaspoon salt
- 1 tablespoon milk (for brushing, optional)
Instructions
- Awaken the yeast by gently dissolving sugar in tepid water, then sprinkle yeast and allow it to bloom and become frothy for 5-10 minutes. (Bypass this stage if utilizing instant yeast.)
- In a spacious mixing vessel, unite flour with salt, creating a pristine foundation for your artisan loaf.
- Incorporate the activated yeast (or instant variety), melted butter, and warm liquid, stirring until a rustic, textured dough emerges.
- Transfer the dough onto a lightly floured workspace and massage energetically for 8-10 minutes, developing a silky, elastic consistency. Alternatively, employ a stand mixer with a dough hook for 5-6 minutes of mechanical kneading.
- Nestle the dough into a generously greased bowl, drape with a clean cloth or plastic membrane, and permit it to rest in a nurturing, warm environment until its volume doubles – approximately 1-2 hours.
- Deflate the risen dough with a gentle punch, then carefully mold it into a cohesive loaf shape.
- Tenderly place the shaped dough into a well-greased 9×5-inch loaf pan, allowing it to undergo a secondary rise for 30-45 minutes until it achieves impressive volume.
- Warm the oven to 375°F (190°C), preparing for the transformative baking process.
- Delicately brush the loaf’s surface with milk, ensuring a lustrous, golden exterior.
- Slide the pan into the heated oven and bake for 25-30 minutes, watching for a rich amber hue and listening for the hallmark hollow sound when tapped.
- Extract the bread and allow it to rest in the pan for 10 minutes, then transfer to a wire rack for complete cooling before slicing.
Notes
- Always use fresh, active yeast to ensure a perfect rise and fluffy texture in your homemade bread.
- Check water temperature carefully: too hot kills yeast, too cold prevents activation.
- Kneading develops gluten, creating that classic chewy bread texture – don’t rush this step.
- Consider adding herbs or seeds like rosemary, sesame, or sunflower for extra flavor and nutrition.
- For gluten-free options, swap wheat flour with a blend of gluten-free flour mixes and add xanthan gum for better structure.
- Humidity and altitude can affect bread rising, so be patient and adjust rising times accordingly.
- Store bread in an airtight container to maintain freshness and prevent quick staleness.
- Experiment with different flour types like whole wheat, rye, or spelt for unique taste profiles.
- Prep Time: 15 minutes
- Cook Time: 30 minutes
- Category: Breakfast, Snacks, Dinner
- Method: Baking
- Cuisine: American
Nutrition
- Serving Size: 12
- Calories: 150
- Sugar: 2 g
- Sodium: 170 mg
- Fat: 3.5 g
- Saturated Fat: 1.5 g
- Unsaturated Fat: 2 g
- Trans Fat: 0 g
- Carbohydrates: 27 g
- Fiber: 1 g
- Protein: 4 g
- Cholesterol: 5 mg
Jessica Martinez
Pastry Chef & Recipe Developer
Expertise
Organic Baking Techniques, Gluten-Free Recipe Development, Southwestern Dessert Specialties, Food Styling and Photography
Education
Santa Fe Community College (SFCC)
Jessica brings the sweet side to Urban Organic with her passion for baking and love for the Southwest. She trained at Santa Fe Community College and has built a career creating beautiful, gluten-free, and organic desserts that feel both nostalgic and new.
She believes baking should be fun, creative, and open to everyone, no matter your diet or skill level. Jessica’s recipes are simple enough to follow, but special enough to remember.