Heavenly Easter Egg Cheesecake Recipe: A Spring Celebration Treat
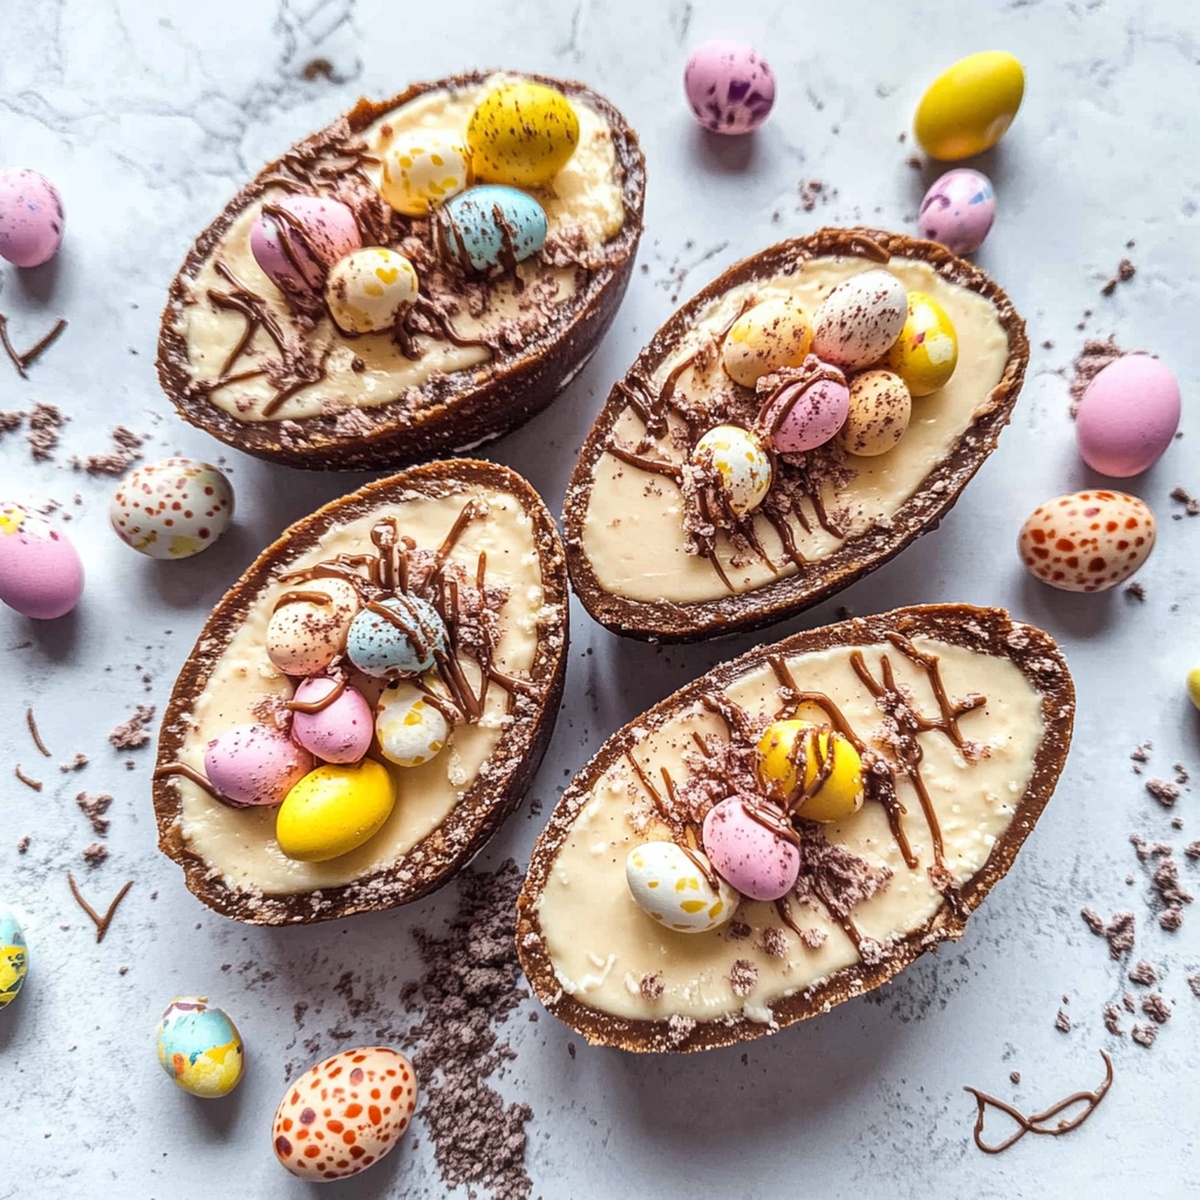
Cracking open a culinary masterpiece, this easter egg cheesecake blends childhood nostalgia with sophisticated dessert magic.
Sweet memories dance through creamy layers of indulgence.
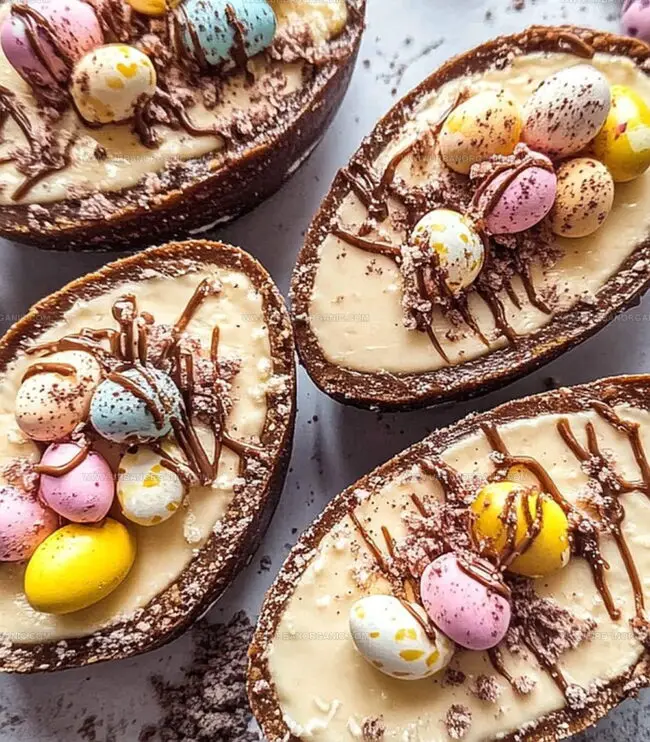
Chocolate lovers will swoon over the unexpected twist of pastel-hued delights.
Rich cream cheese melts into silky smoothness, creating a dessert that feels like pure celebration.
Each slice tells a story of playful indulgence and sophisticated flavor.
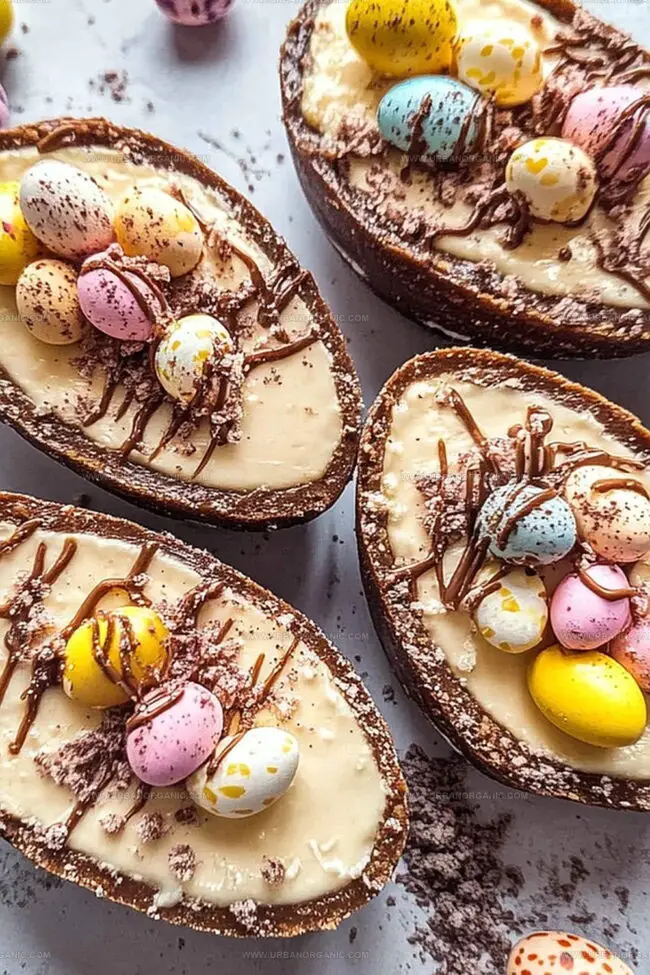
Delicate chocolate shells and smooth filling promise a sensational experience that transforms an ordinary gathering into something extraordinary.
You can’t resist diving into this decadent creation that bridges childhood wonder with grown-up elegance.
Why Easter Egg Cheesecake Steals the Show
What You’ll Need for Easter Egg Cheesecake
Chocolate and Base:Cheesecake Filling:Decorative Elements:How to Assemble Easter Egg Cheesecake
Step 1: Crack Open The Chocolate Shell
Warm a sharp knife under hot water and dry thoroughly.
Carefully slice the chocolate Easter egg along its seam, creating two perfect halves.
Set the egg halves on a clean surface.
Step 2: Create A Crumbly Foundation
Gather ingredients:Crush biscuits into fine crumbs using a food processor or rolling pin method.
Mix crumbs with melted butter until the texture resembles damp sand.
Press the mixture firmly into each egg half, creating a solid base.
Refrigerate the egg shells while preparing the filling.
Step 3: Whip Up The Creamy Filling
Combine ingredients:Beat cream cheese until silky smooth.
Fold in powdered sugar and vanilla extract.
Gently whisk in heavy cream until the mixture becomes thick and luxurious.
Step 4: Fill And Decorate
Spoon the cheesecake mixture into each chocolate egg half.
Smooth the surface with a spatula for a clean finish.
Top with decorative elements:Step 5: Chill And Serve
Refrigerate the Easter egg cheesecakes for a minimum of 2 hours.
Remove from refrigerator just before serving.
Enjoy the delightful dessert that combines chocolate, cheesecake, and festive charm.
Tips for Flawless Easter Egg Cheesecake
Storing and Reheating Easter Egg Cheesecake
Best Matches for Easter Egg Cheesecake
Easter Egg Cheesecake Variations to Explore
Easter Egg Cheesecake Questions, Answered
Yes, you can use milk, dark, or white chocolate Easter eggs. Just ensure they’re thick enough to hold the filling without cracking.
You’ll need a food processor or rolling pin to crush biscuits, a mixing bowl, whisk, and spatula. A sharp knife for cutting the egg is also helpful.
Warm the knife slightly under hot water and dry it thoroughly. Cut slowly and gently along the seam with steady, light pressure to avoid cracking.
Absolutely! Kids can help crush biscuits, mix the filling, and decorate the cheesecake. Adult supervision is recommended for cutting the chocolate egg.
Print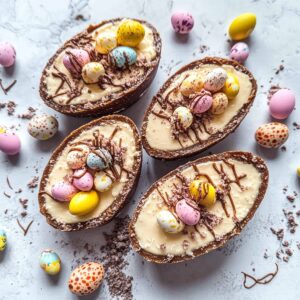
Easter Egg Cheesecake Recipe
- Total Time: 2 hours 20 minutes
- Yield: 12 1x
Description
Creamy layers of classic cheesecake dance with sweet Easter egg candy in this irresistible dessert. Chocolate lovers will adore the rich, festive flavors that celebrate springtime’s most delightful confection.
Ingredients
Main Ingredients:
- 235 grams (8.3 ounces) full-fat cream cheese
- 1 large hollow chocolate Easter egg (approximately 150 grams / 5.3 ounces)
Base Ingredients:
- 60 grams (2.1 ounces) digestive biscuits (or graham crackers)
- 25 grams (0.9 ounces) unsalted butter, melted
Filling and Decoration Ingredients:
- 40 grams (1.4 ounces) icing sugar
- 1 teaspoon vanilla extract
- 95 milliliters (3.2 fluid ounces) double cream (heavy cream)
- Assorted Easter chocolates (mini eggs, chocolate bunnies, sprinkles, etc.)
Instructions
- Craft Easter egg shells by warming a sharp knife under hot water, carefully slicing along the chocolate seam to create two symmetrical halves.
- Transform digestive biscuits into fine crumbs using a food processor or manual crushing technique with a rolling pin inside a sealed bag.
- Combine biscuit crumbs with melted butter, creating a sandy texture that binds together when pressed.
- Distribute the crumb mixture evenly within each chocolate egg half, firmly compacting the base using gentle finger pressure.
- Refrigerate the egg bases while preparing the creamy filling.
- Whisk cream cheese with powdered sugar and vanilla extract until achieving a silky, uniform consistency.
- Gently fold double cream into the cheese mixture, whisking until the filling develops a luxurious, thick texture that holds its shape.
- Carefully spoon the velvety cheesecake mixture into the chilled chocolate egg shells, smoothing the surface with a spatula for an elegant finish.
- Embellish the filled eggs with artistic chocolate drizzles, scattered mini eggs, delicate chocolate bunny decorations, and vibrant sprinkles.
- Chill the decorated Easter egg cheesecakes in the refrigerator for a minimum of two hours to set and enhance flavor melding.
Notes
- Slice chocolate eggs with a warm knife for clean, precise edges that prevent cracking.
- Use room temperature cream cheese to ensure a smooth, lump-free filling that blends perfectly.
- Crush biscuits finely to create a consistent, compact base that holds together beautifully.
- Whip cream gently to maintain its structure and prevent over-beating, which can make the filling grainy.
- Prep Time: 20 minutes
- Cook Time: 2 hours
- Category: Desserts
- Method: None
- Cuisine: American
Nutrition
- Serving Size: 12
- Calories: 280
- Sugar: 18g
- Sodium: 150mg
- Fat: 19g
- Saturated Fat: 10g
- Unsaturated Fat: 9g
- Trans Fat: 0g
- Carbohydrates: 25g
- Fiber: 1g
- Protein: 4g
- Cholesterol: 45mg
Jessica Martinez
Pastry Chef & Recipe Developer
Expertise
Organic Baking Techniques, Gluten-Free Recipe Development, Southwestern Dessert Specialties, Food Styling and Photography
Education
Santa Fe Community College (SFCC)
Jessica brings the sweet side to Urban Organic with her passion for baking and love for the Southwest. She trained at Santa Fe Community College and has built a career creating beautiful, gluten-free, and organic desserts that feel both nostalgic and new.
She believes baking should be fun, creative, and open to everyone, no matter your diet or skill level. Jessica’s recipes are simple enough to follow, but special enough to remember.