Whip Up Dreamy Mint Magic Bars Recipe: A Sweet Treat Escape
Chocolate and mint create an irresistible dance of flavors in these mint magic bars that blend sweet decadence with creamy textures.
Layers of graham cracker crust provide a sturdy foundation for the rich, velvety filling.
Condensed milk adds luxurious smoothness to each delectable bite.
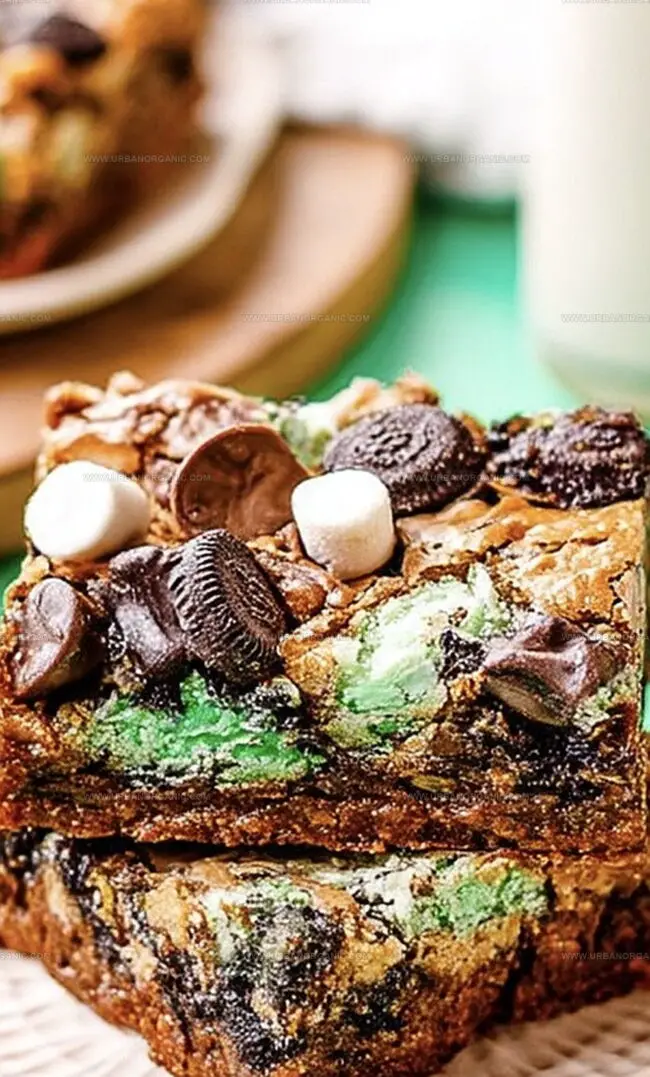
Chocolate chips and mint morsels melt into a heavenly combination that sparks pure joy.
The contrast of cool mint against warm, rich chocolate sends taste buds on a delightful adventure.
These bars offer a simple yet spectacular dessert that comes together effortlessly.
Prepare to be enchanted by every single, mouthwatering slice.
Quick Recipe Overview

What You’ll Need for Mint Magic Bars
For Crust:For Layered Toppings:For Binding and Flavor:Tools That Help Shape and Chill Mint Bars Perfectly
How to Prepare Mint Magic Bars from Scratch
Pulverize chocolate cookies into fine crumbs, blending seamlessly with melted butter. Press this delectable mixture firmly into your baking pan, creating a sturdy foundation for your minty masterpiece.
Scatter a vibrant medley of chocolate chips, mint chips, coconut flakes, and optional nutty crunch across your cookie base, ensuring an even distribution of delightful textures.
Whisk sweetened condensed milk with a splash of peppermint extract, adding a whisper of green food coloring for a playful touch. Gently cascade this luscious liquid over your layered ingredients.
Slide your creation into a preheated oven at 350F. Let the magic unfold for 25-30 minutes, watching for golden edges and a beautifully set surface that promises irresistible treats.
Allow your minty marvel to cool completely in the pan. Once tranquil, slice into tantalizing bars that reveal the intricate layers of flavor waiting to be savored.
Additions and Swaps for Texture and Boldness
Serve These Bars for Parties or Holidays
Storage Ideas for Mint Bars with Structure
Print
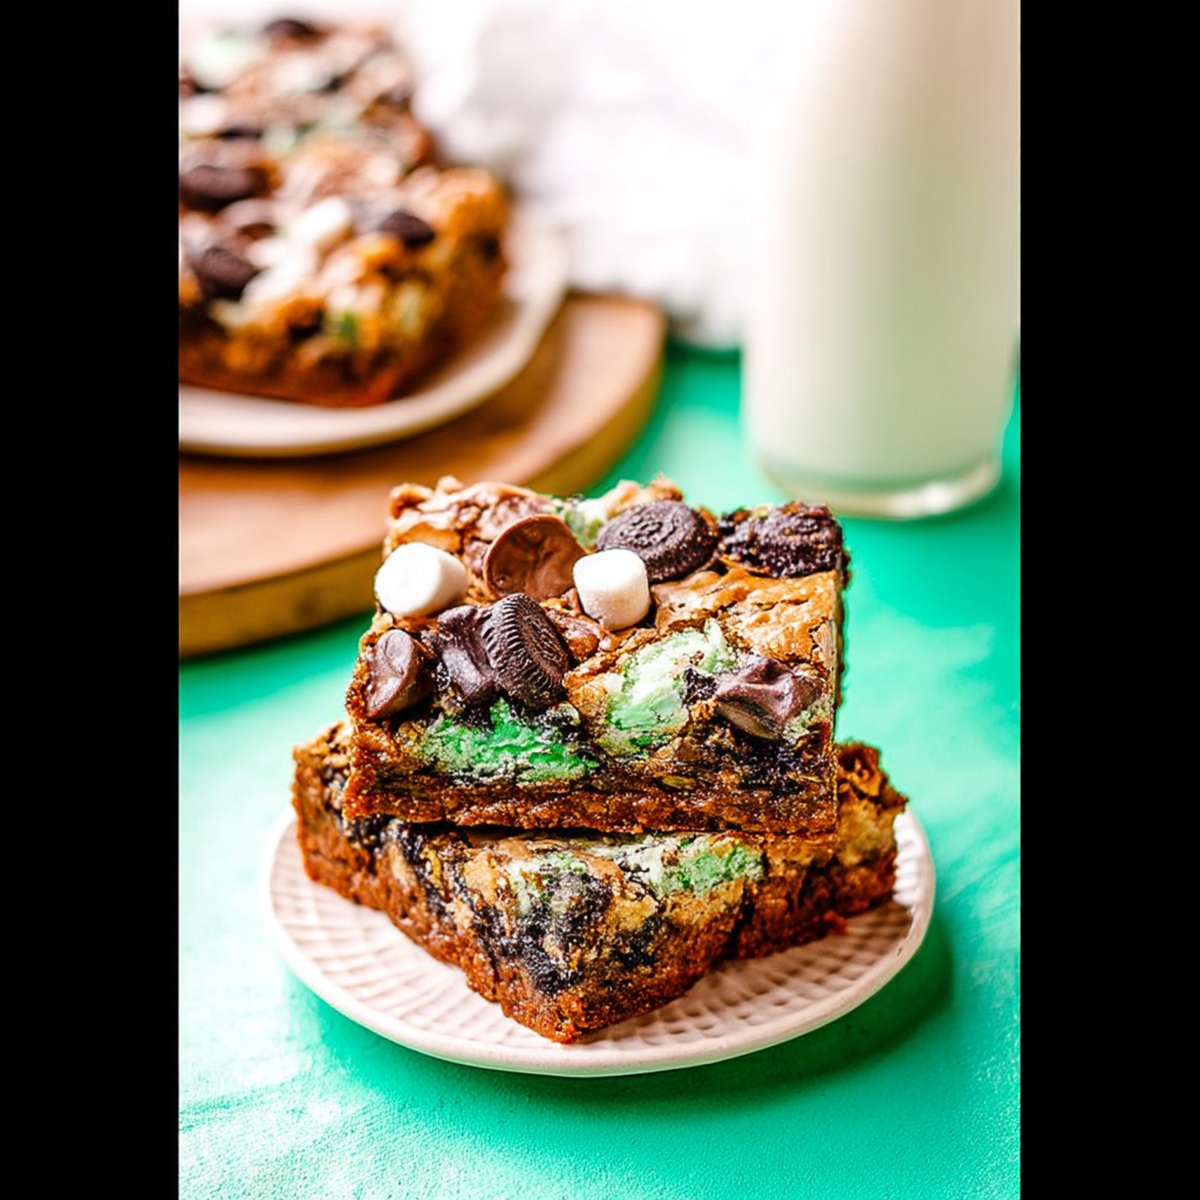
Dreamy Mint Magic Bars Recipe
- Total Time: 40 minutes
- Yield: 13 1x
Description
Sweet, layered mint magic bars blend classic graham cracker crust with rich chocolate and creamy mint chips for an irresistible dessert. Cool peppermint and chocolate create a delightful harmony you can’t resist devouring in just one blissful bite.
Ingredients
- 14 oz sweetened condensed milk
- 1 ½ cups graham cracker crumbs
- ½ cup (113 g) unsalted butter, melted
- 1 cup semisweet chocolate chips
- 1 cup Andes mint chocolate chips
- 1 cup shredded sweetened coconut
- ½ cup chopped pecans
Instructions
- Crust Creation: Meld chocolate cookie crumbs with melted butter, pressing the mixture firmly into a 9×13-inch pan lined with parchment paper, ensuring a compact, even foundation.
- Layering Extravaganza: Strategically distribute chocolate chips, mint chips, coconut, and optional nuts across the crust, creating a textural landscape that promises delightful complexity.
- Condensed Milk Infusion: Whisk sweetened condensed milk with peppermint extract and optional green food coloring, transforming the liquid into a vibrant, aromatic elixir.
- Alchemical Fusion: Cascade the peppermint-infused condensed milk evenly over the layered ingredients, allowing it to seep between the chips and nuts.
- Baking Transformation: Slide the pan into a preheated 350°F (175°C) oven, baking for 25-30 minutes until the edges turn golden and the surface sets, signaling the magical metamorphosis of ingredients.
- Cooling and Cutting: Allow the bars to cool completely within the pan, then slice into precise, tantalizing portions ready to enchant eager taste buds.
Notes
- Firmly pack the cookie crumb crust to create a solid, even base that prevents crumbling and ensures a perfect texture.
- Spread chocolate and mint chips evenly to guarantee each bar has a balanced, consistent flavor profile and texture.
- Add green food coloring sparingly to achieve a subtle mint appearance without overwhelming the natural ingredients.
- Allow bars to cool completely at room temperature to help them set properly and achieve clean, neat cutting lines.
- Prep Time: 10 minutes
- Cook Time: 30 minutes
- Category: Desserts, Snacks
- Method: Baking
- Cuisine: American
Nutrition
- Serving Size: 13
- Calories: 210
- Sugar: 15 g
- Sodium: 90 mg
- Fat: 10 g
- Saturated Fat: 6 g
- Unsaturated Fat: 4 g
- Trans Fat: 0 g
- Carbohydrates: 30 g
- Fiber: 1 g
- Protein: 2 g
- Cholesterol: 15 mg
Michael Thompson
Founder & Culinary Director
Expertise
Classical & Contemporary Cooking Techniques, Global Cuisine Appreciation, Nutrition & Menu Engineering, Sustainable Cooking Practices, Farm-to-Table Cuisine
Education
Southwestern Oregon Community College
Michael grew up in Oregon, where he learned early that food tastes better when it’s fresh, local, and made with care.
After earning his degree from the Southwestern Oregon Community College, he focused his career on teaching others how to cook with the seasons, reduce food waste, and reconnect with what’s on their plate.
Michael keeps his cooking simple, sustainable, and full of flavor. His favorite part of the process? Watching people realize how easy and satisfying it can be to cook a single great meal from scratch.