Magical Easter Egg Oreo Balls Recipe: Springtime Joy in a Bite
Decadent chocolate and creamy Oreo egg balls spark joy during holiday celebrations, blending rich flavors that dance across your taste buds.
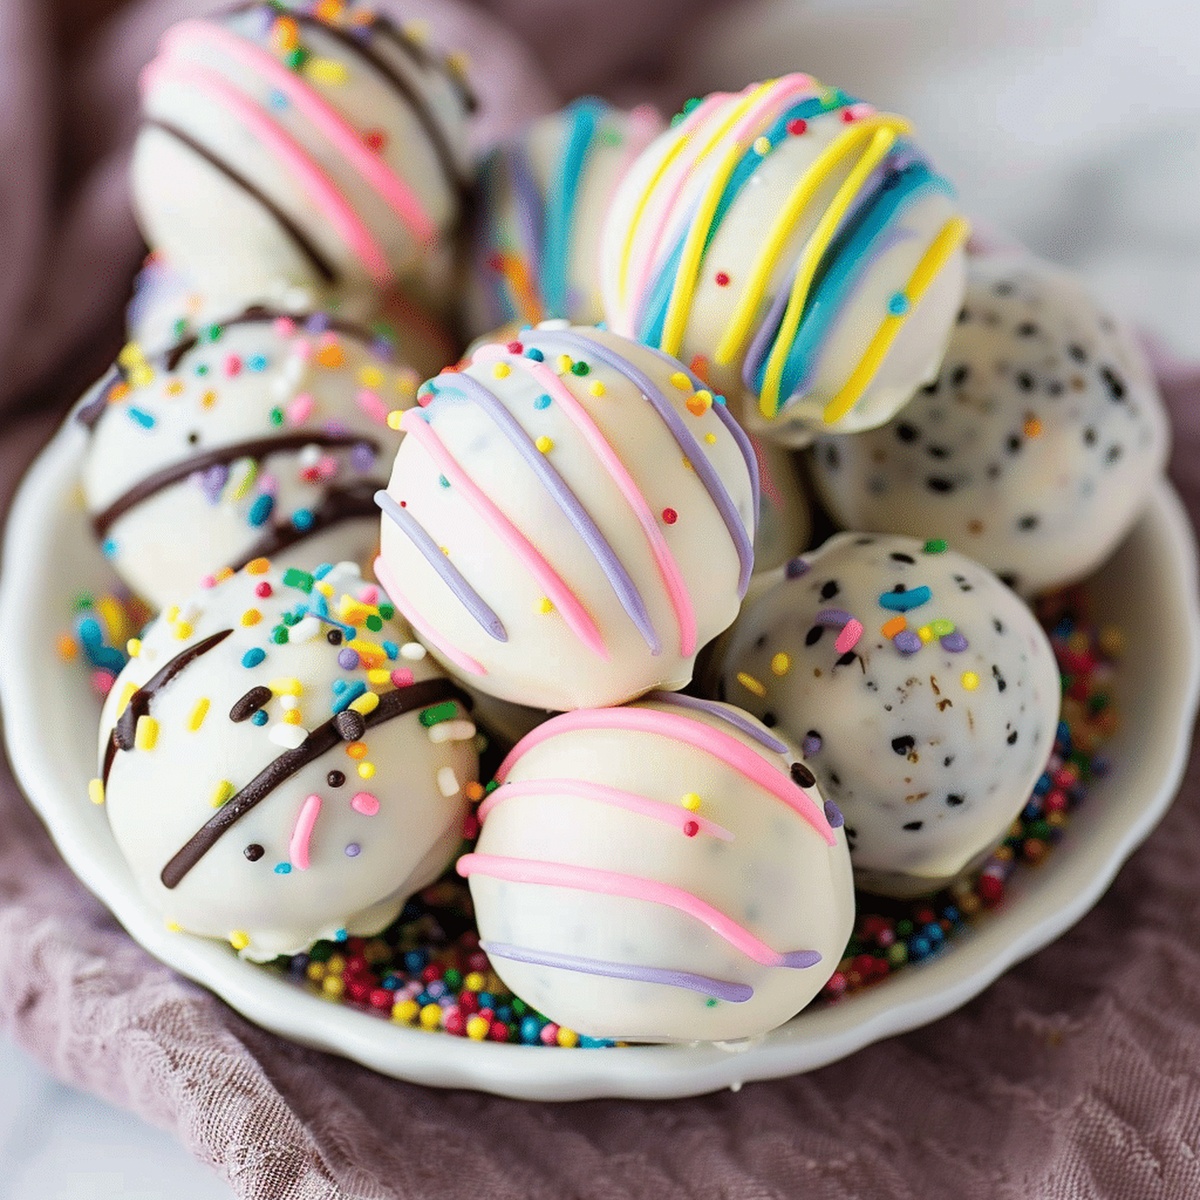
These delightful Easter egg Oreo balls deliver sweet nostalgia with every bite.
Smooth cream cheese and crushed Oreos create a perfect truffle-like texture that melts in your mouth.
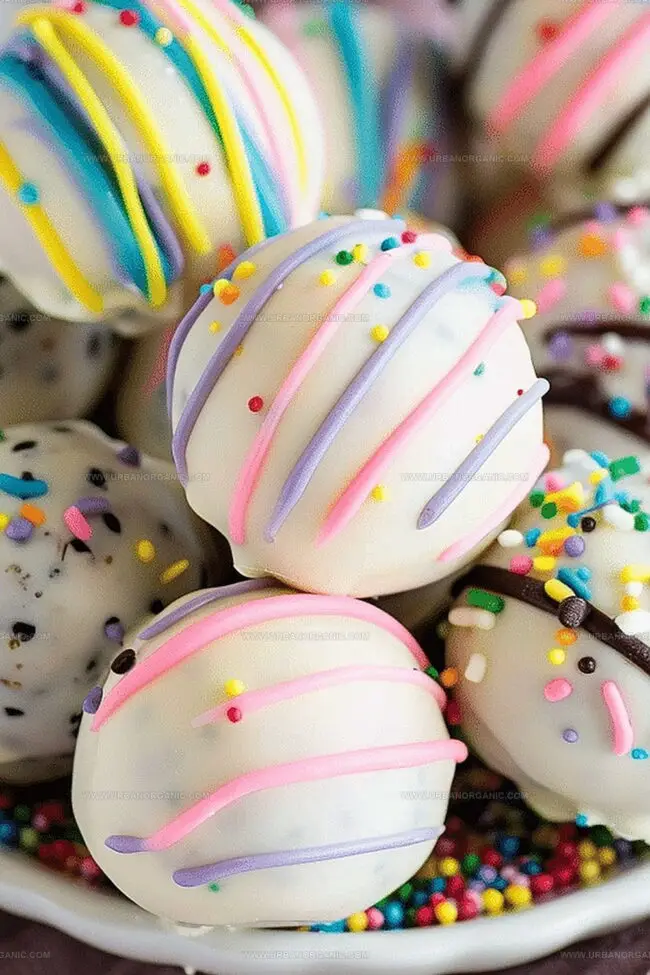
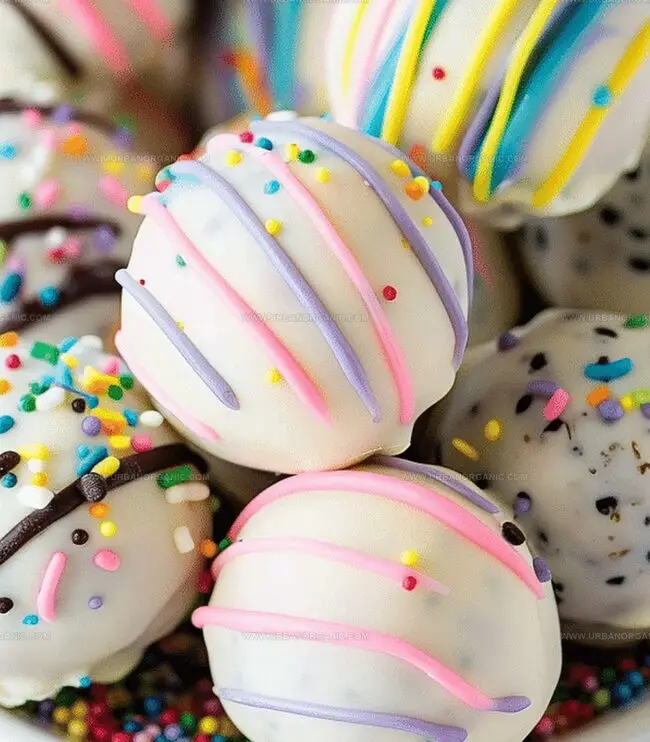
Decorated with pastel sprinkles and chocolate drizzles, they shine as a festive treat for springtime gatherings.
Kids and adults alike will adore these simple yet impressive dessert bites.
The recipe comes together quickly with minimal ingredients and zero baking required.
Indulge in these irresistible Easter egg Oreo balls that promise to become an instant family favorite.
Quick Recipe Overview
What You’ll Need for Easter Egg Oreo Balls
For Base of Oreo Balls:For Coating and Decoration:For Optional Embellishments:Tools for Rolling, Dipping, and Decorating Oreo Balls
How to Make Easter Egg Oreo Balls at Home
Toss the entire Oreo cookies into a food processor and pulse until they transform into super fine crumbs. The goal is to create a powdery texture that’ll make your egg balls smooth and delightful.
Mix softened cream cheese into the Oreo crumbs. Stir and blend until the mixture becomes a uniform, silky consistency that’s easy to shape and mold.
Grab small portions of the mixture and roll them between your palms, crafting adorable egg-shaped treats. Place each one carefully on a parchment-lined baking sheet.
Pop the egg-shaped treats into the freezer for about 20 minutes. This quick cooling helps them hold their shape and prepares them for the chocolate coating.
Melt white chocolate or candy melts in separate bowls. Add a splash of food coloring to each bowl to create a vibrant, festive palette of colors.
Using a fork, gently dip each chilled Oreo egg into the colored chocolate. Let excess chocolate drip off, then place back on the parchment. Sprinkle with decorative toppings or drizzle with contrasting chocolate colors.
Allow the chocolate coating to harden completely at room temperature or in the refrigerator. Once set, these delightful Easter egg treats are ready to enjoy or store in an airtight container.
Decorating and Flavor Options to Match the Season
Serving Oreo Balls at Parties, Gifts, or Holidays
How to Store Easter Oreo Balls Without a Mess
Print
Dreamy Easter Egg Oreo Balls Recipe
- Total Time: 30 minutes
- Yield: 21 1x
Description
Sweet chocolate delight Easter Egg Oreo Balls offer a playful twist on classic dessert favorites. Creamy centers and smooth chocolate coating combine for a delectable treat that brings festive joy to holiday gatherings.
Ingredients
- 1 package (14.3 oz / 406 g) oreo cookies
- 1 package (8 oz / 227 g) cream cheese, softened
- 12 oz (340 g) white chocolate chips or candy melts
- Food coloring (pink, blue, yellow, or favorite spring colors)
- Sprinkles (optional, for decorating)
Instructions
- Pulverize Oreos: Transform Oreo cookies into fine, uniform crumbs using a food processor, ensuring both cookie and cream are fully processed.
- Blend Mixture: Integrate softened cream cheese with Oreo crumbs, creating a smooth, cohesive consistency that holds shape easily.
- Craft Easter Eggs: Mold the blended mixture into delicate egg-like shapes, carefully positioning each on a parchment-lined baking sheet to prevent sticking.
- Chill and Stabilize: Transfer the sheet to the freezer, allowing the egg-shaped treats to firm up for approximately 20-30 minutes, which enhances structural integrity.
- Prepare Chocolate Coating: Gently melt white chocolate or candy melts in separate bowls, incorporating food coloring to achieve desired pastel or vibrant hues for a festive appearance.
- Enrobe and Embellish: Carefully dip each chilled Oreo egg into colored chocolate using a fork, allowing excess to drip off, then artfully decorate with sprinkles or complementary chocolate drizzles.
- Set and Preserve: Allow chocolate coating to solidify completely at room temperature or expedite the process by refrigerating, then transfer to an airtight container for storage.
Notes
- Freezing the Oreo mixture helps maintain the egg shape and prevents crumbling during chocolate coating.
- Use a fork for smooth, even chocolate coverage and tap gently to remove excess chocolate drips.
- Work quickly when dipping to prevent mixture from softening, keeping hands cool and workspace chilled.
- Swap regular Oreos for gluten-free versions and use dairy-free cream cheese and chocolate for alternative dietary needs.
- Prep Time: 15 minutes
- Cook Time: 15 minutes
- Category: Desserts, Snacks
- Method: Blending
- Cuisine: American
Nutrition
- Serving Size: 21
- Calories: 130
- Sugar: 10 g
- Sodium: 50 mg
- Fat: 7 g
- Saturated Fat: 4 g
- Unsaturated Fat: 2 g
- Trans Fat: 0 g
- Carbohydrates: 16 g
- Fiber: 0 g
- Protein: 1 g
- Cholesterol: 15 mg
Michael Thompson
Founder & Culinary Director
Expertise
Classical & Contemporary Cooking Techniques, Global Cuisine Appreciation, Nutrition & Menu Engineering, Sustainable Cooking Practices, Farm-to-Table Cuisine
Education
Southwestern Oregon Community College
Michael grew up in Oregon, where he learned early that food tastes better when it’s fresh, local, and made with care.
After earning his degree from the Southwestern Oregon Community College, he focused his career on teaching others how to cook with the seasons, reduce food waste, and reconnect with what’s on their plate.
Michael keeps his cooking simple, sustainable, and full of flavor. His favorite part of the process? Watching people realize how easy and satisfying it can be to cook a single great meal from scratch.