
Effortless Alton Brown Icebox Cake Recipe: Sweet Summer Joy
Check out the world of icebox cake, a dessert marvel that turns ordinary ingredients into an extraordinary culinary experience.
No oven needed—just pure magic happens in your refrigerator’s cool embrace.
Silky cream and crisp wafers dance together, creating layers of sumptuous texture that melt in your mouth.
Each bite whispers sweet promises of decadence without demanding complex cooking skills.
Chocolate and cream waltz in perfect harmony, transforming simple components into a luxurious masterpiece.
This elegant dessert strategy delivers maximum flavor with minimal effort, making it a secret weapon for impromptu sweet indulgences.
Quick Recipe Overview
Ingredients List for Alton Brown’s Icebox Cake
For Base Layer:For Cream Mixture:For Gelatin and Flavor Enhancers:Equipment for Preparing Alton Brown’s Icebox Cake
Steps to Make Alton Brown’s Icebox Cake
Create a smooth foundation by lining a loaf pan with plastic wrap, ensuring generous overhangs for effortless cake removal.
Strategically place chocolate wafers across the pan’s bottom and sides, forming a delicate cookie foundation.
Combine gelatin with water, letting it rest briefly. Warm gently over low heat, infusing with rich espresso powder, vanilla, and coffee liqueur for deep flavor complexity.
Using a mixer, transform heavy cream into a luxurious cloud-like texture. Incorporate powdered sugar and a hint of salt, beating until soft peaks emerge.
Carefully integrate the gelatin mixture into whipped cream, blending on high speed until a silky, stable consistency develops.
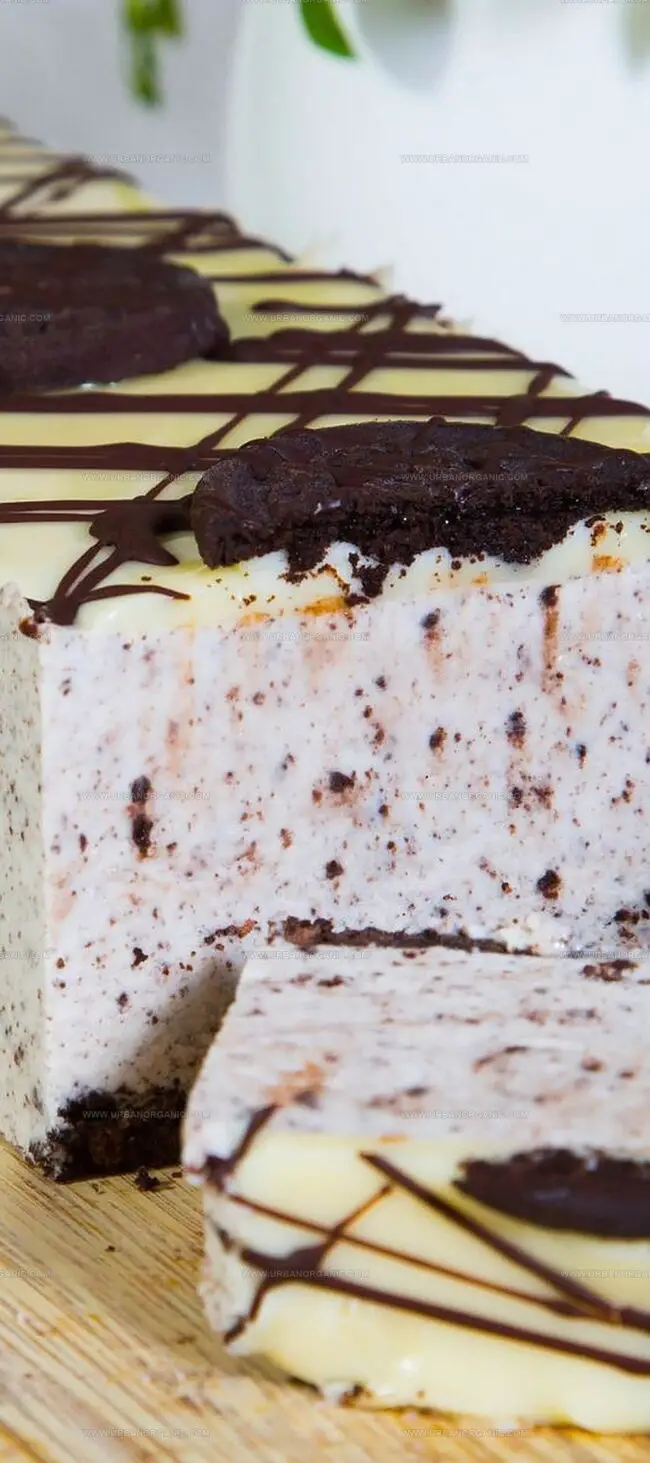
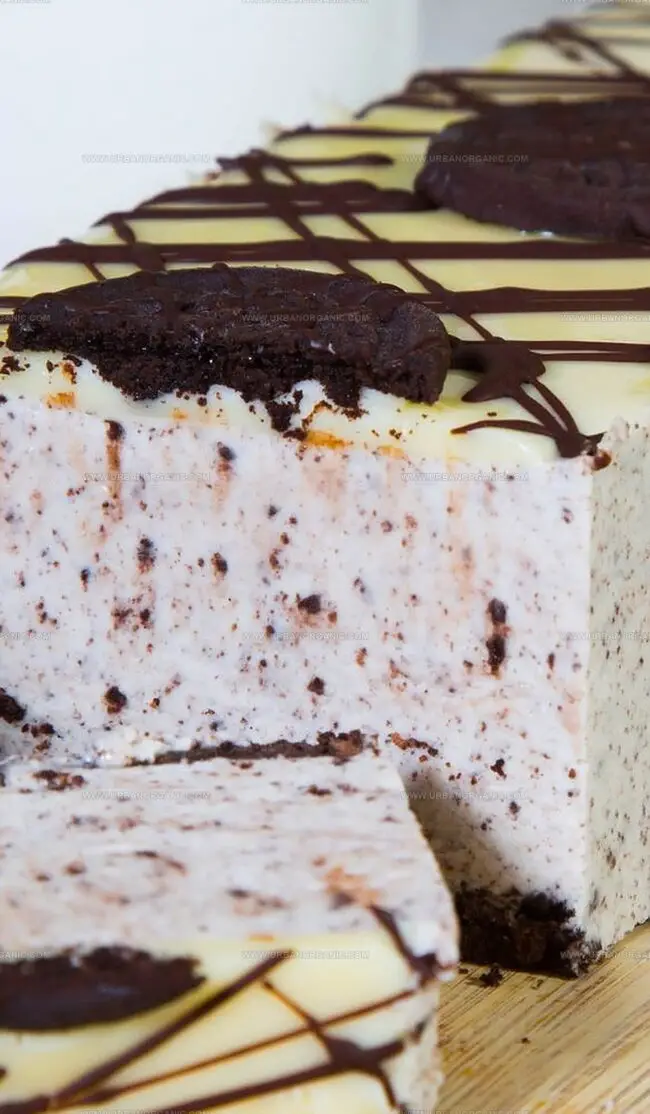
Pour the cream mixture into the prepared pan, layering chocolate wafers strategically. Create elegant rows of cookies nestled within the creamy landscape.
Wrap the cake carefully, allowing it to rest in the refrigerator. Let flavors meld and texture firm up over 8-24 hours.
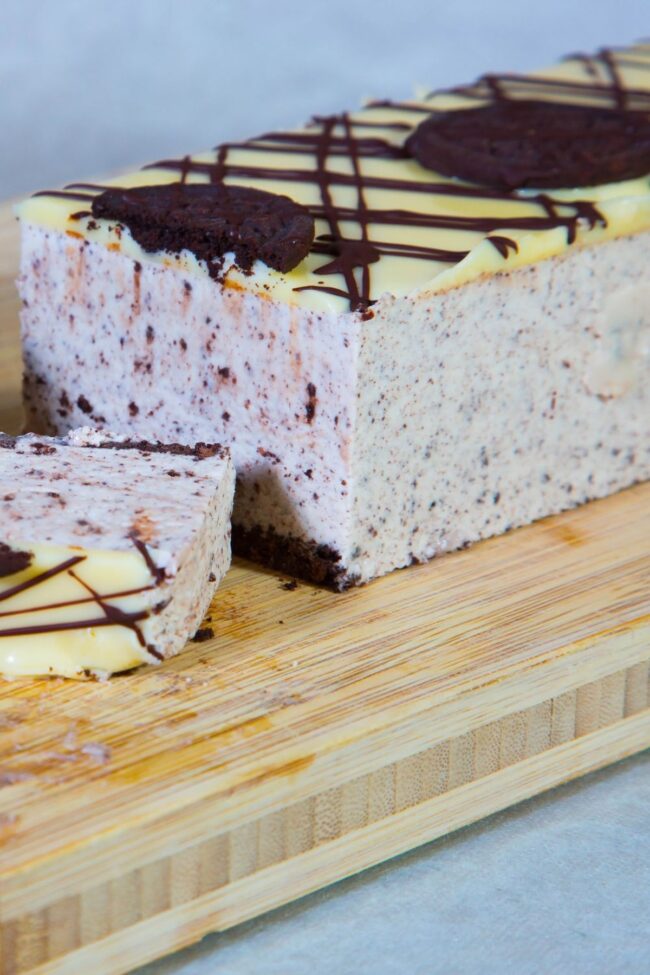
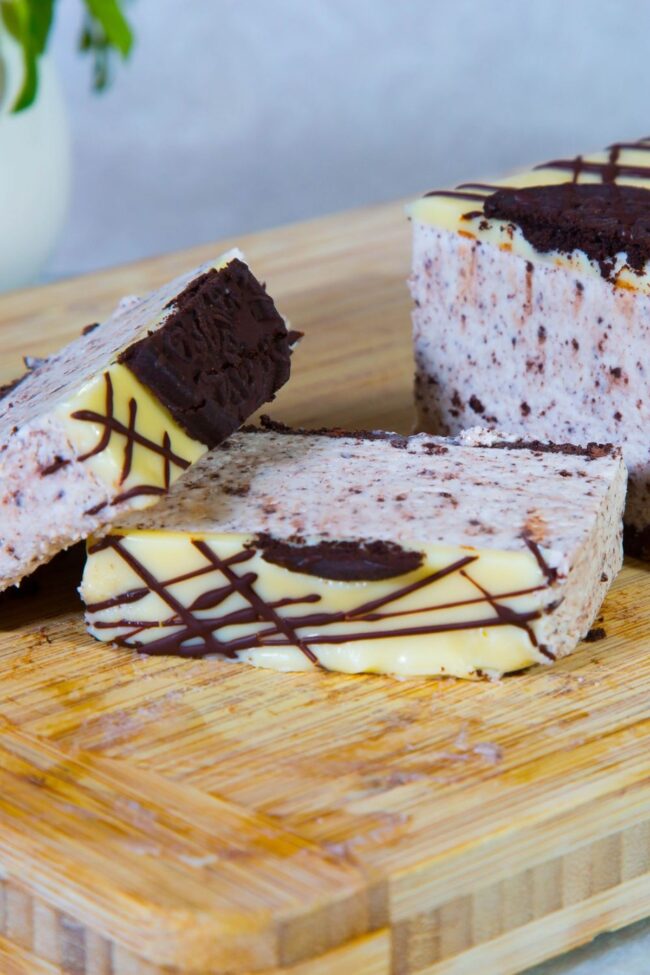
Gently unmask the cake, transferring to a beautiful serving plate. Slice and indulge in this decadent, coffee-infused dessert that promises to delight every sense.
Alton Brown’s Tips for Icebox Cake Success
Serving Ideas for Icebox Cake
Storing Alton Brown’s Icebox Cake Properly
Print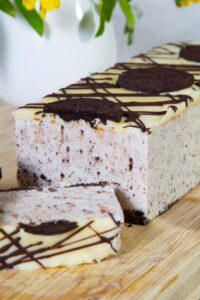
Dreamy Alton Brown Icebox Cake Recipe
- Total Time: 20 minutes
- Yield: 8 1x
Description
Alton Brown’s icebox cake combines graham crackers, whipped cream, and chocolate in a no-bake dessert marvel. Chilled layers meld into a creamy, delightful treat you’ll crave at first bite.
Ingredients
- 3 cups (710 ml) heavy cream (cold)
- 70 chocolate wafer cookies
- 1 packet powdered gelatin
- 4 tsp instant espresso powder
- 2 tbsps coffee liqueur
- 1 tsp vanilla extract
- ¼ cup (60 ml) powdered sugar
- ¼ tsp kosher salt
Instructions
- Preparation: Line a loaf pan with plastic wrap, ensuring generous overhangs for easy removal.
- Base Layer: Meticulously arrange chocolate wafers across the bottom and vertically along the pan’s interior, creating a complete cookie wall.
- Gelatin Activation: Sprinkle gelatin over cold water, allowing it to bloom for 5 minutes, then gently heat until fully dissolved, avoiding boiling.
- Flavor Infusion: Incorporate espresso powder, vanilla extract, and coffee liqueur into the dissolved gelatin, stirring until perfectly blended.
- Cream Preparation: Whip heavy cream, powdered sugar, and salt until soft peaks form, then gradually integrate the cooled gelatin mixture, continuing to whip until stiff, glossy peaks develop.
- Assembly: Pour the whipped cream mixture into the prepared pan, filling three-quarters of the space, then strategically position chocolate wafers in 4 rows of 12, embedding them edge-down with slight spacing.
- Finishing: Distribute remaining whipped cream between cookie layers, smoothing the surface to create an even texture.
- Chilling: Seal the dessert with plastic wrap overhang and refrigerate for 8-24 hours to set and develop flavors.
- Serving: Unwrap carefully, transfer to a serving plate, slice cleanly, and present immediately for optimal enjoyment.
Notes
- Chill for Success: Refrigerate the icebox cake for exactly 8-12 hours to achieve the perfect texture and allow flavors to meld seamlessly.
- Gelatin Magic: Bloom gelatin carefully at room temperature and heat gently to maintain its structure, ensuring a smooth, stable whipped cream base.
- Wafer Placement: Position chocolate wafers meticulously, covering the pan’s bottom and sides completely for a uniform, elegant presentation.
- Whip with Precision: Achieve soft then stiff peaks when whipping cream, watching carefully to avoid over-beating and maintain a light, airy consistency.
- Prep Time: 20 minutes
- Cook Time: 0 minutes
- Category: Desserts
- Method: Blending
- Cuisine: American
Nutrition
- Serving Size: 8
- Calories: 320
- Sugar: 15 g
- Sodium: 70 mg
- Fat: 24 g
- Saturated Fat: 14 g
- Unsaturated Fat: 9 g
- Trans Fat: 0 g
- Carbohydrates: 30 g
- Fiber: 1 g
- Protein: 3 g
- Cholesterol: 80 mg
Michael Thompson
Founder & Culinary Director
Expertise
Classical & Contemporary Cooking Techniques, Global Cuisine Appreciation, Nutrition & Menu Engineering, Sustainable Cooking Practices, Farm-to-Table Cuisine
Education
Southwestern Oregon Community College
Michael grew up in Oregon, where he learned early that food tastes better when it’s fresh, local, and made with care.
After earning his degree from the Southwestern Oregon Community College, he focused his career on teaching others how to cook with the seasons, reduce food waste, and reconnect with what’s on their plate.
Michael keeps his cooking simple, sustainable, and full of flavor. His favorite part of the process? Watching people realize how easy and satisfying it can be to cook a single great meal from scratch.