
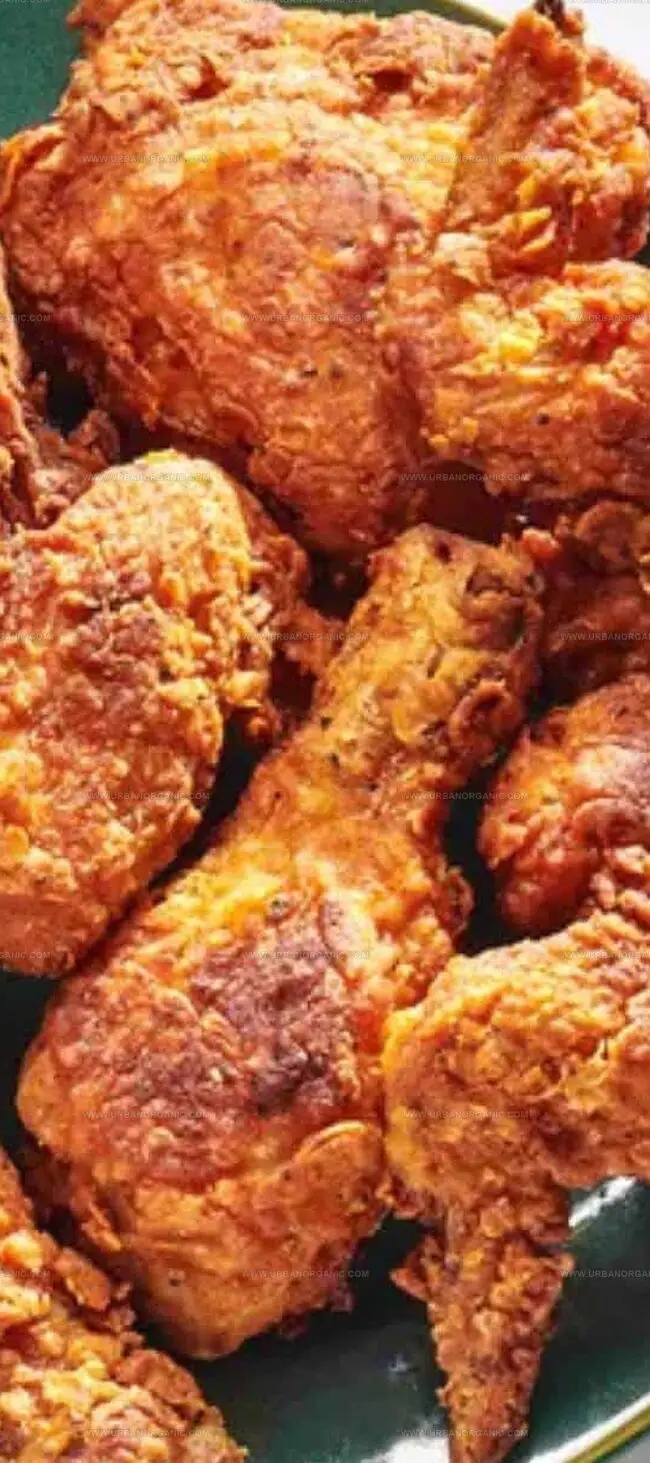
Golden Paula Deen Buttermilk Fried Chicken Recipe
Check out the world of buttermilk fried chicken, a crispy culinary masterpiece that elevates humble poultry to extraordinary heights.
Southern kitchens have perfected this soulful dish, transforming simple ingredients into a symphony of flavors and textures.
The secret weapon?
Tangy buttermilk, which tenderizes meat and infuses every bite with incredible depth.
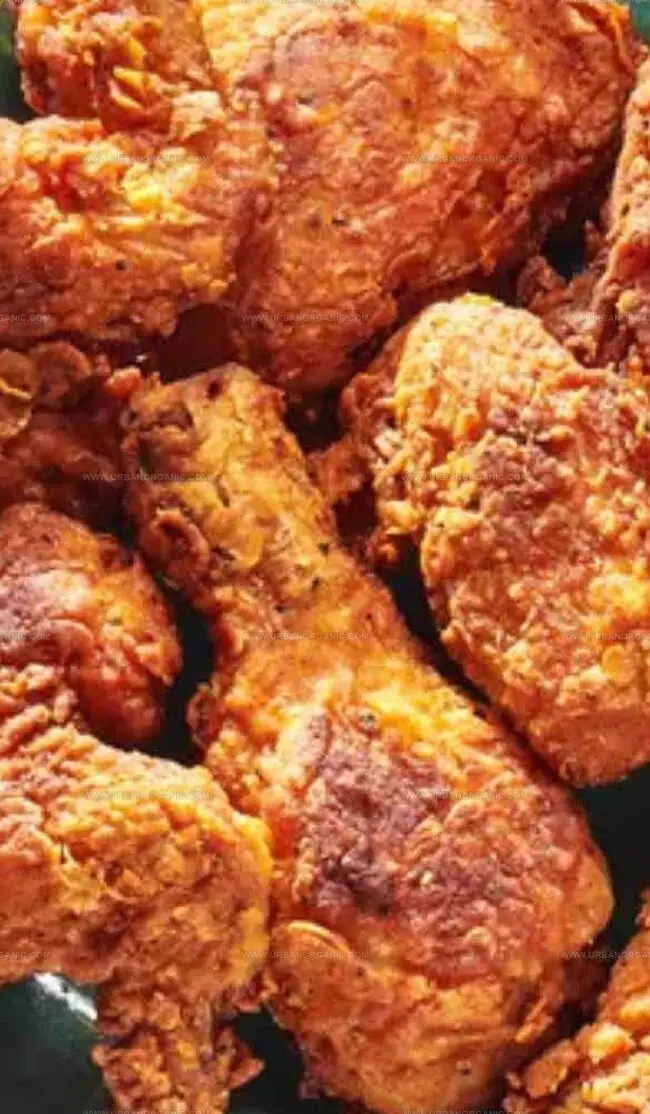
Carefully blended spices dance across a golden, crunchy exterior, creating a sensory experience that transports you straight to comfort food paradise.
Each piece promises a delightful contrast between the crackling coating and juicy interior.
Mastering this recipe requires passion, practice, and a sprinkle of culinary courage.
Get ready to impress your taste buds and become the star of your next gathering.
Quick Recipe Overview
What Goes Into Paula Deen’s Buttermilk Fried Chicken
For Chicken Base:For Seasoning Blend:For Coating and Cooking:Tools You’ll Need for Buttermilk Fried Chicken
How to Make Buttermilk Fried Chicken the Paula Way
Dive into flavor by mixing buttermilk with zesty spices in a spacious bowl. Submerge chicken pieces completely, letting them soak up the delicious blend for 2-4 hours. This magical bath transforms ordinary chicken into a tender, mouthwatering feast.
Craft a flavor explosion by combining flour and bold seasonings in a large bag. Shake vigorously to blend spices evenly. Gently remove chicken from buttermilk bath, letting excess drip away, then roll each piece in the seasoned flour mixture. Let coated pieces rest to ensure a perfect, crunchy exterior.
Heat vegetable oil in a deep skillet until it shimmers with anticipation. Carefully lower chicken pieces into the hot oil, maintaining a steady temperature. Fry until each piece turns a gorgeous golden brown, flipping once to ensure even cooking. Watch for that irresistible crunch and deep amber color.
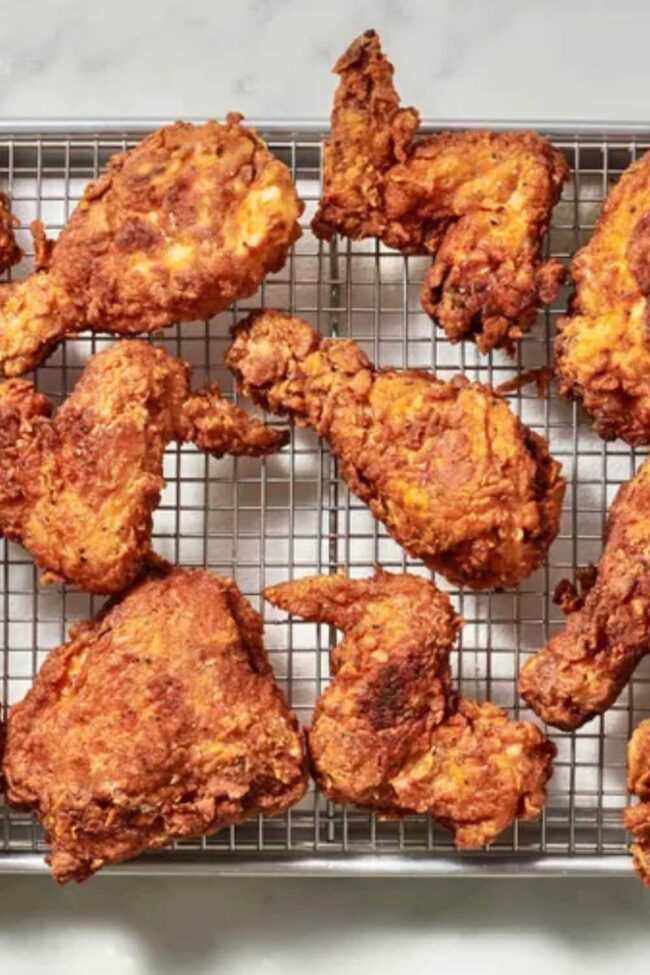
Transfer crispy chicken to a paper towel-lined rack, allowing excess oil to drip away. Let the chicken rest for a few minutes to seal in those incredible flavors. Serve up your masterpiece while it’s still warm, ready to delight taste buds and create memorable moments around the table.
Crispy Tips for Paula Deen’s Fried Chicken
Experiment with different spice blends in the flour mixture, like smoked paprika or Italian herbs, to create unique flavor profiles.
Replace deep-frying with oven-baking at 425°F for a lighter version that still delivers crispy results, using a wire rack on a baking sheet.
Swap buttermilk with yogurt or pickle juice for extra tangy notes and enhanced meat tenderization, adding depth to your chicken’s flavor.
Store cooled fried chicken in an airtight container in the refrigerator for up to 3 days, and reheat in an air fryer to maintain original crispiness without losing texture.
Serving Fried Chicken the Southern Comfort Way
Keep Buttermilk Fried Chicken Fresh with These Tips
Print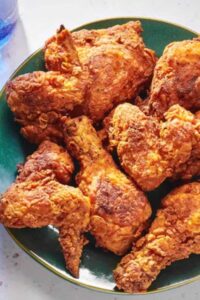
Crispy Paula Deen Buttermilk Fried Chicken Recipe
- Total Time: 55 minutes
- Yield: 5 1x
Description
Southern comfort reigns supreme in this paula deen buttermilk fried chicken recipe, blending crispy exterior with juicy meat. Marinated in tangy buttermilk and seasoned with paprika, you’ll savor classic southern hospitality on your plate.
Ingredients
- 4 lbs (1.81 kg) chicken parts (medium wings, thighs, drumsticks)
- 3 cups buttermilk
- 2 cups all-purpose flour
- 2 tbsps kosher salt
- 1 tbsp freshly ground black pepper
- 2 tsps cayenne pepper
- 1 tsp onion powder
- 1 tsp garlic powder
- 1 tsp kosher salt
- 1 tsp freshly ground black pepper
- ½ tsp cayenne pepper
- vegetable oil for frying
Instructions
- Marinade Preparation: Whisk buttermilk, salt, black pepper, and cayenne in a spacious bowl, creating a tangy flavor foundation for the chicken.
- Chicken Infusion: Immerse chicken pieces completely in the buttermilk mixture, allowing them to absorb flavors for 2-4 hours in the refrigerator, ensuring maximum taste penetration.
- Seasoned Coating Creation: Combine all-purpose flour, onion powder, garlic powder, salt, black pepper, and cayenne in a large resealable bag, shaking vigorously to distribute seasonings uniformly.
- Dredging Process: Remove chicken from buttermilk, letting excess drip off, then thoroughly coat each piece in the seasoned flour mixture, pressing firmly to create an even, crisp exterior.
- Resting and Preparation: Let flour-coated chicken rest on a wire rack for 30 minutes, allowing the coating to set and ensuring a perfectly crisp finish.
- Oil Heating and Frying: Heat vegetable oil to 350°F in a deep skillet, carefully lowering chicken pieces and maintaining oil temperature around 315°F. Fry in batches to prevent overcrowding, turning once during cooking.
- Cooking and Verification: Fry chicken until golden brown and internal temperature reaches 160°F, typically taking 15-18 minutes per batch.
- Final Touches: Transfer fried chicken to a paper towel-lined rack, allowing excess oil to drain and letting the chicken rest for 5 minutes to preserve its crispy texture.
- Serving: Present the warm, Southern-style crispy chicken, ready to delight taste buds with its rich, flavorful coating and tender meat.
Notes
- Marinate Strategically: Let chicken soak in buttermilk mixture for maximum flavor absorption and tenderness, with optimal times being 2 hours at room temperature or 4 hours in refrigerator.
- Control Oil Temperature: Use a reliable kitchen thermometer to maintain consistent oil heat between 315-350°F, ensuring crispy exterior and perfectly cooked interior without greasy results.
- Rest and Drain Properly: Place fried chicken on a wire rack or paper towel-lined surface to drain excess oil, preventing soggy coating and maintaining crisp texture.
- Batch Cooking Matters: Fry chicken pieces in small batches to prevent overcrowding, which helps maintain oil temperature and ensures even, golden-brown crispy coating.
- Prep Time: 40 minutes
- Cook Time: 15 minutes
- Category: Dinner, Snacks
- Method: Frying
- Cuisine: American
Nutrition
- Serving Size: 5
- Calories: 580
- Sugar: 2 g
- Sodium: 800 mg
- Fat: 35 g
- Saturated Fat: 10 g
- Unsaturated Fat: 20 g
- Trans Fat: 0 g
- Carbohydrates: 40 g
- Fiber: 2 g
- Protein: 30 g
- Cholesterol: 120 mg
Jessica Martinez
Pastry Chef & Recipe Developer
Expertise
Organic Baking Techniques, Gluten-Free Recipe Development, Southwestern Dessert Specialties, Food Styling and Photography
Education
Santa Fe Community College (SFCC)
Jessica brings the sweet side to Urban Organic with her passion for baking and love for the Southwest. She trained at Santa Fe Community College and has built a career creating beautiful, gluten-free, and organic desserts that feel both nostalgic and new.
She believes baking should be fun, creative, and open to everyone, no matter your diet or skill level. Jessica’s recipes are simple enough to follow, but special enough to remember.