
No-Fail Pioneer Woman Baked Breaded Chicken Tenders Recipe
Pioneer Woman’s baked breaded chicken tenders unlock a world of delectable comfort without breaking a sweat in the kitchen.
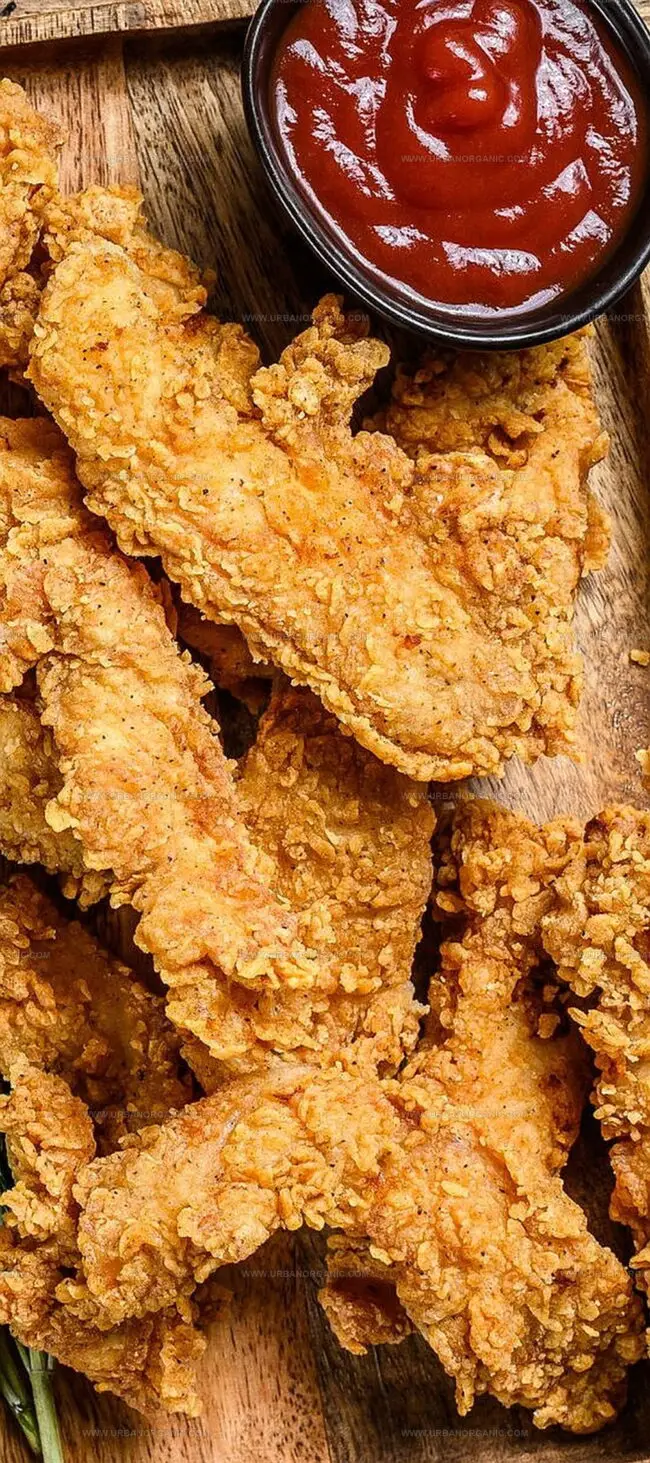
These golden-brown delights promise restaurant-quality crunch straight from your oven.
Simple ingredients transform into a mouthwatering meal that sparks excitement around the dinner table.
Panko breadcrumbs work culinary magic, creating an irresistibly crisp exterior that seals in succulent chicken.
Minimal prep meets maximum flavor in this crowd-pleasing recipe that turns ordinary weeknight dinners into memorable feasts.
Each tender delivers a perfect balance of crunch and juiciness that will have everyone asking for seconds.
Quick Recipe Overview

What You’ll Love About Pioneer Woman’s Baked Breaded Chicken Tenders
For Chicken Preparation:For Coating Components:For Finishing and Serving:Tools You’ll Need for Making Baked Chicken Tenders
How to Make Pioneer Woman’s Breaded Chicken Tenders

Heat your oven to a sizzling 425°F and slide the rack just above the center. Grab a cooling rack and baking sheet, giving the rack a quick spray to prevent sticking.
Line up three bowls: one with flour, another with whisked eggs, and the last with a zesty blend of panko crumbs, Parmesan, Italian herbs, paprika, and garlic powder. Drizzle some olive oil into the panko mix and give it a good stir.
Sprinkle both sides of the chicken with salt and pepper, getting them ready for their crispy adventure. Dip two tenders at a time – first into flour, then egg wash, and finally roll them in the seasoned panko coating. Press gently to help those delicious crumbs cling tight.
Arrange the coated tenders on the prepared rack, leaving some breathing room between each piece. Slide into the hot oven and bake for 15-20 minutes. They’re done when they turn a gorgeous golden brown and hit 165°F internally. If they’re browning too quickly, just tent with foil.
Pull out your crispy chicken tenders and sprinkle with fresh herbs if you’re feeling fancy. Grab your favorite dipping sauces – whether it’s tangy honey mustard, classic marinara, creamy ranch, zesty pesto, or smoky BBQ – and dig in!
Tips & Twists for Pioneer Woman’s Chicken Tenders

Serving Ideas for Pioneer Woman’s Baked Chicken Tenders
Storing and Reheating Pioneer Woman’s Chicken Tenders


Crispy Baked Breaded Chicken Tenders Recipe
- Total Time: 35 minutes
- Yield: 4 1x
Description
Crispy breaded chicken tenders from the Pioneer Woman blend Southern comfort with simple ingredients. Quick preparation and golden-brown coating guarantee delicious results you’ll enjoy on family dinner nights.
Ingredients
- 2 lbs (907 g) chicken tenders
- 1 ⅓ cups panko bread crumbs
- ⅔ cup (1.7 oz / 48 g) parmesan cheese, finely shredded
- ⅓ cup all-purpose flour
- 2 large eggs
- 2 tbsps olive oil
- 1 tsp Italian seasoning
- 1 tsp paprika
- 1 tsp garlic powder
- Salt
- Freshly ground black pepper
- 1 tbsp fresh parsley, minced (optional)
Instructions
- Preparation Setup: Position oven rack in upper-middle section and preheat to 425°F. Coat wire cooling rack with non-stick spray and place over baking sheet.
- Breading Station: Establish three seasoning zones – flour, whisked eggs, and panko mixture. Mix panko with parmesan, Italian seasoning, paprika, and garlic powder. Drizzle olive oil and blend thoroughly to create crisp coating.
- Chicken Seasoning: Season chicken tenders generously with kosher salt and black pepper across both surfaces, ensuring complete flavor penetration.
- Coating Process: Systematically dredge tenders through flour, ensuring complete coverage. Immerse in egg wash, then meticulously roll in seasoned panko mixture. Press breadcrumbs firmly to create uniform, adherent exterior. Gently tap to remove excess breading.
- Baking Configuration: Arrange coated tenders on prepared rack, maintaining strategic spacing to facilitate even browning and crisp texture.
- Roasting Technique: Bake for 15-20 minutes, monitoring internal temperature until reaching 165°F. Watch for golden-brown exterior, using aluminum foil tenting if browning accelerates too quickly.
- Finishing Touch: Remove from oven and optionally garnish with fresh parsley. Serve alongside preferred dipping sauces like honey mustard, marinara, ranch, pesto, or barbecue.
Notes
Master Breading Technique: Ensure each chicken tender receives a complete, even coating by gently pressing breadcrumbs and tapping off excess for maximum crispiness.
Rack Placement Matters: Use a wire rack over a baking sheet to allow hot air circulation, creating evenly crisp chicken tenders without soggy bottoms.
Temperature Precision: Cook chicken until internal temperature hits exactly 165°F to guarantee food safety without drying out the meat.
Customize Your Flavor: Experiment with different seasoning combinations in the panko mixture – try smoked paprika, cayenne, or herbs to transform the basic recipe into a personal signature dish.
- Prep Time: 20 minutes
- Cook Time: 15 minutes
- Category: Dinner, Snacks
- Method: Baking
- Cuisine: American
Nutrition
- Serving Size: 4
- Calories: 350
- Sugar: 1 g
- Sodium: 600 mg
- Fat: 15 g
- Saturated Fat: 3 g
- Unsaturated Fat: 10 g
- Trans Fat: 0 g
- Carbohydrates: 30 g
- Fiber: 1 g
- Protein: 28 g
- Cholesterol: 150 mg
Jessica Martinez
Pastry Chef & Recipe Developer
Expertise
Organic Baking Techniques, Gluten-Free Recipe Development, Southwestern Dessert Specialties, Food Styling and Photography
Education
Santa Fe Community College (SFCC)
Jessica brings the sweet side to Urban Organic with her passion for baking and love for the Southwest. She trained at Santa Fe Community College and has built a career creating beautiful, gluten-free, and organic desserts that feel both nostalgic and new.
She believes baking should be fun, creative, and open to everyone, no matter your diet or skill level. Jessica’s recipes are simple enough to follow, but special enough to remember.