Enchanting Chocolate Peppermint Cookie Cups Recipe for Joy
Whipping up delectable chocolate peppermint cookie cups can turn an ordinary afternoon into a sweet adventure.
Crisp mint notes dance alongside rich chocolate in this irresistible treat.
Bakers seeking a delightful dessert will find these miniature cups absolutely charming.
Small gatherings or quiet moments demand something special like these perfectly portioned delights.
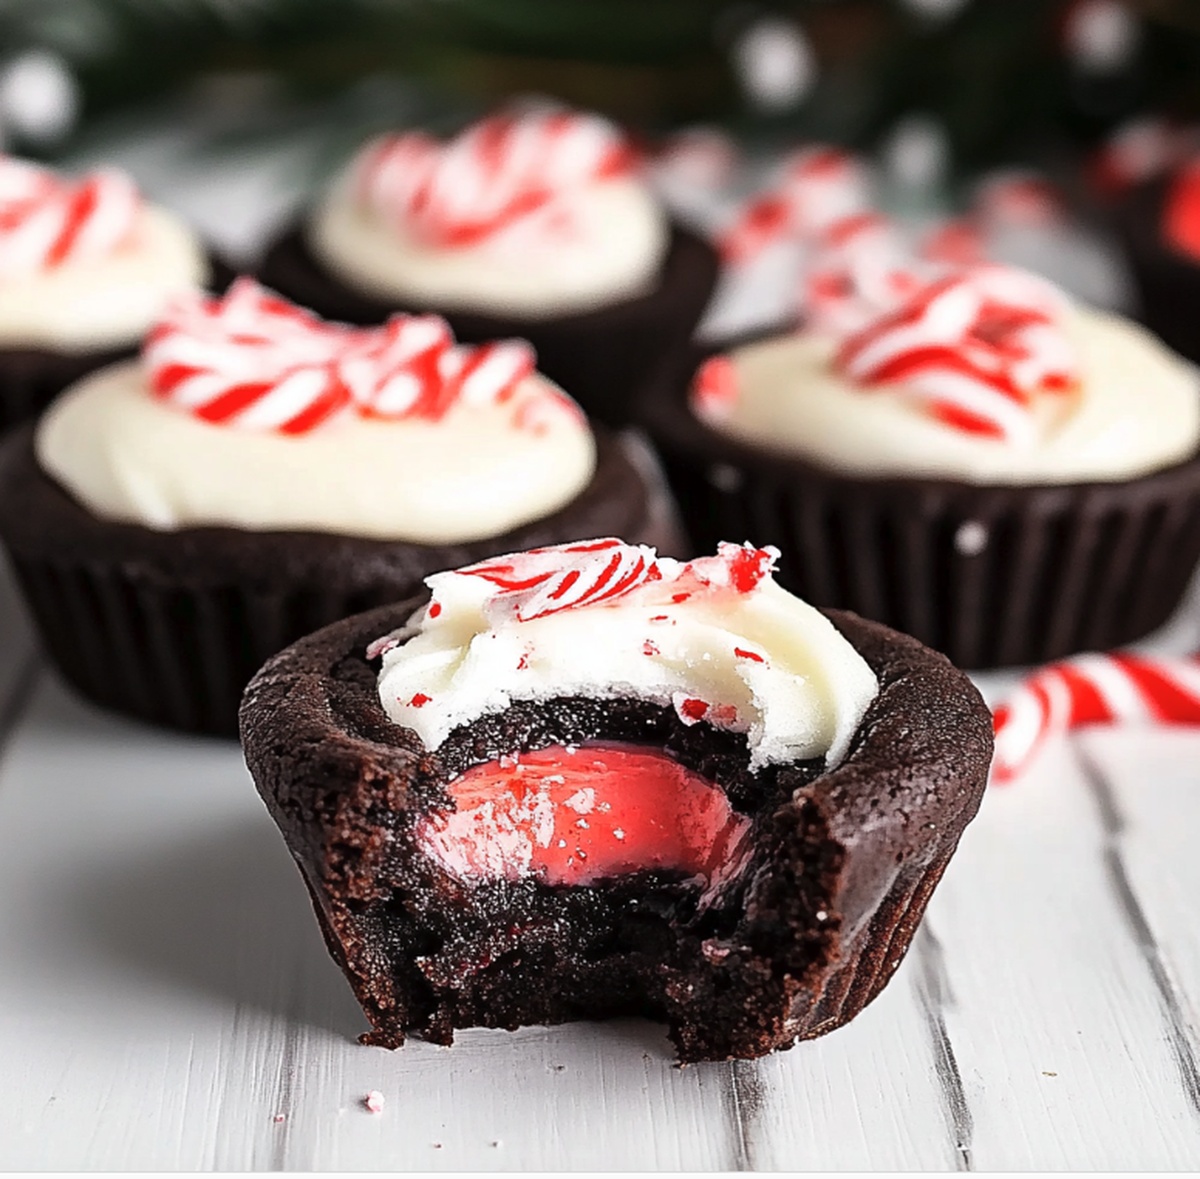
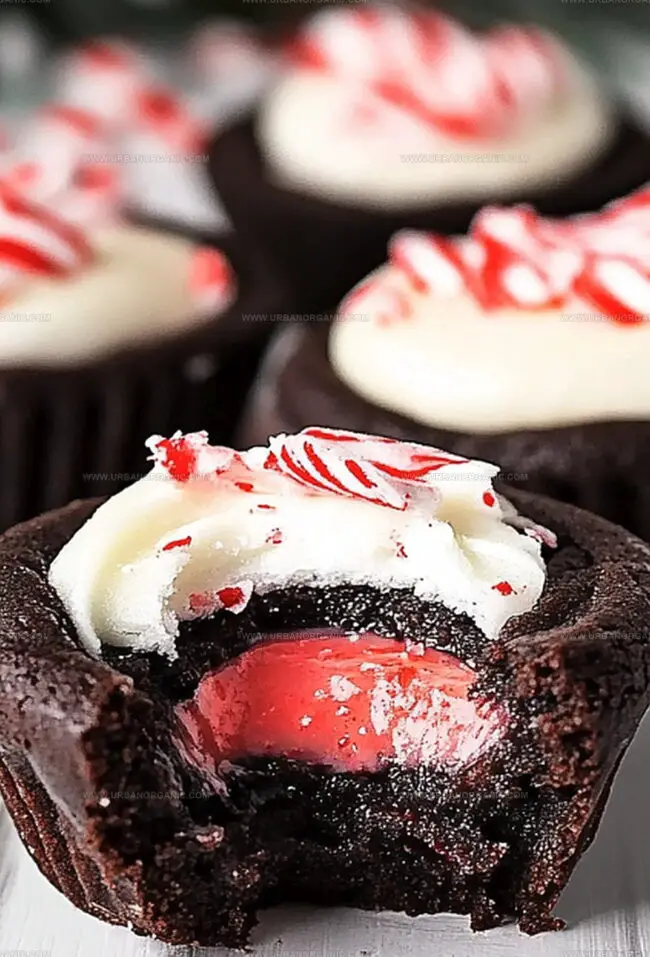
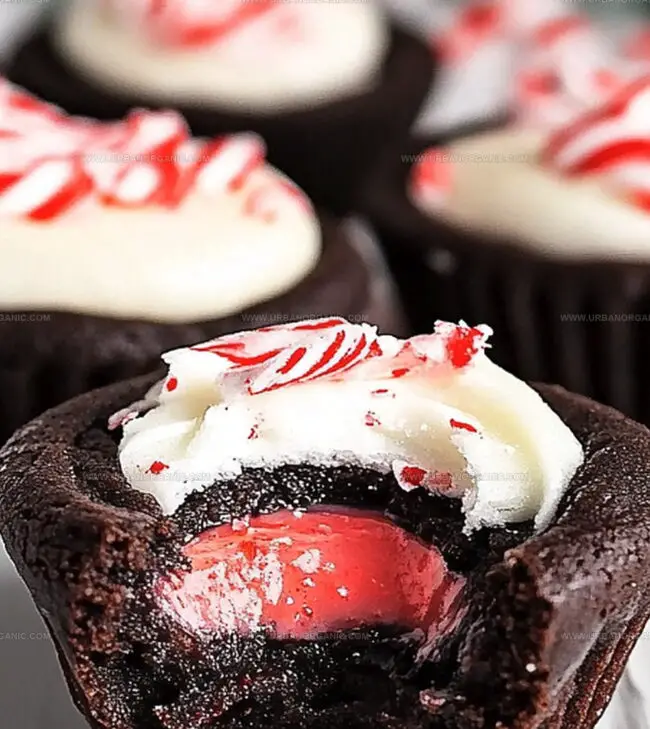
Cool peppermint mingles with decadent chocolate, creating a harmonious blend that melts in you mouth.
Smooth ganache and crumbly cookie bases promise an indulgent experience that feels both nostalgic and innovative.
Eager hands and hungry hearts will surely fall in love with these elegant little confections.
What Makes Chocolate Peppermint Cookie Cups So Good
Ingredients for Chocolate Peppermint Cookie Cups
Dry Ingredients:Wet Ingredients:Filling and Topping Ingredients:Notes:How to Assemble Cookie Cups That Look and Taste Great
Step 1: Warm Up The Oven
Heat oven to 350F (175C). Coat mini muffin tin with nonstick cooking spray.
Step 2: Mix Cookie Dough
Blend ingredients in mixing bowl:Whip until fluffy and light. Add:Mix thoroughly.
In separate bowl, combine:Gradually incorporate dry ingredients into wet mixture until dough forms.
Step 3: Create Cookie Shapes
Roll dough into small balls. Place each ball inside mini muffin wells.
Step 4: Bake The Cookies
Bake for 8-10 minutes until edges look set. Remove from oven.
Use spoon handle to press gentle indentation into each warm cookie.
Cool for 5 minutes in pan, then transfer to wire rack.
Step 5: Craft Chocolate Filling
Melt in microwave:Stir every 20 seconds until smooth. Add peppermint extract.
Step 6: Complete Cookie Cups
Pour chocolate mixture into cookie centers. Sprinkle crushed candy canes on top.
Step 7: Chill And Serve
Let cookies set at room temperature or refrigerate 15-20 minutes before enjoying.
Peppermint Cookie Tips to Keep It Cool and Crisp
Best Ways to Store Cookie Cups for Later
What Complements Chocolate Peppermint Flavor
Fun Twists on Peppermint Cookie Cups
Peppermint Cookie Cup FAQs
Yes, you can substitute milk chocolate chips. The flavor will be slightly sweeter and less intense, but still delicious.
You’ll need a mini muffin tin and a way to press a small indentation in the cookies, like a teaspoon or measuring spoon. No fancy tools required.
Top with extra crushed candy canes, drizzle white chocolate, or add holiday sprinkles before the chocolate filling sets completely. These small touches make them look more special.
Peppermint extract adds a classic holiday flavor, but you can omit it if you prefer a plain chocolate cookie cup. The recipe will still taste great without the peppermint notes.
Print
Chocolate Peppermint Cookie Cups Recipe
- Total Time: 30 minutes
- Yield: 24 1x
Description
Sweet holiday magic blooms with chocolate peppermint cookie cups, a festive dessert combining rich chocolate and cool mint. Guests will devour these delightful mini treats that seamlessly blend creamy peppermint filling with chocolate cookie perfection.
Ingredients
Main Ingredients:
- 1 ¼ cups (157 grams) all-purpose flour
- ⅓ cup (35 grams) unsweetened cocoa powder
- ½ cup (85 grams) semi-sweet or dark chocolate chips
- 1 large egg
Sweeteners and Fats:
- ½ cup (113 grams) unsalted butter, softened
- ½ cup (100 grams) granulated sugar
- ¼ cup (50 grams) brown sugar
Flavor and Finishing Ingredients:
- 1 teaspoon vanilla extract
- ½ teaspoon peppermint extract
- ½ teaspoon baking soda
- ¼ teaspoon salt
- ¼ cup (60 milliliters) heavy cream
- Crushed candy canes or peppermint candies
Instructions
- Warm the oven to 350F (175C) and generously coat a mini muffin tin with nonstick spray to prevent sticking.
- Create a smooth butter mixture by whipping granulated and brown sugars with butter until light and airy.
- Incorporate egg, vanilla, and peppermint extracts into the butter mixture, ensuring thorough blending.
- Separately combine flour, cocoa powder, baking soda, and salt, then gradually fold into the wet ingredients until a cohesive dough forms.
- Craft small, uniform dough spheres and nestle them into each muffin well, ensuring even distribution.
- Bake the cookie bases for 8-10 minutes until edges appear firm and slightly crisp.
- Immediately after removing from the oven, gently press a small indentation into the center of each warm cookie using a teaspoon’s back.
- Allow cookies to cool briefly in the pan before transferring to a wire rack for complete cooling.
- Melt chocolate chips with heavy cream in short microwave intervals, stirring between each to create a smooth ganache.
- Infuse the chocolate mixture with peppermint extract for an enhanced flavor profile.
- Carefully fill each cookie cup’s center with the glossy chocolate peppermint ganache.
- Sprinkle crushed candy canes over the warm filling for a festive, crunchy topping.
- Let the filled cookie cups rest at room temperature or expedite setting by chilling for 15-20 minutes before serving.
Notes
- Customize Texture: Use room temperature butter for a softer, more tender cookie cup that melts in your mouth and ensures even mixing.
- Prevent Spreading: Chill the dough for 30 minutes before rolling into balls to prevent cookies from spreading too much during baking.
- Gluten-Free Option: Swap all-purpose flour with a 1:1 gluten-free baking blend to make these cookie cups suitable for those with gluten sensitivities.
- Make Ahead Friendly: Prepare cookie cups and filling separately, storing in airtight containers for up to 3 days, then assemble just before serving for maximum freshness.
- Prep Time: 10 minutes
- Cook Time: 20 minutes
- Category: Desserts, Snacks
- Method: Baking
- Cuisine: American
Nutrition
- Serving Size: 24
- Calories: 180
- Sugar: 10 g
- Sodium: 70 mg
- Fat: 8 g
- Saturated Fat: 5 g
- Unsaturated Fat: 3 g
- Trans Fat: 0 g
- Carbohydrates: 24 g
- Fiber: 1 g
- Protein: 2 g
- Cholesterol: 20 mg
Jessica Martinez
Pastry Chef & Recipe Developer
Expertise
Organic Baking Techniques, Gluten-Free Recipe Development, Southwestern Dessert Specialties, Food Styling and Photography
Education
Santa Fe Community College (SFCC)
Jessica brings the sweet side to Urban Organic with her passion for baking and love for the Southwest. She trained at Santa Fe Community College and has built a career creating beautiful, gluten-free, and organic desserts that feel both nostalgic and new.
She believes baking should be fun, creative, and open to everyone, no matter your diet or skill level. Jessica’s recipes are simple enough to follow, but special enough to remember.