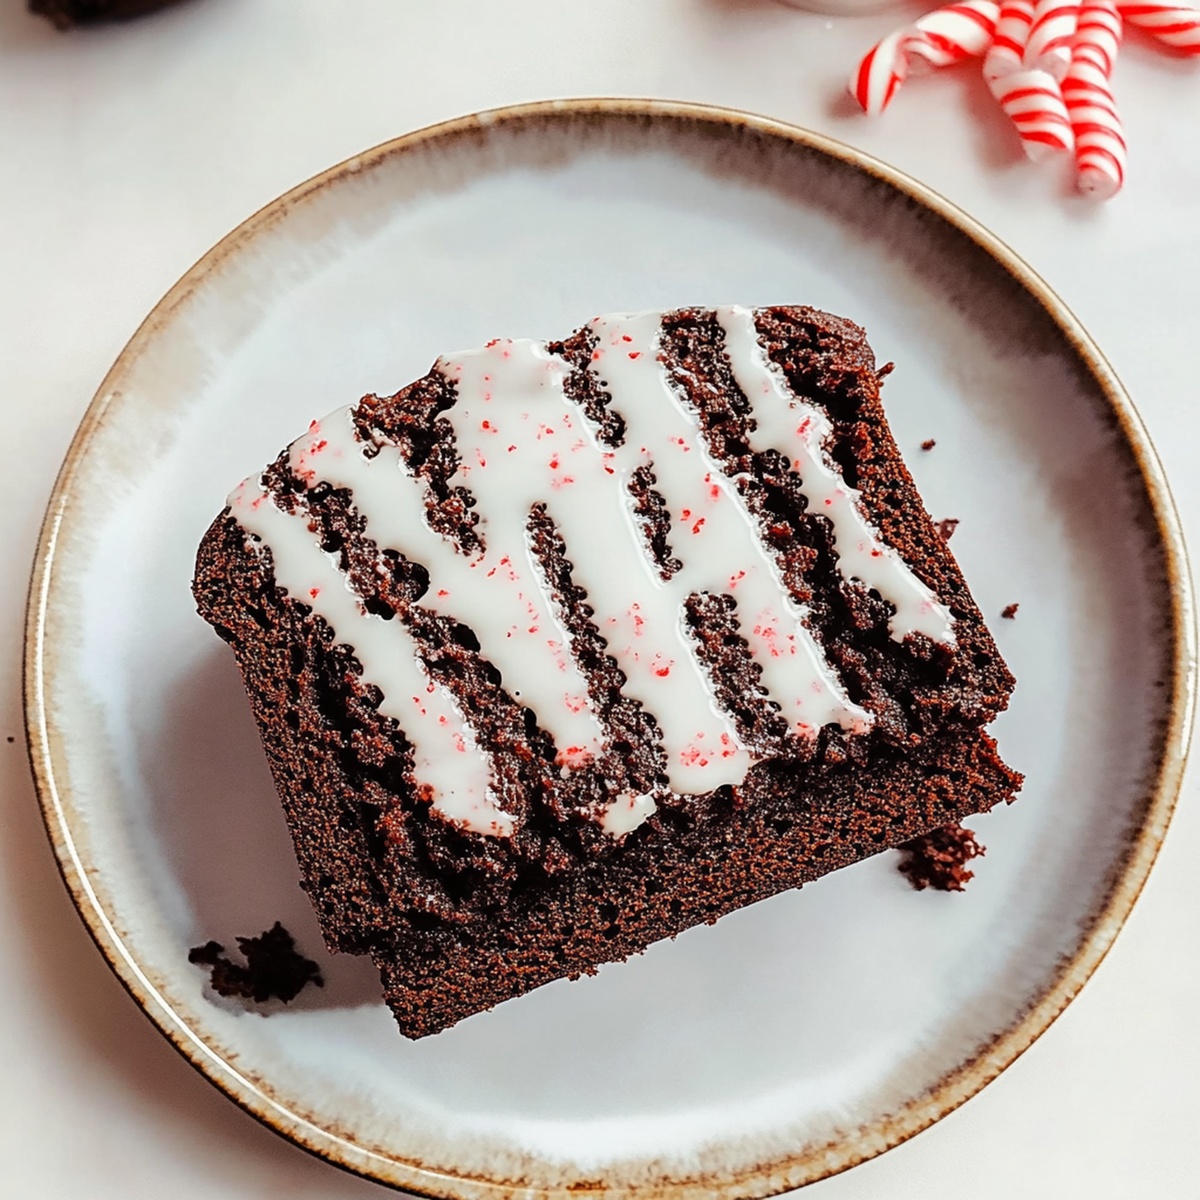
Chocolate Peppermint Bread Recipe for Winter Warmth
Warm winter afternoons call for a delightful chocolate peppermint bread that sparks instant joy in any kitchen.
Cozy aromas will swirl through rooms, promising a delectable treat.
Sweet hints of chocolate and cool peppermint create a magical combination that feels like a festive celebration.
Baking this bread becomes an invitation to comfort and indulgence.
Kitchen counters transform into delicious playgrounds with simple ingredients and minimal effort.
Chocolate lovers and peppermint fans will absolutely adore this scrumptious creation.
Let’s whip up something extraordinary that everyone will be talking about.
Chocolate Peppermint Bread for Winter Mornings
What Goes Into This Bold, Minty Loaf
Dry Ingredients:Wet Ingredients:Flavor Enhancers and Toppings:How to Bake a Moist Peppermint Loaf Cake
Step 1: Warm Up the Oven
Crank the oven to 350°F. Grab a 9×5-inch loaf pan and get it ready by:Step 2: Create the Dry Mixture
In a spacious mixing bowl, combine:Whisk these ingredients until perfectly blended.
Step 3: Blend Wet Ingredients
In a separate bowl, whisk together:Stir in buttermilk until smooth and creamy.
Step 4: Marry the Mixtures
Gently fold dry ingredients into wet ingredients.
Sprinkle in mini chocolate chips and mix until just combined.
Step 5: Bake to Perfection
Pour batter into prepared pan.
Slide into preheated oven.
Bake for 45-55 minutes.
Check doneness by inserting a toothpick- it should come out clean.
Rest bread in pan for 10 minutes.
Transfer to wire rack and let cool completely.
Step 6: Add Magical Topping
Melt white chocolate chips with coconut oil in microwave.
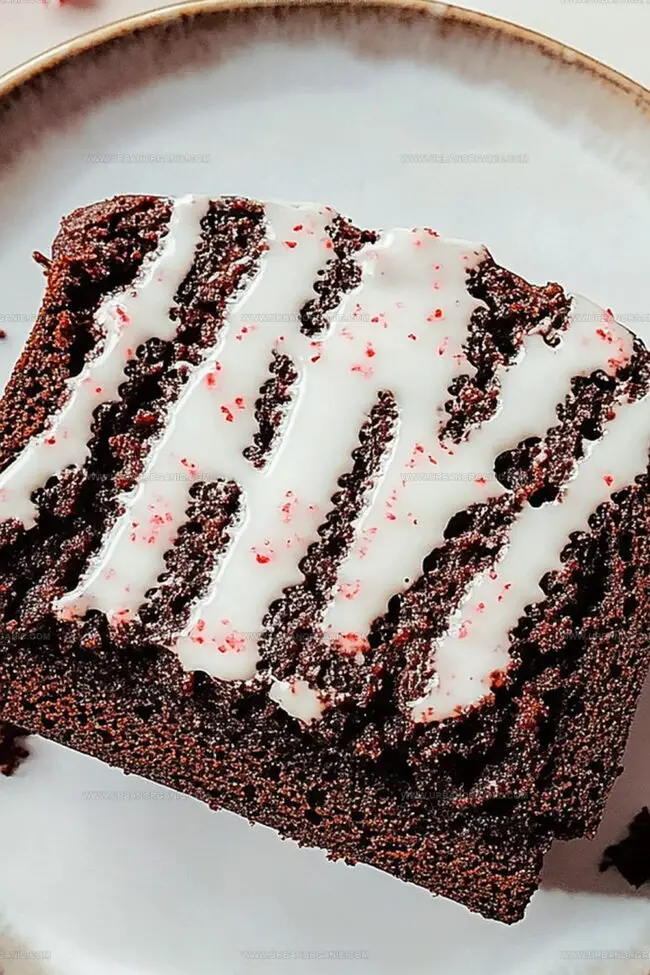
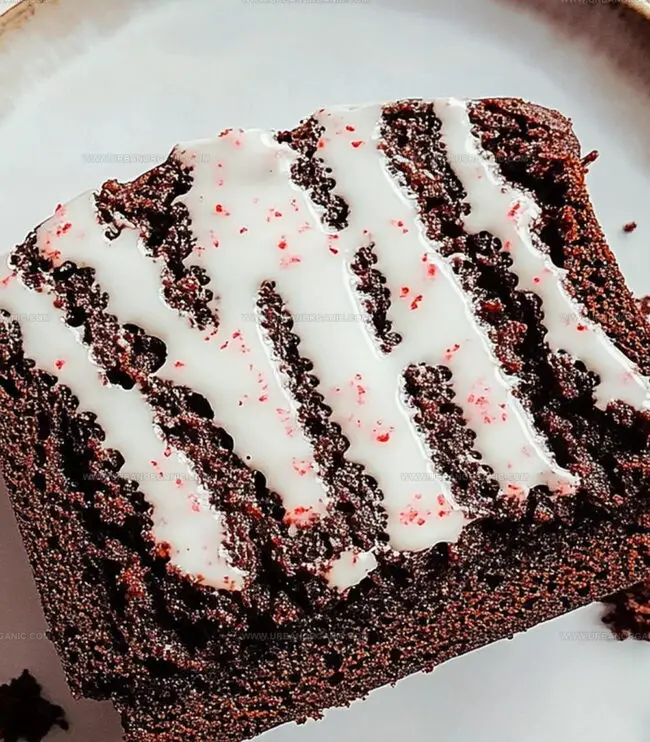
Drizzle melted chocolate over cooled bread.
Sprinkle crushed candy canes on top.
Step 7: Slice and Savor
Allow chocolate topping to set.
Cut into thick, tempting slices.
Serve with steaming hot cocoa.
Baking Hack: No buttermilk? Mix regular milk with a splash of vinegar or lemon juice.
Pro Tips for Swirls and Even Texture
Keeping the Bread Fresh After Day One
What to Sip with Chocolate Peppermint Bread
Variations for a Holiday Flavor Makeover
FAQs for Peppermint Bread Success
Yes, you can substitute buttermilk with regular milk mixed with 1 teaspoon of vinegar or lemon juice. Let the mixture sit for 5 minutes before using to create a similar tangy flavor and texture.
Insert a toothpick into the center of the bread. If it comes out clean or with just a few moist crumbs, the bread is done. Avoid overbaking, which can make the bread dry.
You can try replacing the all-purpose flour with a gluten-free flour blend. However, the texture might slightly change, so adjust the liquid ingredients as needed and expect some variation in the final result.
Toss the mini chocolate chips in a little flour before adding them to the batter. This helps prevent them from sinking to the bottom during baking and ensures they are evenly distributed throughout the bread.
Print
Chocolate Peppermint Bread Recipe
- Total Time: 1 hour 5 minutes
- Yield: 8 1x
Description
Rich chocolate mingles with cool peppermint in this irresistible chocolate peppermint bread, creating a festive winter treat. Seasonal spices and smooth chocolate swirls promise delightful comfort for holiday gatherings and quiet moments of indulgence.
Ingredients
Primary Ingredients:
- 1 ½ cups (360 milliliters) all-purpose flour
- ½ cup (50 grams) unsweetened cocoa powder
- 2 large eggs
- ½ cup (113 grams) unsalted butter, melted
- ¾ cup (180 milliliters) buttermilk (or whole milk)
Sugars and Sweeteners:
- ¾ cup (150 grams) granulated sugar
- ½ cup (100 grams) brown sugar, packed
- ¼ cup (40 grams) crushed candy canes
Leavening and Flavor Agents:
- 1 teaspoon baking soda
- ½ teaspoon baking powder
- ½ teaspoon salt
- 1 teaspoon vanilla extract
- 1 teaspoon peppermint extract
- ½ cup (85 grams) mini chocolate chips
- ½ cup (85 grams) white chocolate chips (or semisweet chocolate)
- 1 teaspoon coconut oil or butter (for melting)
Instructions
- Prepare the oven environment by heating to 350°F (175°C) and positioning a rack in the center. Coat a 9×5-inch loaf pan with butter and line with parchment paper, allowing excess paper to hang over the sides for easy bread removal.
- Sift together flour, cocoa powder, baking soda, baking powder, and salt in a medium mixing bowl, ensuring all dry ingredients are well integrated and free of lumps.
- In a separate large bowl, thoroughly combine granulated and brown sugars with melted butter. Whisk in eggs, one at a time, until the mixture becomes smooth and uniformly incorporated. Blend in vanilla and peppermint extract, creating a fragrant liquid base.
- Gently pour buttermilk into the wet ingredient mixture, stirring until completely combined and achieving a consistent texture.
- Gradually fold the dry ingredient mixture into the wet ingredients, mixing until just combined. Avoid overmixing to maintain the bread’s tender crumb.
- Delicately incorporate mini chocolate chips into the batter, distributing them evenly throughout the mixture.
- Transfer the batter into the prepared loaf pan, smoothing the top with a spatula to ensure an even surface.
- Bake in the preheated oven for 50-60 minutes. Check doneness by inserting a toothpick into the center – it should emerge with minimal, moist crumbs.
- Allow the bread to rest in the pan for 15 minutes, which helps it set and makes removal easier.
- Carefully lift the bread out using the parchment paper edges and place on a wire cooling rack to reach room temperature.
- Melt white chocolate chips with coconut oil in short microwave intervals, stirring between each to prevent scorching.
- Once the bread is completely cool, drizzle the melted white chocolate in an artistic pattern across the surface.
- Immediately sprinkle crushed candy canes over the white chocolate drizzle, allowing them to slightly adhere as the chocolate sets.
- Let the chocolate completely solidify before slicing. Cut into thick, generous pieces and serve alongside a warm beverage for maximum enjoyment.
Notes
- Customize the bread’s intensity by adjusting peppermint extract, starting with less and adding to taste for a more subtle or bold flavor profile.
- Swap chocolate chips with dark, milk, or white chocolate varieties to create unique texture and richness variations.
- Ensure ingredients are room temperature to help achieve a smoother, more evenly mixed batter that promotes better rising and consistent texture.
- For gluten-free adaptation, replace wheat flour with a 1:1 gluten-free baking blend, maintaining the same measurements and mixing techniques.
- Prep Time: 15 minutes
- Cook Time: 50 minutes
- Category: Breakfast, Snacks, Desserts
- Method: Baking
- Cuisine: American
Nutrition
- Serving Size: 8
- Calories: 320
- Sugar: 22 g
- Sodium: 150 mg
- Fat: 14 g
- Saturated Fat: 8 g
- Unsaturated Fat: 6 g
- Trans Fat: 0 g
- Carbohydrates: 45 g
- Fiber: 2 g
- Protein: 4 g
- Cholesterol: 50 mg
Jessica Martinez
Pastry Chef & Recipe Developer
Expertise
Organic Baking Techniques, Gluten-Free Recipe Development, Southwestern Dessert Specialties, Food Styling and Photography
Education
Santa Fe Community College (SFCC)
Jessica brings the sweet side to Urban Organic with her passion for baking and love for the Southwest. She trained at Santa Fe Community College and has built a career creating beautiful, gluten-free, and organic desserts that feel both nostalgic and new.
She believes baking should be fun, creative, and open to everyone, no matter your diet or skill level. Jessica’s recipes are simple enough to follow, but special enough to remember.