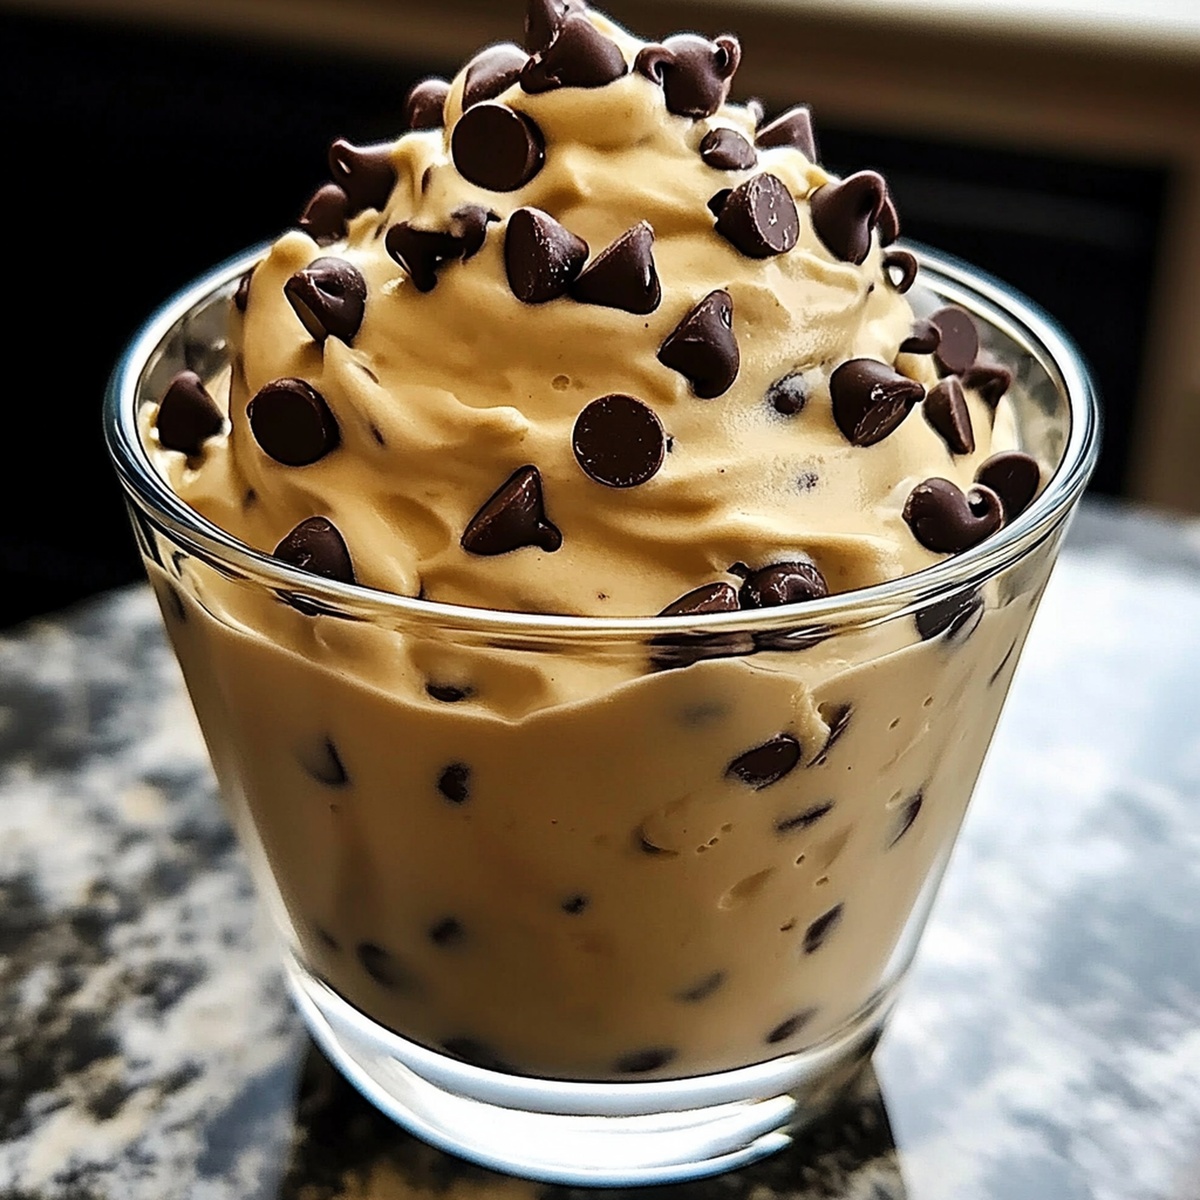
Chocolate Chip Cookie Dough Mousse Recipe Dreamiest Indulgence
Whipping up a decadent chocolate chip cookie dough mousse brings pure bliss to dessert lovers everywhere.
Creamy textures dance with sweet nostalgia in every spoonful.
Cookie dough’s playful essence transforms this classic treat into something extraordinary.
Rich, velvety layers promise indulgence without the usual guilt of traditional recipes.
Each bite captures childhood memories mixed with sophisticated culinary craft.
Smooth and dreamy, this mousse will make you feel like a kitchen magician.
Dive into this delightful creation that reimagines comfort food in the most delectable way possible.
Why Chocolate Chip Cookie Dough Mousse Is the Ultimate Treat
Ingredients That Make Cookie Dough Mousse Work
Dry Ingredients:Base Components:Mix-In and Flavor Elements:How to Whip Up Chocolate Chip Cookie Dough Mousse
Step 1: Toast The Flour
Heat oven to 350F (175C). Spread flour on a baking sheet and bake for 5 minutes to eliminate any potential bacteria. Allow the flour to cool completely before using. Alternatively, microwave the flour in 30-second intervals until it reaches 165F.
Step 2: Prepare Cream Cheese Base
In a large mixing bowl, blend:Mix until smooth and creamy, ensuring no lumps remain.
Step 3: Fold In Cookie Dough Elements
Gently incorporate into the cream cheese mixture:Stir carefully to distribute ingredients evenly.
Step 4: Create Airy Mousse Texture
Whip heavy cream in a separate bowl until soft peaks form. Carefully fold the whipped cream into the cookie dough mixture, maintaining a light and fluffy consistency.
Step 5: Chill And Set
Transfer the mousse to serving glasses or a large container. Refrigerate for at least 2 hours to allow the mousse to set and flavors to meld together.
Step 6: Garnish And Serve
Before serving, top with additional chocolate chips, a sprinkle of sea salt, or a dollop of whipped cream for extra decadence.
Pro Tips for Smooth and Fluffy Mousse
Keeping Cookie Dough Mousse Fresh in the Fridge
What to Serve with Chocolate Chip Cookie Dough Mousse
Flavor Twists for Mousse Enthusiasts
Cookie Dough Mousse FAQs
Raw flour can contain harmful bacteria like E. coli. Heat-treating flour kills these potential pathogens, making the mousse safe to eat.
Yes, but mini chocolate chips distribute more evenly through the mousse and provide a better texture and consistent flavor in each bite.
Full-fat, block-style cream cheese gives the mousse a richer, smoother consistency compared to low-fat or spreadable varieties.
The mousse should form stiff peaks and hold its shape when you lift the whisk or beater. It should look fluffy and have a light, airy texture without looking liquid or runny.
Print
Chocolate Chip Cookie Dough Mousse Recipe
- Total Time: 45 minutes
- Yield: 4 1x
Description
Indulgent chocolate chip cookie dough mousse brings classic dessert nostalgia to creamy, dreamy heights. Rich layers of sweet memories melt together, inviting you to savor each spoonful of pure comfort and delightful charm.
Ingredients
Main Ingredients:
- ½ cup (65g) all-purpose flour
- ¼ cup (55g) unsalted butter
- ¼ cup (50g) brown sugar
- 1 cup (240 milliliters) heavy whipping cream
Chocolate Components:
- ¼ cup (45 grams) mini chocolate chips
- Extra mini chocolate chips
- Chocolate shavings or drizzle
Additional Ingredients:
- 1 tablespoon milk
- 2 tablespoons powdered sugar
- ½ teaspoon vanilla extract
- ½ teaspoon vanilla extract
Instructions
- Carefully heat-treat the flour to eliminate potential bacteria by spreading it evenly on a baking sheet and roasting in the preheated oven for precisely 5 minutes, ensuring complete cooling afterward.
- Cream together softened cream cheese and butter until the mixture becomes light, fluffy, and completely smooth, creating a uniform base for the mousse.
- Gradually incorporate powdered sugar into the creamy mixture, blending thoroughly to prevent any lumps and achieve a silky-smooth consistency.
- Gently fold in vanilla extract and brown sugar, stirring until the ingredients are fully integrated and the texture remains luxuriously creamy.
- Carefully mix in the heat-treated flour, ensuring even distribution throughout the mousse base without overmixing.
- Delicately fold chocolate chips into the mousse, allowing them to be evenly scattered throughout the mixture for a delightful textural contrast.
- Refrigerate the mousse for at least 1 hour to allow flavors to meld and the texture to set, creating a chilled and decadent dessert.
- Before serving, garnish with additional chocolate chips and a light dusting of flour for an elegant presentation that hints at the dessert’s unique preparation.
Notes
- Toast flour carefully to eliminate bacteria and ensure food safety for raw cookie dough-style desserts.
- Test flour temperature with a digital thermometer to guarantee it reaches 165F, preventing potential foodborne illness.
- Use gluten-free flour as a simple swap for those with wheat sensitivities or celiac dietary needs.
- Opt for heat-treated flour from specialty baking stores if you want to skip the home-heating process entirely.
- Prep Time: 15 minutes
- Cook Time: 30 minutes
- Category: Desserts, Snacks
- Method: Baking
- Cuisine: American
Nutrition
- Serving Size: 4
- Calories: 380
- Sugar: 18g
- Sodium: 80mg
- Fat: 30g
- Saturated Fat: 18g
- Unsaturated Fat: 10g
- Trans Fat: 0g
- Carbohydrates: 33g
- Fiber: 1g
- Protein: 3g
- Cholesterol: 90mg


Jessica Martinez
Pastry Chef & Recipe Developer
Expertise
Organic Baking Techniques, Gluten-Free Recipe Development, Southwestern Dessert Specialties, Food Styling and Photography
Education
Santa Fe Community College (SFCC)
Jessica brings the sweet side to Urban Organic with her passion for baking and love for the Southwest. She trained at Santa Fe Community College and has built a career creating beautiful, gluten-free, and organic desserts that feel both nostalgic and new.
She believes baking should be fun, creative, and open to everyone, no matter your diet or skill level. Jessica’s recipes are simple enough to follow, but special enough to remember.