Irresistibly Sweet Cherry Pie Filling Recipe for Home Bakers
Baking a homemade cherry pie filling brings pure magic to your dessert table.
Sweet summer cherries burst with intense flavor when carefully simmered.
Each spoonful captures a delightful blend of tart and sugary notes.
Skilled home cooks know this recipe transforms ordinary ingredients into something extraordinary.
Carefully selected cherries create a luscious, vibrant mixture that makes everyone smile.
Simple techniques unlock incredible depths of fruity goodness.
You will absolutely love how effortlessly this filling comes together.
Grab your apron and get ready to impress everyone with this incredible cherry sensation!
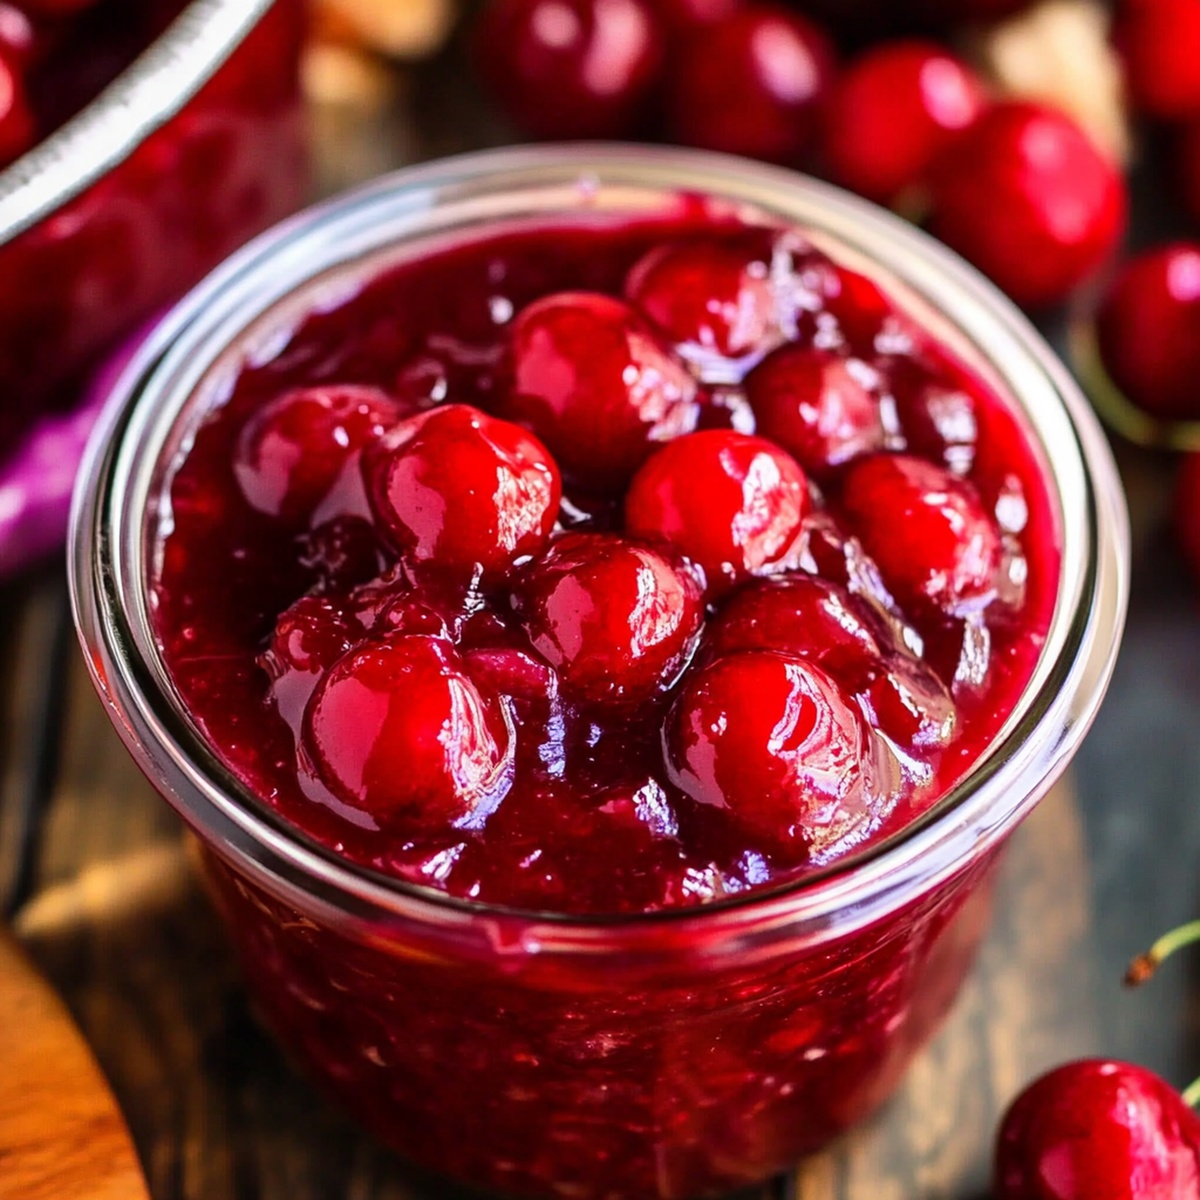
Cherry Pie Filling That’s Bright and Bold
Ingredients Used to Make Homemade Cherry Pie Filling
Fresh Fruit:Thickening Agents:Sweeteners and Flavor Enhancers:Seasoning:How to Cook Cherry Pie Filling from Scratch
Step 1: Prepare Cherries
In a medium saucepan, combine:Cook over medium heat, stirring gently. Allow cherries to release their natural juices for about 5 minutes.
Step 2: Create Smooth Thickener
In a separate small bowl, blend cornstarch with remaining water until completely smooth and lump-free.
Pour cornstarch mixture into cherry mixture, stirring continuously.
Cook for 3-5 minutes until the filling becomes glossy and reaches a thick, luxurious consistency.
Step 3: Enhance Flavor Profile
Remove saucepan from heat and incorporate:Stir ingredients until well combined.
Step 4: Cool and Store
Allow filling to cool completely at room temperature.
Transfer to a clean glass container.
Refrigerate until ready to use.
Tips for Thicker, Smoother Cherry Pie Filling
Best Storage for Homemade Cherry Pie Filling
Dishes to Pair with Cherry Pie Filling
Creative Ways to Use Cherry Pie Filling
FAQs About Cherry Pie Filling Preparation
Both work great! Fresh cherries are ideal during summer, but frozen cherries are perfect year-round and provide consistent results. Just thaw and drain excess liquid before cooking.
Absolutely! Taste the cherries first and adjust sugar according to their natural sweetness. Start with less sugar and add more gradually. Ripe, sweet cherries might need less sugar compared to tart varieties.
Sweet cherries like Bing or Rainier are excellent for a sweeter filling. Tart cherries like Montmorency provide a more intense, tangy flavor. Mixing both types can create a balanced, complex taste.
Use cornstarch as a thickener and cook the mixture until it becomes glossy and slightly thick. Ensure you cook the cornstarch mixture long enough to activate its thickening properties, stirring constantly to avoid lumps.
Print
Cherry Pie Filling Recipe
- Total Time: 15 minutes
- Yield: 8 1x
Description
Sweet nostalgia fills kitchens with Cherry Pie Filling’s classic American comfort. Ripe cherries mingle with sugar and spice, promising delightful homemade desserts you can savor with family and friends.
Ingredients
Cherries:
- 4 cups (600 grams) fresh or frozen cherries, pitted
Sweeteners and Thickeners:
- ¾ cup (150 grams) granulated sugar
- 2 tablespoons cornstarch
Liquid and Flavor Enhancers:
- ¼ cup (60 milliliters) water (or cherry juice)
- 1 tablespoon lemon juice
- ½ teaspoon vanilla extract (optional)
- ¼ teaspoon almond extract (optional, but enhances cherry flavor)
- 1 pinch salt
Instructions
- Initiate the cherry transformation by merging cherries, sugar, and half the water in a medium saucepan, placing over medium heat.
- Gently agitate the mixture, allowing cherries to surrender their vibrant juices for approximately 5 minutes.
- Prepare a smooth cornstarch liaison by whisking cornstarch with remaining water in a separate small vessel until no lumps remain.
- Stream the cornstarch emulsion into the simmering cherry mixture, continuously stirring to prevent clumping and promote even thickening.
- Continue cooking for an additional 3-5 minutes, watching the sauce evolve into a luxurious, glossy consistency that clings beautifully to the cherries.
- Extinguish the heat and introduce a bright burst of flavor with lemon juice, vanilla and almond extracts, and a delicate pinch of salt.
- Allow the filling to cool completely, either preparing for immediate use or transferring to refrigeration for future culinary adventures.
- Versatile applications include nestling into pie crusts, crowning cheesecakes, enriching pastry turnovers, or adorning breakfast classics like waffles and pancakes.
- When using as a pie filling, bake at 375°F (190°C) for 45-50 minutes to achieve a perfect, bubbling result.
Notes
- Adjust sugar levels based on cherry sweetness, tasting before adding cornstarch to ensure perfect balance.
- Frozen cherries work wonderfully if fresh aren’t available, just thaw and drain excess liquid before cooking.
- For a gluten-free version, swap cornstarch with arrowroot powder or potato starch to maintain smooth, glossy texture.
- Enhance flavor complexity by adding a splash of bourbon or brandy during the final touch stage for depth and warmth.
- Prep Time: 5 minutes
- Cook Time: 10 minutes
- Category: Desserts, Snacks
- Method: Simmering
- Cuisine: American
Nutrition
- Serving Size: 8
- Calories: 120
- Sugar: 8 g
- Sodium: 150 mg
- Fat: 6 g
- Saturated Fat: 3 g
- Unsaturated Fat: 2 g
- Trans Fat: 0 g
- Carbohydrates: 16 g
- Fiber: 0 g
- Protein: 2 g
- Cholesterol: 10 mg
Jessica Martinez
Pastry Chef & Recipe Developer
Expertise
Organic Baking Techniques, Gluten-Free Recipe Development, Southwestern Dessert Specialties, Food Styling and Photography
Education
Santa Fe Community College (SFCC)
Jessica brings the sweet side to Urban Organic with her passion for baking and love for the Southwest. She trained at Santa Fe Community College and has built a career creating beautiful, gluten-free, and organic desserts that feel both nostalgic and new.
She believes baking should be fun, creative, and open to everyone, no matter your diet or skill level. Jessica’s recipes are simple enough to follow, but special enough to remember.