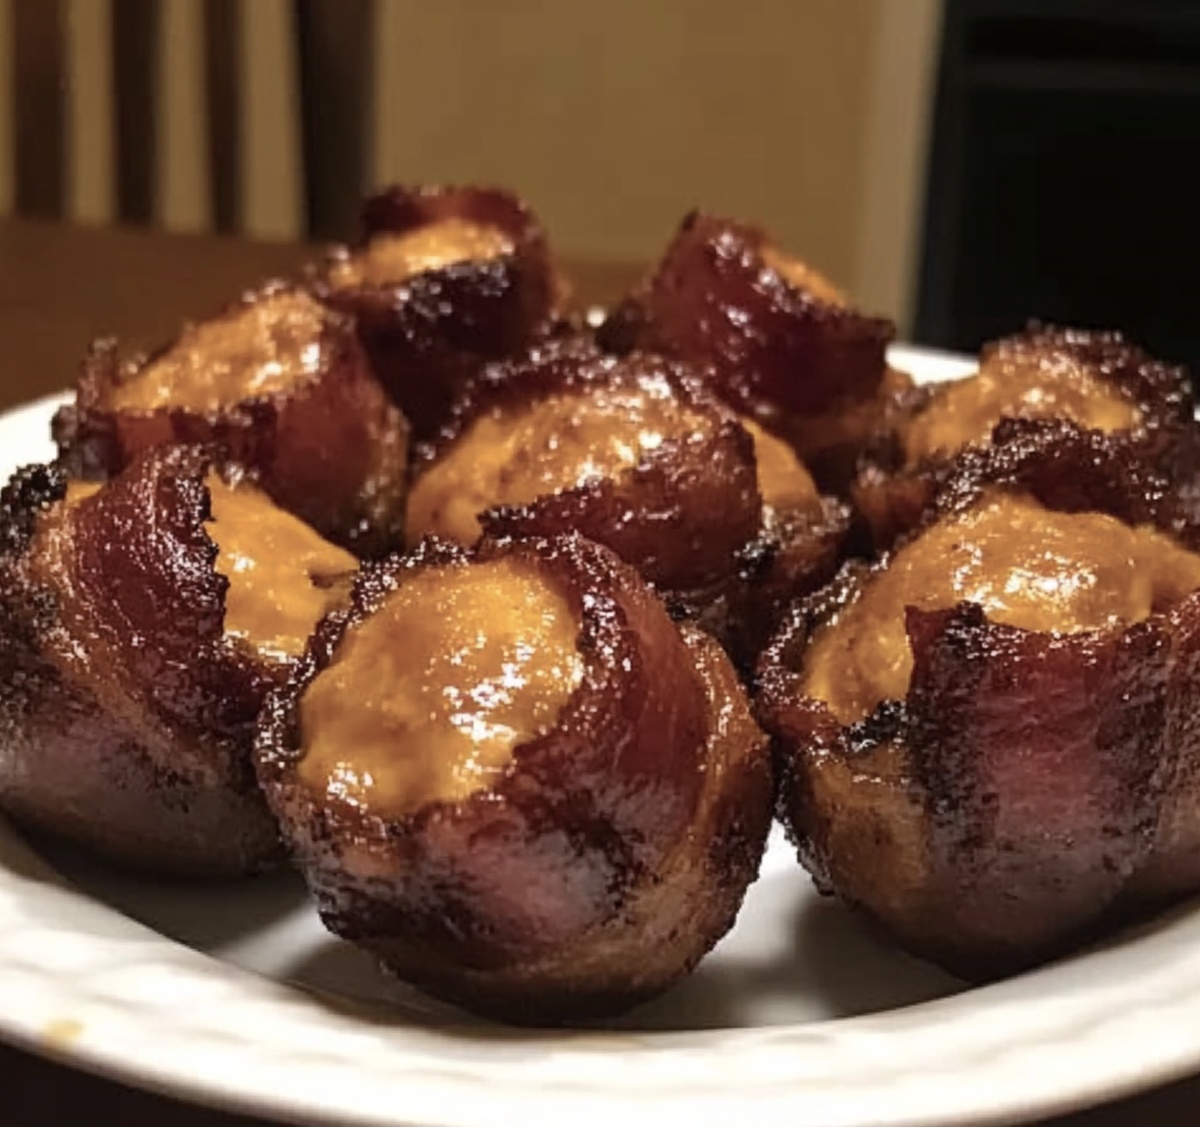
Cheddar-Stuffed BBQ Bacon Bombs Recipe You’ll Try Again
Crispy, golden bbq bacon bombs burst with melted cheddar that promises an epic flavor explosion.
Juicy bacon wraps around gooey cheese, creating a mouthwatering package of pure indulgence.
Anyone who loves savory snacks will go crazy for these irresistible bites.
Backyard barbecues and game day gatherings just found their new star attraction.
Smoky, salty, and incredibly satisfying, each bomb delivers a punch of deliciousness that keeps people coming back for more.
Small appetites and big hungers will appreciate this seriously addictive treat.
You cannot resist the call of these crispy, cheese-filled delights waiting to rock your taste buds.
What’s So Bold About These BBQ Bacon Bombs
Ingredients Breakdown for BBQ Bacon Bombs
Meat Base:Binding Ingredients:Flavor Enhancers:Spice Blend:How to Make Bacon Bombs Without the Mess
Step 1: Prepare Meat Mixture
In a spacious mixing bowl, combine:Blend all ingredients until well incorporated, ensuring a consistent and flavorful mixture.
Step 2: Shape Meat Portions
Divide the seasoned meat mixture into 12 equal-sized portions, creating uniform balls for consistent cooking.
Step 3: Create Cheese Centers
Take each meat portion and flatten it into a thin patty. Place a chunk of cheddar cheese in the center of each patty.
Step 4: Wrap with Bacon
Carefully encase each cheese-filled meat ball with a slice of bacon, completely covering the meat and sealing the cheese inside.
Step 5: Secure Bacon Wrapping
Use toothpicks to secure the bacon around each meat bomb, preventing unwrapping during cooking.
Step 6: Preheat Grill
Heat the grill to medium-high temperature, preparing a clean and oiled cooking surface.
Step 7: Grill Bacon Bombs
Place bacon-wrapped meat bombs on the grill, rotating every few minutes to ensure even cooking and crispy bacon.
Step 8: Check Internal Temperature
Cook until the internal temperature reaches 160°F for ground beef, ensuring safe and thorough cooking.
Step 9: Rest and Serve
Remove from grill and let rest for 3-5 minutes. Serve hot with extra BBQ sauce for dipping.
Tips for Cheese That Melts Perfectly
How to Store and Reheat BBQ Bacon Bombs
Great Sides to Serve with Bacon Bombs
Recipe Adjustments You Can Try
BBQ Bacon Bombs FAQ Corner
Not inherently spicy. The recipe uses standard seasonings like garlic and onion powder, which add flavor without significant heat. You can adjust spice levels by adding red pepper flakes or hot sauce if desired.
Absolutely! While cheddar works great, you can substitute with other melting cheeses like monterey jack, provolone, or pepper jack for varied flavor profiles.
No, you can experiment with ground turkey, chicken, or even a mix of ground meats. Just ensure the meat has enough fat content to keep the bombs moist and flavorful.
Not at all. You’ll just need basic kitchen tools like a large mixing bowl, baking sheet, and standard oven. A meat thermometer is helpful to ensure proper internal temperature, but not mandatory.
Print
Cheddar-Stuffed Bbq Bacon Bombs Recipe
- Total Time: 40 minutes
- Yield: 4 1x
Description
Cheddar-stuffed BBQ bacon bombs bring mouthwatering comfort to your grill game with crispy bacon wrapping gooey cheese centers. Packed with smoky flavors and irresistible texture, you’ll crave these sizzling appetizers at every backyard gathering.
Ingredients
Meat:
- 1 pound (1 lb) ground beef (80/20 or lean)
- 12 slices bacon (cut in half)
Cheese and Dairy:
- 4 ounces (4 oz) cheddar cheese (cut into small cubes)
- 1 large egg
Seasonings and Flavor Enhancers:
- ½ cup breadcrumbs (panko or regular)
- ¼ cup BBQ sauce (plus extra for brushing)
- 1 teaspoon Worcestershire sauce
- ½ teaspoon salt
- ½ teaspoon black pepper
- ½ teaspoon garlic powder
- ½ teaspoon onion powder
- ½ teaspoon smoked paprika
Instructions
- Blend ground beef with breadcrumbs, egg, BBQ sauce, Worcestershire sauce, and a harmonious mix of spices – salt, pepper, garlic powder, onion powder, and smoked paprika until thoroughly combined.
- Gently separate the meat mixture into uniform portions, ensuring each will accommodate a pocket of melted cheddar.
- Flatten each meat portion into a thin, circular disc, creating a shallow well in the center to cradle the cheese.
- Nestle a generous cube of cheddar into the center of each meat disc, carefully folding and sealing the edges to completely encase the cheese.
- Wrap each cheese-filled meat bundle with a crisp bacon slice, securing the bacon with toothpicks to maintain the bomb’s structural integrity.
- Preheat the grill or smoker to medium-high heat, targeting a temperature around 375-400°F for optimal cooking.
- Position the bacon-wrapped bombs on the grill grates, ensuring indirect heat to prevent immediate charring.
- Rotate the bombs periodically, allowing each side to develop a rich, caramelized exterior and ensuring even cooking.
- Grill for approximately 15-20 minutes, or until the bacon turns golden and crisp, and the internal meat temperature reaches a safe 160°F.
- Remove from heat, let rest for a few minutes, then serve hot, anticipating the molten cheddar surprise within each bomb.
Notes
- Experiment with lean ground beef or turkey for a healthier alternative that still packs incredible flavor and juiciness.
- Soak breadcrumbs in milk briefly before mixing to ensure the meat mixture stays super moist and tender during cooking.
- Chill the meat mixture for 15-30 minutes before forming bombs to help them hold their shape better and prevent falling apart on the grill or in the oven.
- Consider using a mix of sharp and mild cheddar for a more complex cheese flavor that melts perfectly inside each meaty bomb.
- Prep Time: 15 minutes
- Cook Time: 25 minutes
- Category: Appetizer, Snacks
- Method: Baking
- Cuisine: American
Nutrition
- Serving Size: 4
- Calories: 460
- Sugar: 3 g
- Sodium: 860 mg
- Fat: 34 g
- Saturated Fat: 14 g
- Unsaturated Fat: 18 g
- Trans Fat: 0.5 g
- Carbohydrates: 20 g
- Fiber: 1 g
- Protein: 22 g
- Cholesterol: 85 mg
Jessica Martinez
Pastry Chef & Recipe Developer
Expertise
Organic Baking Techniques, Gluten-Free Recipe Development, Southwestern Dessert Specialties, Food Styling and Photography
Education
Santa Fe Community College (SFCC)
Jessica brings the sweet side to Urban Organic with her passion for baking and love for the Southwest. She trained at Santa Fe Community College and has built a career creating beautiful, gluten-free, and organic desserts that feel both nostalgic and new.
She believes baking should be fun, creative, and open to everyone, no matter your diet or skill level. Jessica’s recipes are simple enough to follow, but special enough to remember.