Easy & Dreamy Button Cookies Recipe for Sweet Success
Ever since my grandmother shared her secret button cookies recipe, baking has become a delightful childhood memory.
Soft, buttery rounds remind me of lazy afternoons in her sunny kitchen.
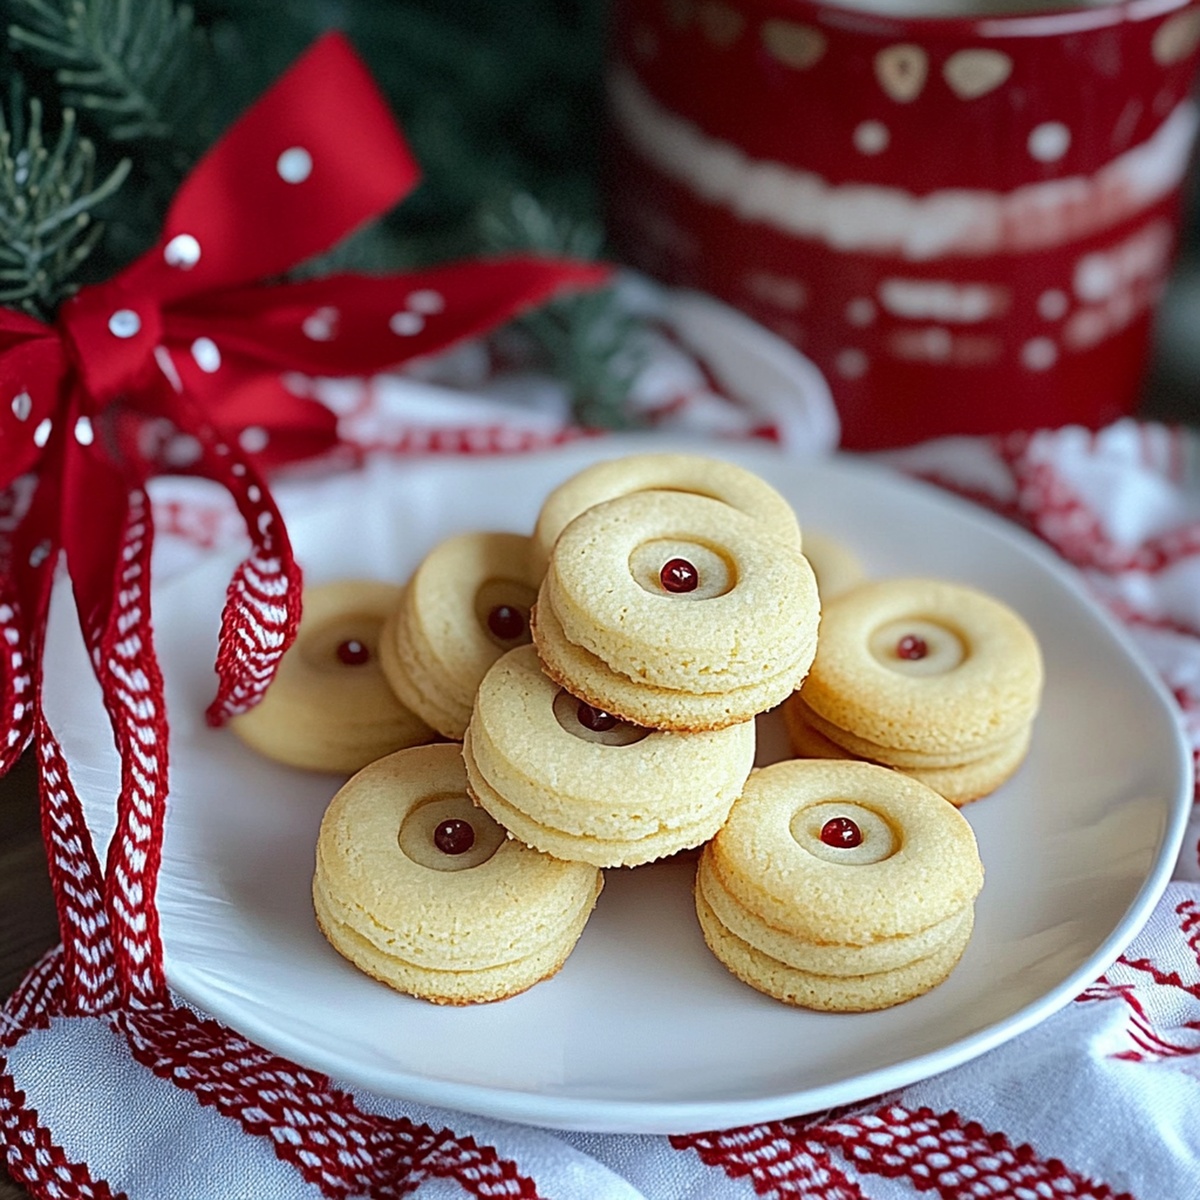
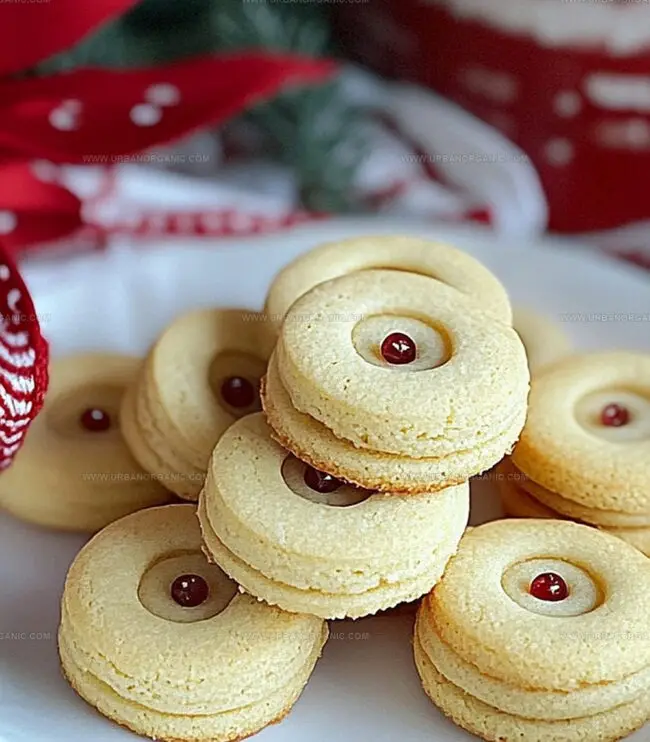
Delicate and playful, these sweet treats look just like vintage clothing buttons.
Crisp edges and tender centers make them irresistible for afternoon snacking.
Minimal ingredients and simple steps mean you can whip up a batch in minutes.
Little hands love helping shape and decorate these whimsical cookies.
A sprinkle of sugar or colorful decorations turns them into edible art.
One bite will transport you back to cherished moments of comfort and joy.
Why Button Cookies Are So Cute and Tasty

Ingredients for Classic Button Cookies
Main Ingredients:
Flour Ingredients:Fat and Sweetener Ingredients:Flavor and Binding Ingredients:How to Shape and Bake Button Cookies
Step 1: Warm Up The Oven
Adjust oven temperature to 350F (175C). Cover baking sheet with parchment paper.
Step 2: Whip The Base
In a spacious mixing bowl, cream butter and powdered sugar until smooth and airy. Blend in vanilla extract until fully combined.
Step 3: Mix Dry Components
Ingredients:Fold dry ingredients into wet mixture until soft dough develops. If mixture seems crumbly, splash a touch of milk to help bind.
Step 4: Shape Delicate Circles
Roll dough flat to paper-thin consistency. Select small circular cutter (roughly 1-2 inches wide) and punch out cookie shapes.
Step 5: Create Button Details
Use drinking straw or piping tool tip to punch 2-4 tiny holes in cookie center, mimicking authentic button appearance.
Step 6: Bake To Golden Perfection
Transfer cookie circles onto prepared baking sheet. Slide into preheated oven and cook for 10-12 minutes until edges turn light golden brown.
Step 7: Cool And Present
Allow cookies to rest on baking sheet for 5 minutes. Transfer to cooling rack. Optional: Connect cookies with delicate thread for playful button aesthetic.
Cookie Tips for Better Texture and Design
Save and Store Button Cookies the Right Way
What to Pair with Button Cookies
Different Takes on Button Cookie Designs
Got Questions About Button Cookies?
Cornstarch and powdered sugar create a delicate, melt-in-your-mouth texture that makes these cookies incredibly soft and tender.
Lightly dust your work surface and rolling pin with flour to prevent the dough from sticking and make rolling easier.
Yes! You can dust them with powdered sugar, dip half in melted chocolate, or use colored royal icing to create decorative designs that resemble actual buttons.
The holes make the cookies look like real buttons and also help them bake more evenly by allowing heat to circulate through the center of each cookie.
Print
Button Cookies Recipe
- Total Time: 27 minutes
- Yield: 24 1x
Description
Button cookies bring whimsy and charm to your dessert table, offering delightful bite-sized treats that spark joy with their playful design. Sweet, buttery, and adorably shaped like classic buttons, these little delicacies will charm guests and make snack time feel like a delightful celebration.
Ingredients
Main Ingredients:
- 2 cups all-purpose flour
- 1 cup (2 sticks / 226 grams) unsalted butter, softened
- ½ cup (60 grams) powdered sugar
Flavor and Texture Enhancers:
- 1 teaspoon vanilla extract
- ¼ teaspoon salt
- 2 tablespoons cornstarch
- 1 tablespoon milk (if needed)
Instructions
- Arrange the oven rack in the middle position and heat to 350F (175C). Prepare a baking sheet with parchment paper for optimal cookie placement.
- In a spacious mixing bowl, cream together softened butter and powdered sugar until the mixture becomes airy and pale. Incorporate vanilla extract, blending thoroughly.
- Gently fold in flour, salt, and cornstarch, mixing until a cohesive yet tender dough emerges. If the texture appears crumbly, introduce a small splash of milk to enhance binding.
- Carefully roll the dough to a delicate 1/4-inch thickness on a lightly floured surface. Utilize a petite circular cutter to craft uniform cookie shapes.
- Transform each cookie into a charming button by puncturing 2-3 precise holes using a slender straw or decorative piping tool’s tip.
- Arrange the button-shaped cookies onto the prepared baking sheet, ensuring slight separation between each piece. Bake for 10-12 minutes until the edges acquire a gentle golden hue.
- Allow cookies to rest on the baking sheet for several minutes to stabilize, then transfer to a wire cooling rack. Optional: Thread cookies together for a whimsical presentation that mimics vintage button clusters.
Notes
- Experiment with different flour types like almond or gluten-free flour to accommodate dietary restrictions without compromising the delicate texture.
- Create flavor variations by adding lemon zest, lavender, or cocoa powder directly into the dough for unique and exciting taste profiles.
- Use a decorative piping tip instead of a straw to make more intricate and decorative button hole patterns that elevate the cookie’s visual appeal.
- Dust the cooled cookies with powdered sugar or brush with a light glaze to enhance their appearance and add a subtle extra layer of sweetness.
- Prep Time: 15 minutes
- Cook Time: 12 minutes
- Category: Desserts, Snacks
- Method: Baking
- Cuisine: American
Nutrition
- Serving Size: 24
- Calories: 450
- Sugar: 3 g
- Sodium: 700 mg
- Fat: 14 g
- Saturated Fat: 2 g
- Unsaturated Fat: 10 g
- Trans Fat: 0 g
- Carbohydrates: 55 g
- Fiber: 8 g
- Protein: 30 g
- Cholesterol: 90 mg
Jessica Martinez
Pastry Chef & Recipe Developer
Expertise
Organic Baking Techniques, Gluten-Free Recipe Development, Southwestern Dessert Specialties, Food Styling and Photography
Education
Santa Fe Community College (SFCC)
Jessica brings the sweet side to Urban Organic with her passion for baking and love for the Southwest. She trained at Santa Fe Community College and has built a career creating beautiful, gluten-free, and organic desserts that feel both nostalgic and new.
She believes baking should be fun, creative, and open to everyone, no matter your diet or skill level. Jessica’s recipes are simple enough to follow, but special enough to remember.