
Dreamy Butterscotch Cool Whip Pie Recipe for Sweet Bliss
My grandma’s secret butterscotch cool whip pie recipe has been tantalizing taste buds for generations.
Whispers of its creamy magic spread through our kitchen like sweet folklore.
Relatives would gather, eyes sparkling with anticipation whenever this dessert appeared.
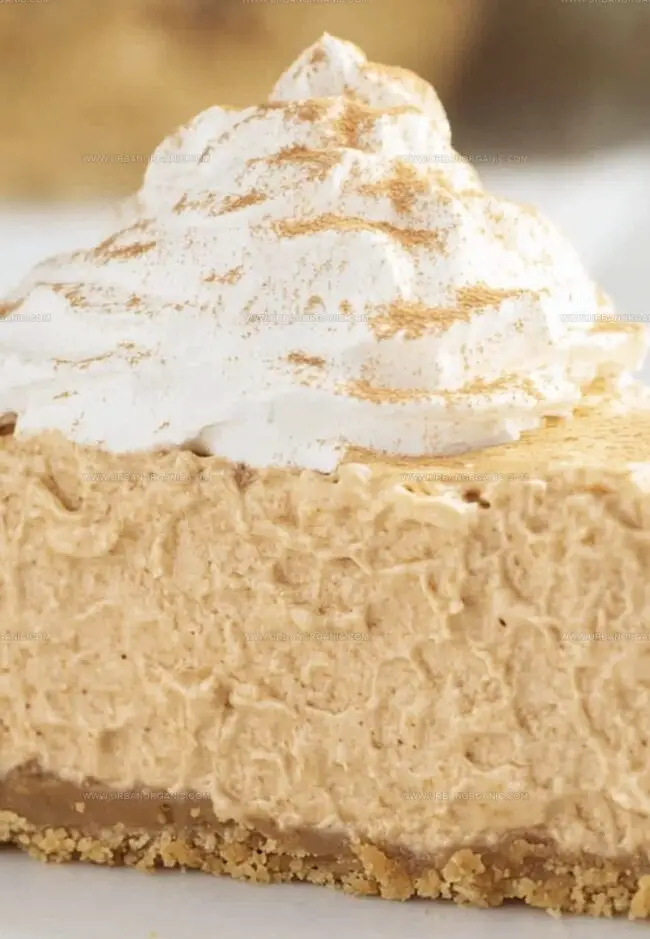
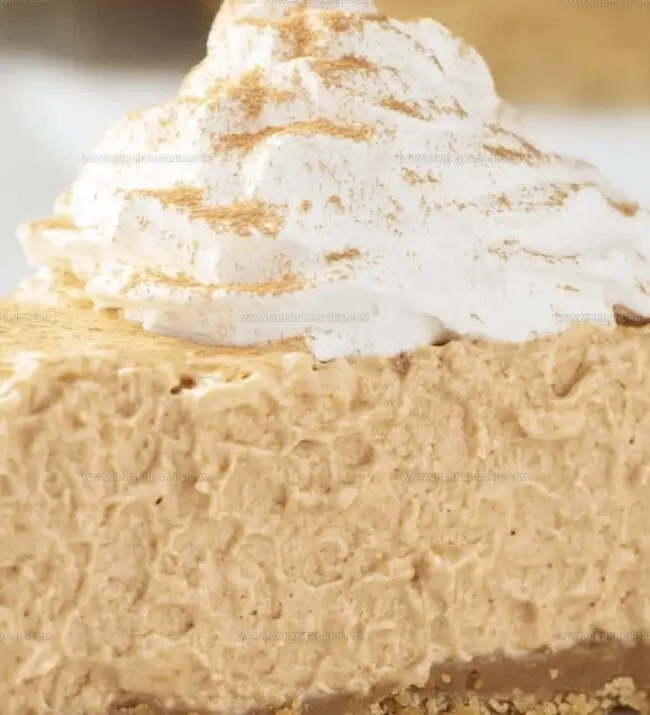
Layers of rich butterscotch pudding nestled between clouds of whipped topping create pure indulgence.
Smooth and velvety textures dance across your palate with each delectable bite.
Simple ingredients combine to craft an irresistible treat that feels both nostalgic and luxurious.
Watching faces light up while savoring this pie will inspire you to make it again and again.
Why Butterscotch Cool Whip Pie Is a No-Bake Dream
What Goes into Butterscotch Cool Whip Pie
Crust Base:Filling Components:Topping and Garnish:Instructions for a Smooth, Chilled Finish
Step 1: Craft the Crunchy Crust
In a mixing bowl, combine graham cracker crumbs with sugar and melted butter. Stir the ingredients until they form a cohesive, sandy mixture. Transfer the crumb blend into a 9-inch pie dish, using your fingers or the back of a spoon to press and shape the crust. Make sure to cover the bottom and sides evenly, creating a smooth, compact base. You can either:Allow the crust to cool completely before moving to the next step.
Step 2: Whip Up the Creamy Filling
In a large mixing bowl, fold together:Blend the ingredients until smooth and fully incorporated, ensuring no lumps remain. The mixture should be light, creamy, and have a rich butterscotch color.
Step 3: Layer the Luscious Filling
Gently pour the butterscotch mixture into the cooled graham cracker crust. Use a spatula to spread the filling evenly, creating a smooth top surface.
Step 4: Chill and Set
Place the pie in the refrigerator for at least 4 hours or overnight. This allows the filling to firm up and the flavors to meld together.
Step 5: Garnish and Serve
Before serving, you can optionally top the pie with:Slice and enjoy your creamy, dreamy butterscotch pie!
Pro Tips for Assembly and Serving
How to Keep This Pie Fresh in the Fridge
Pairings for Butterscotch Pie Slices
Fun Ways to Customize This Pie
FAQs on Butterscotch Cool Whip Pie
Graham crackers are sweet, honey-flavored crackers made from whole wheat flour, commonly used for pie crusts, cheesecake bases, and dessert toppings in American baking.
Yes, you can chill the graham cracker crust in the refrigerator for 15-20 minutes instead of baking. This method helps set the crust without using heat, making it a no-bake option.
Absolutely! You can substitute graham crackers with digestive biscuits, vanilla wafers, or crushed shortbread cookies to create a similar crust texture and flavor profile.
The melted butter helps bind the crumbs together, creating a cohesive crust that holds its shape when pressed into the pie dish and provides a rich, buttery flavor.
Print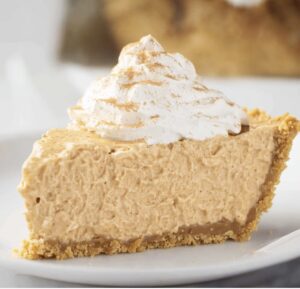
Butterscotch Cool Whip Pie Recipe
- Total Time: 4 hours 10 minutes
- Yield: 8 1x
Description
Indulgent butterscotch cool whip pie delivers a creamy, dreamy dessert that whispers sweet comfort. Silky layers meld perfectly, promising pure pleasure with each delightful spoonful you’ll savor.
Ingredients
Main Ingredients:
- 1 (3.4 ounces / 96 grams) box instant butterscotch pudding mix
- 1 cup cold milk
- 1 (8 ounces / 226 grams) tub Cool Whip (thawed)
Crust Ingredients:
- 1 ½ cups graham cracker crumbs
- ¼ cup granulated sugar
- 6 tablespoons unsalted butter (melted)
Optional Garnish and Flavor Enhancers:
- ½ cup butterscotch chips
- Extra Cool Whip
- Butterscotch chips
- Caramel drizzle
Instructions
- Craft a cohesive crumb base by thoroughly blending graham cracker crumbs with sugar and melted butter until the mixture achieves a uniform texture.
- Carefully transfer the crumb mixture into a 9-inch pie dish, meticulously pressing and molding to create an even layer that covers the entire bottom and sides of the dish.
- To set the crust, choose between two methods: refrigerate for 15-20 minutes to allow natural firming, or bake at 350F (175C) for 8-10 minutes to create a more structured foundation. If baking, permit the crust to cool completely before proceeding.
Notes
- Boost crust crunchiness by toasting graham cracker crumbs in the oven before mixing with butter and sugar for enhanced nutty flavor.
- Swap graham crackers with gluten-free alternatives like almond flour or crushed gluten-free cookies to make the recipe celiac-friendly.
- Use a measuring cup or flat-bottomed glass to press crust mixture evenly and firmly against pie dish sides and bottom for a professional, compact result.
- If refrigerating instead of baking, ensure crust sits in freezer for 30 minutes to create a sturdy, crisp base that won’t crumble when serving.
- Prep Time: 10 minutes
- Cook Time: 4 hours
- Category: Desserts
- Method: Baking
- Cuisine: American
Nutrition
- Serving Size: 8
- Calories: 290
- Sugar: 20 g
- Sodium: 210 mg
- Fat: 16 g
- Saturated Fat: 10 g
- Unsaturated Fat: 6 g
- Trans Fat: 0 g
- Carbohydrates: 34 g
- Fiber: 1 g
- Protein: 3 g
- Cholesterol: 30 mg
Jessica Martinez
Pastry Chef & Recipe Developer
Expertise
Organic Baking Techniques, Gluten-Free Recipe Development, Southwestern Dessert Specialties, Food Styling and Photography
Education
Santa Fe Community College (SFCC)
Jessica brings the sweet side to Urban Organic with her passion for baking and love for the Southwest. She trained at Santa Fe Community College and has built a career creating beautiful, gluten-free, and organic desserts that feel both nostalgic and new.
She believes baking should be fun, creative, and open to everyone, no matter your diet or skill level. Jessica’s recipes are simple enough to follow, but special enough to remember.