
Juicy Beef and Cheese Burrito Recipe for Taco Tuesday Magic
Culinary magic happens when a delectable beef and cheese burrito transforms an ordinary meal into something extraordinary.
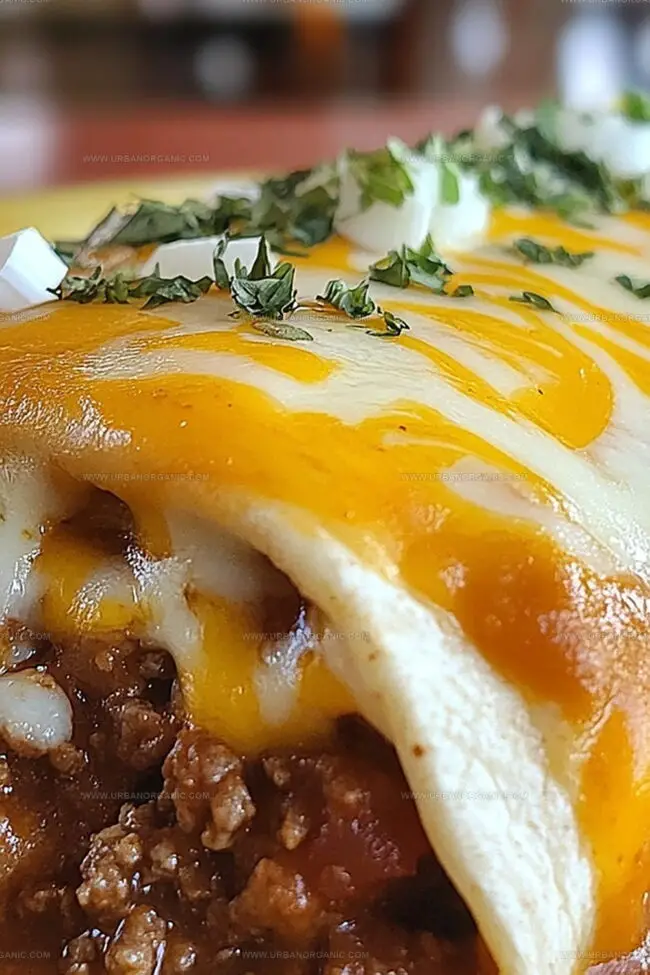
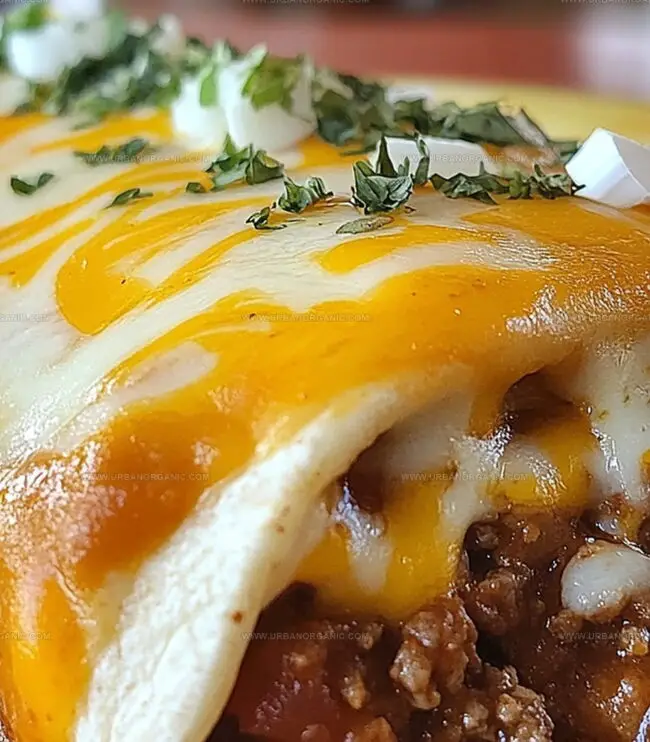
Savory beef mingles with melted cheese, creating a symphony of flavors that dance across your palate.
Layers of rich, seasoned meat nestle perfectly between warm tortillas, promising a satisfying experience.
Kitchen adventures begin with this mouthwatering combination of classic ingredients.
Comfort meets excitement in every carefully crafted bite.
Spices whisper stories of bold flavors waiting to be discovered.
Let’s embark on a delicious journey that will make your taste buds celebrate.
Why This Burrito Recipe Is a Cheesy, Beefy Favorite
What Goes Into These Flavor-Filled Burritos
Meat and Protein:Spices and Seasonings:Tortilla and Accompaniments:How to Roll the Best Beef and Cheese Burritos
Step 1: Sauté Aromatic Base
Heat a large skillet over medium flame. Toss chopped onions into the pan, allowing them to dance and soften until translucent and fragrant.
Step 2: Brown the Beef
Introduce ground beef to the skillet, breaking it into crumbly pieces. Cook until the meat transforms into a rich, deep brown color with no pink remaining.
Step 3: Spice It Up
Sprinkle in the flavor makers:Stir thoroughly to coat every morsel with delicious seasoning.
Step 4: Simmer and Develop Flavors
Let the mixture bubble gently, allowing ingredients to meld and sauce to thicken. Stir occasionally to prevent sticking.
Step 5: Prepare Tortilla Canvas
Warm tortillas in a dry skillet or microwave until soft and pliable.
Step 6: Layer the Fillings
Create a delectable base layer:Spread evenly across the tortilla.
Step 7: Add Beef Filling
Spoon the spiced beef mixture onto the center of each tortilla.
Step 8: Cheese and Toppings Galore
Generously sprinkle shredded cheese. Add additional toppings:Step 9: Wrap Like a Pro
Fold sides inward, then roll from bottom up, creating a tight burrito package.
Step 10: Crisp and Golden
For extra crunch, place burritos seam-side down in a hot skillet. Cook until each side turns golden and crispy.
Step 11: Serve and Enjoy
Plate immediately with favorite accompaniments like guacamole, extra salsa, or hot sauce.
Tips for Melty Cheese and Tender Beef
Reheating Burritos Without Getting Soggy
Dishes to Match with These Loaded Burritos
Fun Variations on the Classic Burrito Filling
Vegetarian Burrito Bliss: Replace ground beef with plant-based crumbles or black beans for a protein-packed meat-free option.
Gluten-Free Wrap Wonder: Use corn tortillas or gluten-free wraps to accommodate gluten sensitivities while maintaining delicious flavor.
Low-Carb Lettuce Wrap: Swap tortillas for large lettuce leaves, creating a light, crisp alternative for those reducing carbohydrate intake.
Spicy Southwest Fusion: Add diced jalapeños, chipotle powder, and pepper jack cheese to intensify the burrito’s heat and create a bolder flavor profile.
Burrito Recipe Questions You’ve Been Asking
Yes, you can easily substitute ground beef with ground turkey, chicken, or even plant-based meat alternatives for a different flavor profile.
The spice level depends on the taco seasoning and optional hot sauce you use. If you prefer mild, choose a mild seasoning blend or reduce the amount of spices.
Absolutely! Ground beef, tortillas, and basic spices are relatively inexpensive, making this a cost-effective meal that feeds multiple people without breaking the bank.
Yes, you can prepare the beef mixture in advance and store it in the refrigerator. Assemble and cook the burritos when you’re ready to eat for the freshest taste and crispiest texture.
Print
Best Beef And Cheese Burrito Recipe
- Total Time: 25 minutes
- Yield: 4 1x
Description
Savor authentic Mexican Beef and Cheese Burrito magic with layers of seasoned ground beef, melted cheese, and fresh ingredients wrapped in a warm tortilla. Hearty flavors and simple preparation make this dish a delightful meal you’ll crave again and again.
Ingredients
Proteins:
- 1 pound (1 lb) ground beef (80/20 for best flavor)
- 1 packet (1 ounce) taco seasoning (or homemade, see notes)
Dairy and Cheese:
- 1 ½ cups shredded cheese (cheddar, Monterey Jack, or Mexican blend)
- ¼ cup sour cream
Base and Supplemental Ingredients:
- 4 large flour tortillas (burrito-sized)
- 1 cup refried beans or black beans (optional)
- ½ cup cooked rice (optional)
- 1 small onion, finely diced
- 2 cloves garlic, minced
- 1 tablespoon olive oil (if needed)
- ½ cup tomato sauce
- ¼ cup beef broth (or water)
Seasonings and Garnishes:
- ½ teaspoon smoked paprika (optional, for extra flavor)
- ½ teaspoon cumin
- 1 teaspoon Worcestershire sauce (optional, for depth)
- Salt & black pepper (to taste)
- ½ cup salsa or pico de gallo
- Sliced avocado or guacamole
- Chopped fresh cilantro
- Jalapeno slices
- Hot sauce
Instructions
- Heat olive oil in a large skillet over medium temperature, gently sautéing diced onions until translucent and fragrant, approximately 2-3 minutes.
- Introduce ground beef to the skillet, methodically breaking it into crumbly pieces while cooking until completely browned and no pink remains, roughly 5-7 minutes.
- Eliminate excess fat from the meat if necessary to maintain a clean, rich flavor profile.
- Incorporate minced garlic, taco seasoning, paprika, cumin, tomato sauce, beef broth, and Worcestershire sauce into the meat mixture.
- Allow the mixture to simmer, stirring intermittently, until the sauce thickens and develops a robust consistency, approximately 5 minutes.
- Remove skillet from heat and let the beef mixture rest momentarily.
- Prepare tortillas by warming them in a dry skillet or microwave to enhance flexibility and prevent cracking during assembly.
- Layer each tortilla with a smooth spread of refried beans or rice, creating a foundational barrier.
- Distribute the seasoned beef mixture centrally across the tortilla, leaving adequate space for folding.
- Generously sprinkle shredded cheese over the beef, creating a melty, indulgent layer.
- Embellish with optional toppings such as sour cream, salsa, or preferred condiments.
- Carefully fold the sides of the tortilla inward, then roll tightly from the bottom upward to secure the filling.
- For a crispy exterior, place burritos seam-side down in a heated skillet, cooking 1-2 minutes per side until achieving a golden, crunchy finish.
- Serve immediately, accompanied by additional salsa, guacamole, or hot sauce for enhanced flavor complexity.
Notes
- Drain ground beef thoroughly to prevent soggy burritos and ensure a crispy, delicious texture.
- Customize seasoning by adjusting spice levels with more or less taco seasoning for personalized heat.
- Make the recipe gluten-free by using corn tortillas and checking that taco seasoning is gluten-free certified.
- Prep ingredients ahead of time for quick assembly, storing cooked beef and chopped toppings separately in the refrigerator.
- Prep Time: 10 minutes
- Cook Time: 15 minutes
- Category: Lunch, Dinner, Snacks
- Method: Sautéing
- Cuisine: Mexican
Nutrition
- Serving Size: 4
- Calories: 600
- Sugar: 3 g
- Sodium: 900 mg
- Fat: 30 g
- Saturated Fat: 12 g
- Unsaturated Fat: 15 g
- Trans Fat: 1 g
- Carbohydrates: 55 g
- Fiber: 6 g
- Protein: 28 g
- Cholesterol: 80 mg
Jessica Martinez
Pastry Chef & Recipe Developer
Expertise
Organic Baking Techniques, Gluten-Free Recipe Development, Southwestern Dessert Specialties, Food Styling and Photography
Education
Santa Fe Community College (SFCC)
Jessica brings the sweet side to Urban Organic with her passion for baking and love for the Southwest. She trained at Santa Fe Community College and has built a career creating beautiful, gluten-free, and organic desserts that feel both nostalgic and new.
She believes baking should be fun, creative, and open to everyone, no matter your diet or skill level. Jessica’s recipes are simple enough to follow, but special enough to remember.