Irresistible Banana Peanut Butter Oatmeal Bars Recipe
Crisp mornings call for a comforting banana peanut butter oatmeal bars that satisfy hunger and warm your soul.
Mornings become magical with this simple yet delicious treat.
Wholesome ingredients blend together seamlessly in this recipe.
Each bite promises a delightful mix of sweet and nutty flavors.
You’ll love how quickly these bars come together in your kitchen.
Hearty oats provide a perfect foundation for the creamy peanut butter and ripe bananas.
Let’s create something deliciously memorable that will make your breakfast or snack time extraordinary.
Why You’ll Make These Oatmeal Bars on Repeat
What Goes into Banana Peanut Butter Oat Bars
Base Ingredients:Sweeteners and Flavor Enhancers:Dry Ingredients and Binders:Optional Add-Ins:How to Bake Soft, Chewy Oatmeal Bars
Step 1: Prepare Baking Station
Step 2: Crush Bananas
Step 3: Create Liquid Base
Ingredients:Combine all ingredients with mashed bananas
Stir until perfectly blended
Step 4: Build Oatmeal Mixture
Ingredients:Mix dry ingredients into wet mixture
Ensure even distribution throughout batter
Step 5: Customize Your Bars
Optional add-ins:Gently fold chosen extras into batter
Step 6: Shape and Bake
Spread batter evenly into prepared pan
Smooth top with spatula
Slide pan into preheated oven
Bake 20-25 minutes until edges turn golden
Center should look set
Step 7: Cool and Slice
Remove from oven
Let bars cool completely
Cut into rectangular pieces
Enjoy your delicious homemade treats
Pro Tips for Clean Cuts and Even Texture
Storage and Reheating Guide for Snack Bars
What Goes Well with These Bars
Recipe Twists You’ll Want to Try
FAQ for Banana Peanut Butter Bar Fans
Yes, they’re packed with nutritious ingredients like bananas, oats, and peanut butter, offering good protein, fiber, and natural sweetness without processed sugars.
Absolutely! Just use certified gluten-free oats to ensure the entire recipe is gluten-free friendly.
Make sure to use ripe, very soft bananas and don’t overmix the batter. The mashed bananas help keep the bars moist and tender.
Definitely! These bars are easy to make, nutritious, and can be customized with fun mix-ins like chocolate chips that kids usually love.
Print
Banana Peanut Butter Oatmeal Bars Recipe
- Total Time: 35 minutes
- Yield: 12 1x
Description
Indulgent banana peanut butter oatmeal bars bring comfort and nostalgia to classic dessert lovers. Rich layers of creamy peanut butter and sweet bananas create a wholesome treat perfect for satisfying those afternoon cravings.
Ingredients
Main Ingredients:
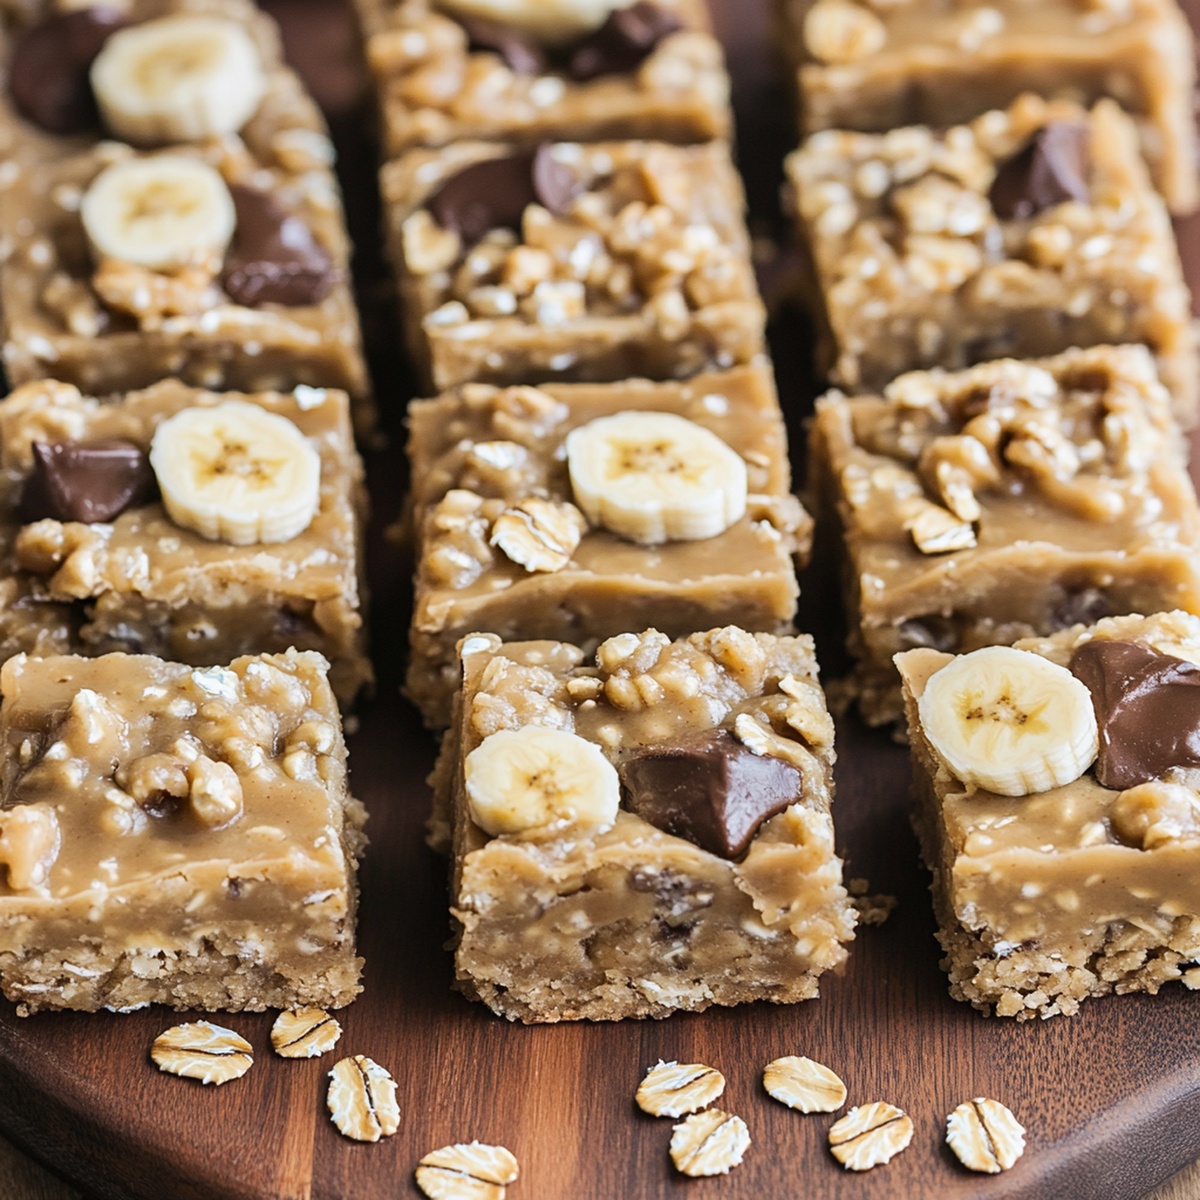
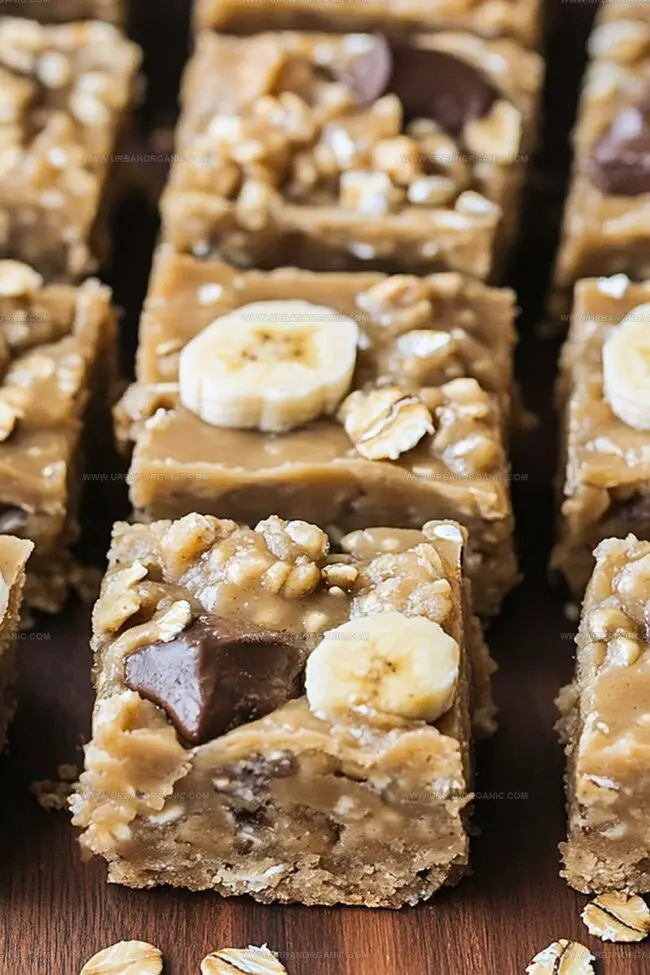
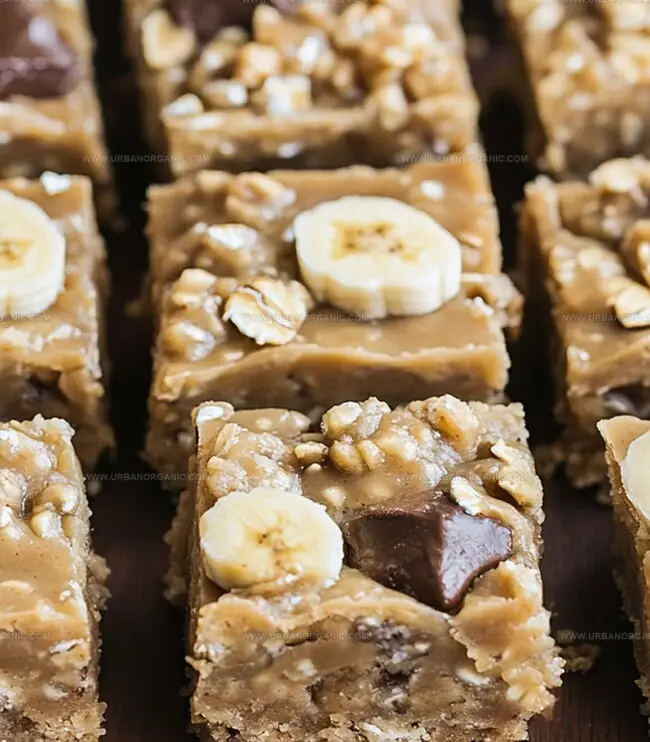
- 3 ripe bananas (mashed)
- 250 g (2 ½ cups) rolled oats
- 120 g (½ cup) creamy peanut butter
Sweeteners and Flavor Enhancers:
- 60 ml (¼ cup) honey or maple syrup
- 1 teaspoon vanilla extract
- 1 teaspoon ground cinnamon
Additional Ingredients:
- ½ teaspoon baking powder
- ¼ teaspoon salt
- 50 g (⅓ cup) dark chocolate chips (optional)
- 30 g (¼ cup) chopped nuts (optional, walnuts or almonds)
Instructions
- Prepare the oven environment by warming it to 350F (175C) and creating a non-stick surface with parchment paper in a baking pan.
- Transform ripe bananas into a silky, smooth consistency using a mashing technique that breaks down all fruit fibers.
- Incorporate creamy peanut butter, sweet honey (or maple syrup), and aromatic vanilla extract, blending thoroughly until ingredients form a uniform mixture.
- Gradually introduce rolled oats, leavening agent, and mineral enhancer, stirring carefully to ensure even distribution throughout the base.
- Enhance the mixture’s complexity by gently folding in optional textural elements like chocolate chips or chopped nuts for added depth and crunch.
- Carefully transfer the prepared mixture into the lined baking pan, using a spatula to create an even, smooth surface that will promote consistent baking.
- Position the pan in the preheated oven and allow the bars to transform, baking for 20-25 minutes until the edges develop a golden-brown hue and the center sets completely.
- Remove from the oven and let the bars cool completely, which allows the texture to stabilize and makes clean, precise cutting easier.
- Slice into individual portions, creating uniform bars ready for serving and enjoying.
Notes
- Swap honey with agave nectar for a vegan-friendly alternative that maintains the same sweet, smooth consistency.
- Experiment with different nut butters like almond or cashew for unique flavor profiles while keeping the creamy texture intact.
- Toast oats briefly before mixing to enhance their nutty flavor and create a deeper, more complex taste in the bars.
- Reduce baking time by 2-3 minutes for a softer, more cake-like texture that’s perfect for those who prefer a less crisp treat.
- Prep Time: 10 minutes
- Cook Time: 25 minutes
- Category: Breakfast, Snacks, Desserts
- Method: Baking
- Cuisine: American
Nutrition
- Serving Size: 12
- Calories: 180
- Sugar: 8 g
- Sodium: 100 mg
- Fat: 7 g
- Saturated Fat: 1 g
- Unsaturated Fat: 6 g
- Trans Fat: 0 g
- Carbohydrates: 25 g
- Fiber: 3 g
- Protein: 5 g
- Cholesterol: 0 mg
Jessica Martinez
Pastry Chef & Recipe Developer
Expertise
Organic Baking Techniques, Gluten-Free Recipe Development, Southwestern Dessert Specialties, Food Styling and Photography
Education
Santa Fe Community College (SFCC)
Jessica brings the sweet side to Urban Organic with her passion for baking and love for the Southwest. She trained at Santa Fe Community College and has built a career creating beautiful, gluten-free, and organic desserts that feel both nostalgic and new.
She believes baking should be fun, creative, and open to everyone, no matter your diet or skill level. Jessica’s recipes are simple enough to follow, but special enough to remember.