
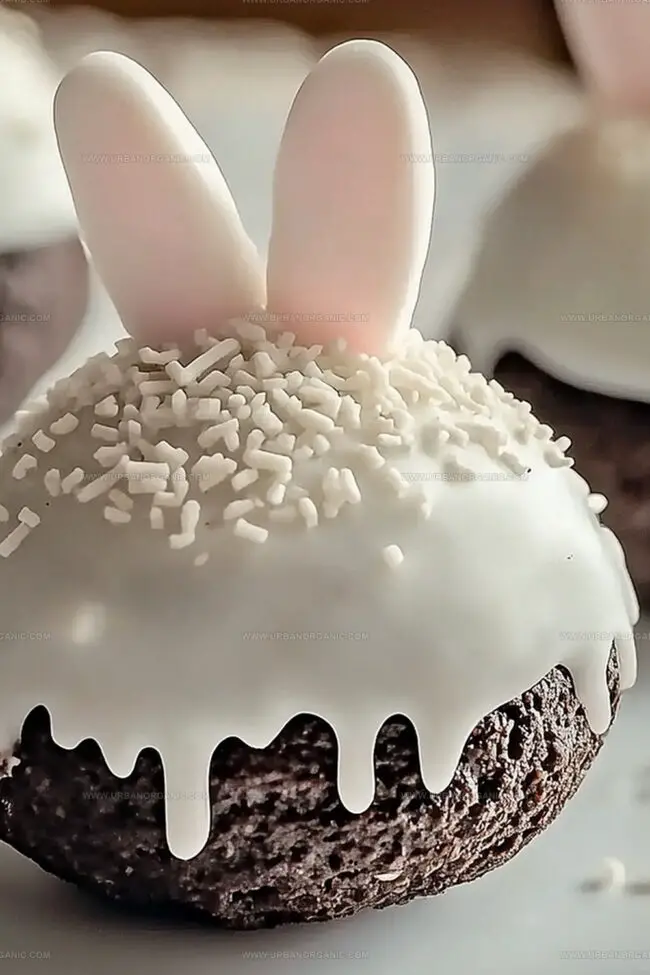
Fluffy Bunny Butt Oreo Balls Recipe: Cute Easter Treats!
Sweet treats often surprise us, and these playful bunny butt Oreo balls bring whimsy to dessert time.
Easter celebrations sparkle with these adorable chocolate-covered confections.
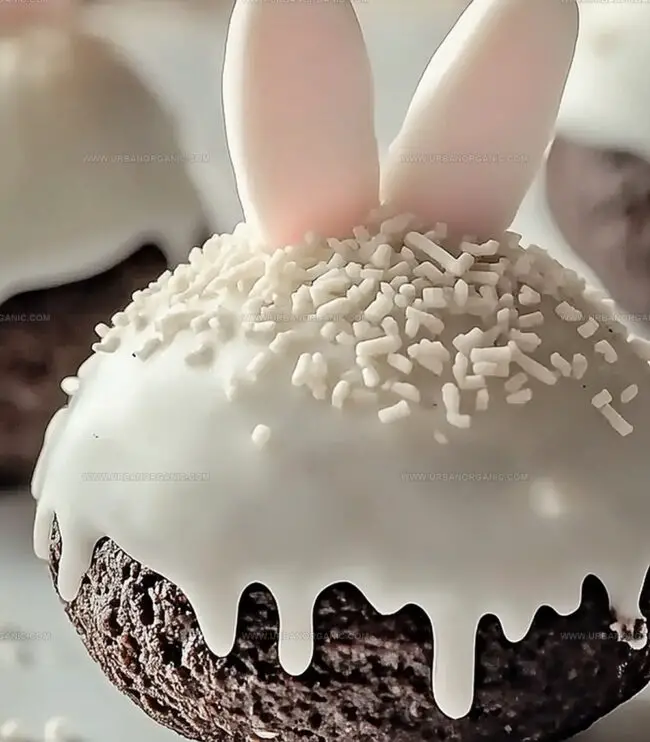
Crushed Oreo cookies blend perfectly with cream cheese to create a delightful base for these cute treats.
Soft and creamy, these little bites capture everyone’s heart with their charming design.
Decorating becomes an art as you craft each bunny’s distinctive features with care.
Kids and adults alike will fall in love with these delightful dessert characters.
Serve these charming bunny butt Oreo balls and watch smiles bloom around the table.
Quick Recipe Overview
Bunny Butt Oreo Balls – What You’ll Need
For Base:For Coating and Decoration:For Finishing Details:Equipment That Helps Shape Bunny Butt Oreo Balls
How to Make These Cute and Tasty Oreo Balls
Blast Oreo cookies in a food processor until they become fine, powdery crumbs that look like soft sand.
Blend softened cream cheese into the cookie crumbs until the mixture becomes smooth and perfectly combined.
Roll the mixture into cute little round balls about the size of a ping pong ball and place them on a lined baking sheet.
Pop the baking sheet into the freezer for a quick 20-minute chill to help the balls hold their shape.
Dunk each ball into melted white chocolate, letting excess drip off for a clean, smooth exterior.
Attach a tiny marshmallow as a fluffy tail and create delicate pink feet by piping candy melts into small oval shapes.
Let the decorated bunny butt Oreo balls set completely at room temperature until the chocolate hardens and decorations stick perfectly.
Decoration Tips for Fun, Themed Oreo Balls
Serve Bunny Butt Oreo Balls at Spring Parties
Store Oreo Balls and Keep Them Sweet & Firm
Print
Adorable Bunny Butt Oreo Balls Recipe
- Total Time: 1 hour
- Yield: 21 1x
Description
Playful bunny butt oreo balls bring whimsical charm to any dessert table, combining creamy sweetness with adorable design. Sweet treats that spark joy and delight can elevate your Easter or spring celebration with delightful chocolate-covered cuteness you’ll adore.
Ingredients
- 36 Oreo cookies (1 package, 14.3 oz or 406 g)
- 8 oz (226 g) cream cheese, softened
- 12 oz (340 g) white chocolate or white candy melts, for coating
- Pink candy melts, for feet pads
- Mini marshmallows or white chocolate chips, for tails
- Pink confetti sprinkles or edible markers, for foot details
Instructions
- Pulverize Cookies: Transform Oreos into fine, powdery crumbs using a food processor, ensuring a uniform texture for the base mixture.
- Blend Mixture: Incorporate softened cream cheese with cookie crumbs, stirring until a cohesive and smooth consistency develops.
- Shape Confections: Craft uniform spherical treats approximately 1-inch in diameter, arranging them on a parchment-lined tray and chilling in the freezer for optimal firmness.
- Prepare Coating: Gently melt white chocolate or candy melts, maintaining a silky, glossy liquid state suitable for dipping.
- Enrobe Treats: Carefully submerge each chilled ball into the melted coating, allowing excess to cascade off, then position on the baking sheet to solidify.
- Craft Bunny Details: While coating remains tacky, strategically attach a miniature marshmallow as a tail and delicately pipe pink candy melt into petite oval feet with subtle toe accents.
- Final Setting: Allow decorative elements to completely harden, ensuring a crisp, professional appearance before serving or refrigerating.
Notes
- Freeze Oreo balls for 20-30 minutes to ensure they’re firm and easier to dip in chocolate without falling apart.
- Use low heat or microwave in short bursts to prevent chocolate from burning or seizing, which can ruin the smooth coating.
- Keep melted chocolate warm and work in small batches to maintain the right consistency for smooth, even dipping.
- Use a toothpick or thin piping tool for precise placement of tail and feet details, ensuring a professional and cute final look.
- Prep Time: 30 minutes
- Cook Time: 30 minutes
- Category: Desserts, Snacks
- Method: Blending
- Cuisine: American
Nutrition
- Serving Size: 21
- Calories: 120
- Sugar: 12g
- Sodium: 50mg
- Fat: 7g
- Saturated Fat: 4g
- Unsaturated Fat: 3g
- Trans Fat: 0g
- Carbohydrates: 15g
- Fiber: 1g
- Protein: 1g
- Cholesterol: 5mg
Michael Thompson
Founder & Culinary Director
Expertise
Classical & Contemporary Cooking Techniques, Global Cuisine Appreciation, Nutrition & Menu Engineering, Sustainable Cooking Practices, Farm-to-Table Cuisine
Education
Southwestern Oregon Community College
Michael grew up in Oregon, where he learned early that food tastes better when it’s fresh, local, and made with care.
After earning his degree from the Southwestern Oregon Community College, he focused his career on teaching others how to cook with the seasons, reduce food waste, and reconnect with what’s on their plate.
Michael keeps his cooking simple, sustainable, and full of flavor. His favorite part of the process? Watching people realize how easy and satisfying it can be to cook a single great meal from scratch.