Quick & Cozy 2 Ingredient Cookie Cups Recipe for Sweet Bliss
Whipping up these delightful two ingredient cookie cups couldn’t be easier for dessert lovers craving something simple.
Minimal prep work means you can satisfy sweet cravings in minutes.
Pantry staples combine into a magical treat that looks impressive but requires zero culinary expertise.
Sweet tooths will appreciate how quickly these delectable cups come together.
Crispy edges and soft centers create a texture that makes everyone smile.
Kitchen novices and baking pros alike can nail this effortless recipe without stress.
Your friends will be shocked at how something so easy can taste so incredible.
2 Ingredient Cookie Cups with Simple Sweet Magic
What’s Needed for 2 Ingredient Cookie Cups
Base Ingredients:Notes: Store-bought dough saves time, look for pre-rolled options for convenience.
Filling Ingredients:Notes: Unwrap chocolates before baking, choose your favorite chocolate variety.
Preparation Ingredients:Notes: Silicone spray works best for non-stick surface, cupcake liners provide additional protection and easy cleanup.
How to Make 2 Ingredient Cookie Cups with Ease
Step 1: Warm Up the Oven
Heat your oven to 350°F. Grab a mini muffin tin and either spray it with cooking spray or line with cute paper liners.
Step 2: Shape Your Cookie Bases
Take your cookie dough and divide it into 12 equal chunks. Roll each piece into a smooth ball using your palms. Gently place one ball into each muffin cavity.
Softly press down in the center of each dough ball, creating a little nest-like indentation.
Step 3: Bake to Golden Perfection
Slide the muffin tin into the preheated oven. Bake for 10-12 minutes until the edges turn a beautiful golden brown color.
Step 4: Create Chocolate Centers
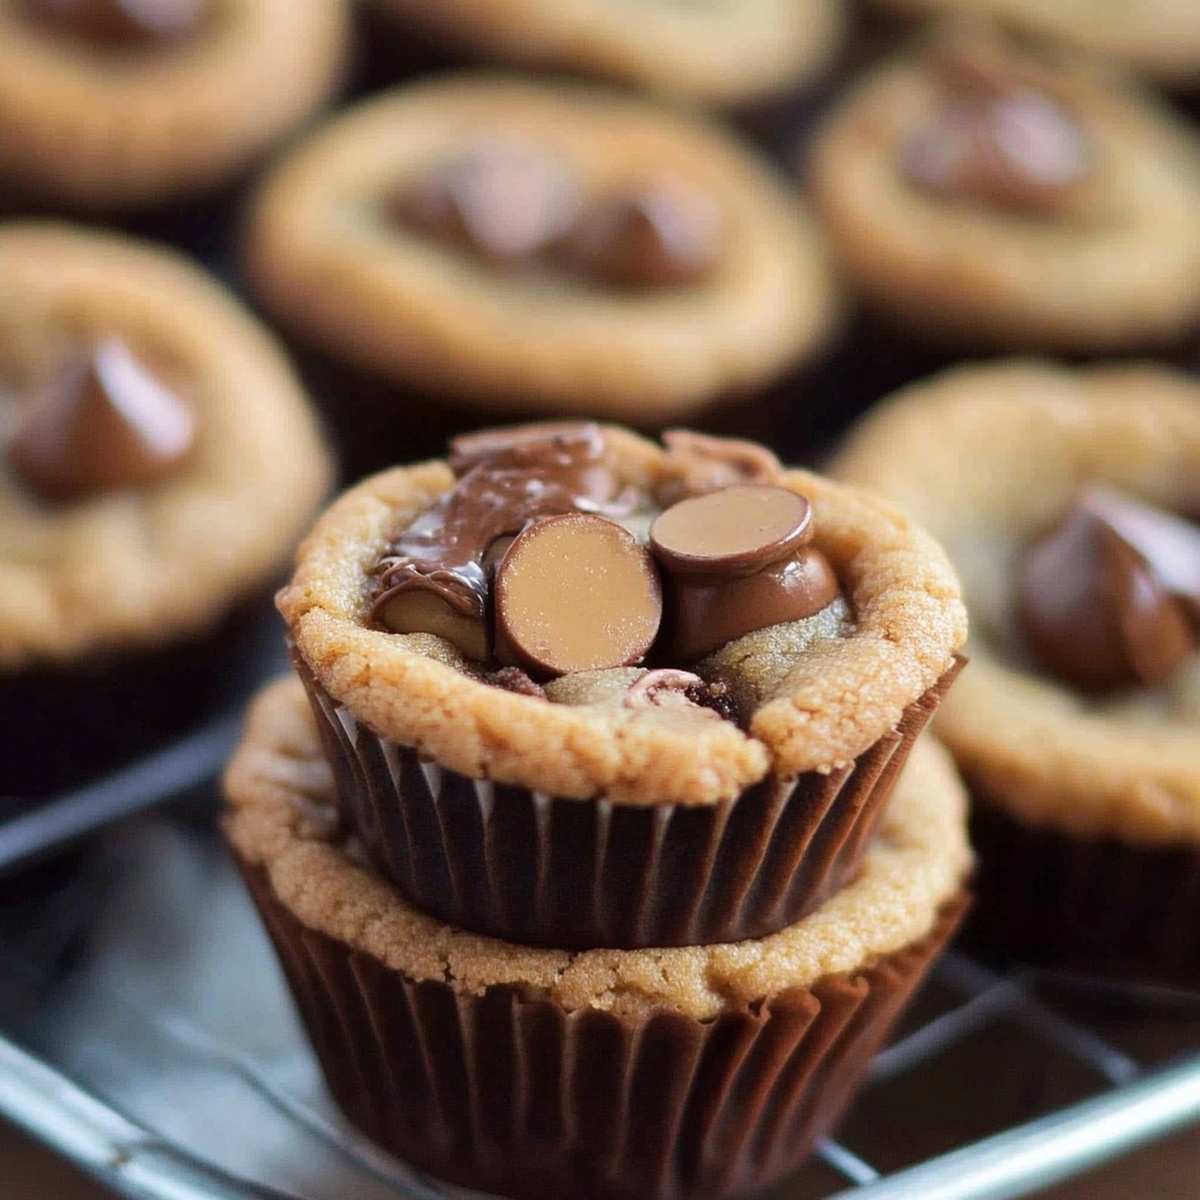
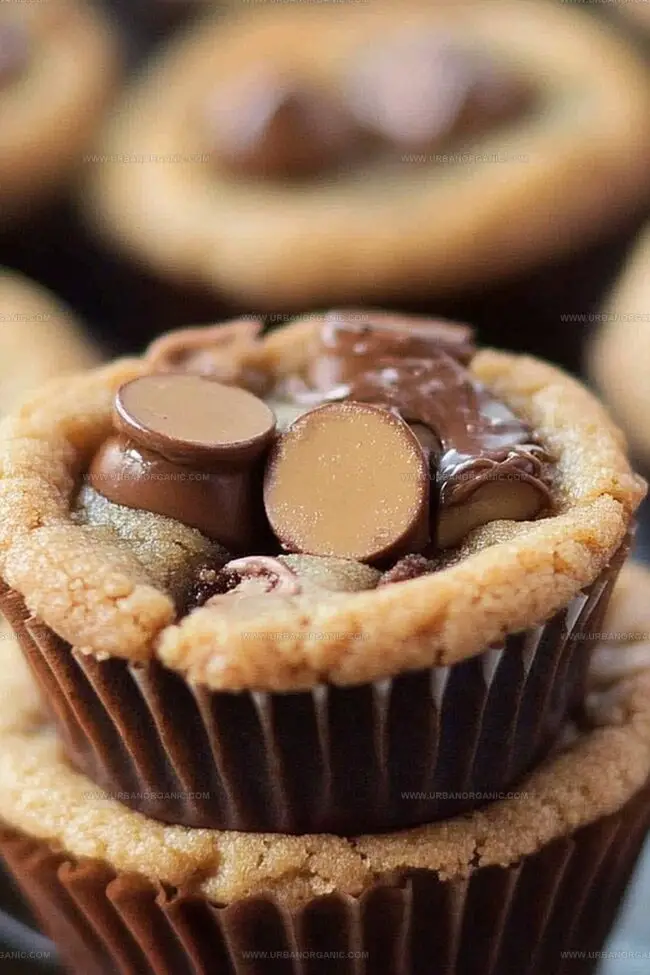
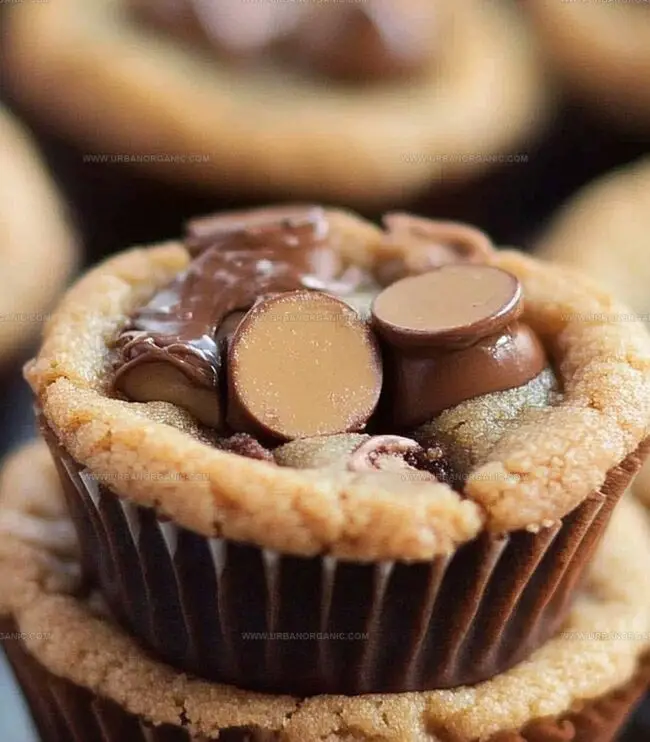
The moment the cookie cups emerge from the oven, quickly press a mini peanut butter cup right into the center of each warm cookie base. The residual heat will help the chocolate melt slightly.
Step 5: Cool and Enjoy
Allow the cookie cups to rest in the tin for 10 minutes. Then carefully transfer them to a wire cooling rack. Once completely cooled, these treats are ready to devour!
Ingredients:Simple Tips to Get the Best Cookie Cup Texture
How to Store Cookie Cups and Keep Them Crisp
Sweet Pairings for Cookie Cups
Flavor Tweaks for 2 Ingredient Cookie Cups
FAQs About These Super Simple Cookie Cups
Yes, you can use homemade cookie dough. Just ensure it’s firm enough to hold its shape when pressed into the muffin tin.
A mini muffin tin is essential. If you don’t have one, you can use a regular muffin tin, but the cups will be larger.
Absolutely! Once cooled, store them in an airtight container in the freezer for up to 2 months. Thaw at room temperature before serving.
Try Rolos, Hershey’s Kisses, caramel chocolates, or even marshmallows for different flavor variations.
Print
2 Ingredient Cookie Cups Recipe
- Total Time: 17 minutes
- Yield: 12 1x
Description
Delightful 2 ingredient cookie cups deliver pure sweet simplicity with minimal effort. Chocolate lovers and dessert enthusiasts can quickly craft this quick treat that promises maximum satisfaction in just moments.
Ingredients
Main Ingredients:
- 1 roll (16 ounces / 450 grams) refrigerated cookie dough
- 12 mini peanut butter cups
Filling Options:
- Chocolate squares
- Jam
- Caramel
Dough Flavor Variations:
- Chocolate chip
- Sugar
- Peanut butter
Instructions
- Preheat the oven to 350°F and prepare a mini muffin tin by lightly coating with cooking spray or inserting silicone liners.
- Divide the cookie dough into 12 uniform spheres, ensuring each ball is roughly the same size for consistent baking.
- Gently place each dough ball into a muffin cavity, using your fingertips to create a gentle depression in the center, forming a small cup-like shape.
- Transfer the muffin tin to the preheated oven and bake for 11-13 minutes, watching for a golden-brown edge that indicates perfect doneness.
- Once baked, immediately remove the tin from the oven and carefully insert a mini peanut butter cup into the center of each warm cookie cup, allowing the residual heat to slightly melt the chocolate.
- Allow the cookie cups to cool completely in the tin for approximately 10 minutes, which helps them set and maintain their shape.
- Carefully transfer the cooled cookie cups to a wire cooling rack, ensuring they are fully set before serving or storing in an airtight container.
Notes
- Customize the cookie dough by experimenting with different flavors like chocolate chip, sugar, or oatmeal for unique variations.
- Use silicone muffin molds for easier removal and less greasing, ensuring your cookie cups pop out perfectly without sticking.
- Chill the dough briefly before shaping to prevent spreading and maintain a more compact cup shape during baking.
- Substitute peanut butter cups with alternative fillings like caramel drops, fruit preserves, or chocolate truffles for dietary preferences or exciting flavor combinations.
- Prep Time: 5 minutes
- Cook Time: 12 minutes
- Category: Desserts, Snacks
- Method: Baking
- Cuisine: American
Nutrition
- Serving Size: 12
- Calories: 220
- Sugar: 22 g
- Sodium: 180 mg
- Fat: 10 g
- Saturated Fat: 6 g
- Unsaturated Fat: 4 g
- Trans Fat: 0 g
- Carbohydrates: 31 g
- Fiber: 0 g
- Protein: 2 g
- Cholesterol: 30 mg
Jessica Martinez
Pastry Chef & Recipe Developer
Expertise
Organic Baking Techniques, Gluten-Free Recipe Development, Southwestern Dessert Specialties, Food Styling and Photography
Education
Santa Fe Community College (SFCC)
Jessica brings the sweet side to Urban Organic with her passion for baking and love for the Southwest. She trained at Santa Fe Community College and has built a career creating beautiful, gluten-free, and organic desserts that feel both nostalgic and new.
She believes baking should be fun, creative, and open to everyone, no matter your diet or skill level. Jessica’s recipes are simple enough to follow, but special enough to remember.